- 2024
- Dec
- 28
A Hallicrafters S38-C recap - part 2: Getting back on it’s feet…
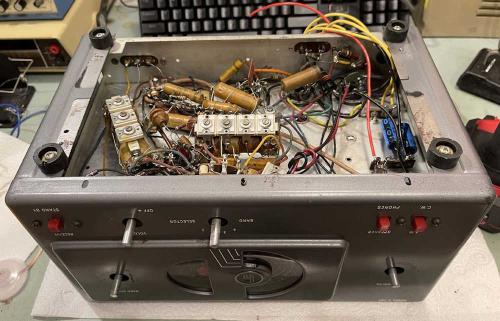
This guy has sat around long enough, and I finally have new feet for it. Since this is a hot chassis radio, it’s imperative that the feet be installed, as they both provide insulation from the chassis, as well as support for the radio.
The feet themselves (and a new knob) came from Renovated Radios http://renovatedradi … duct.php?product=436 - they’re of pretty good quality, and once installed I doubt you could tell them from the old unless you were The Hallicrafters Guy.
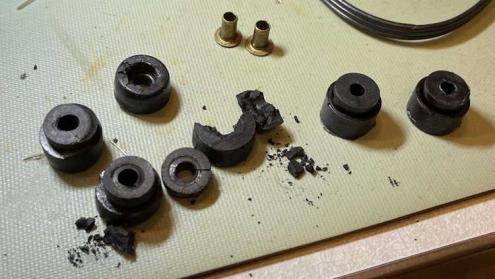
The feet only come with the feet themselves, so you need to punch out the old brass bushings and keep all the hardware. Since I had all 4 feet still, I did that - and the old ones just crumbled to pieces.
New on the right, old on the left. There’s nothing left of the old ones, so they go in the trash.
Installing them is relatively easy. They slide into case slots, and screw into the chassis for the back, and just lock down with screws in the front. That, and the front panel screws, and we’re ready to go.
Next is to do what I set out to do - replace the filters. I need to fix the mistake I made last time, and get the new ones wired in. But, what about all those paper caps, you say. I’m not recapping this thing for daily driver use - there’s simply nothing to listen to and I have a nice long distance AM radio sitting beside me as I type this. This is just to make the thing play.
Stay tuned for the replacement.
Next part of this series: https://wereboar.com … yout-considerations/
Previous part of this series: https://wereboar.com … rafters-s38-c-recap/

