Doing some upgrades with Shelly and Home Assistant.
Tuesday, February 17, 2026 at 07:36:08
I’ve always wanted to have some of the switches in my home addressable by some sort of remote control system. For the longest time, that meant using an X10 device, or some exotic home control units that often times cost a lot and/or required some intensive rewiring that I simply wasn’t willing to undertake.
Enter Shelly devices.
These little modules do pretty much everything I had wanted. They’re small enough to fit into most current electrical boxes (older homes like mine will still require some rework.) They offer power monitoring, as well as local switching capability - that is, you can still use the lightswitch that is currently there. They’re also cheap. Under $20 per, even less if you don’t mind an older generation that doesn’t offer 50 million ways to connect.
These are primarily WiFi devices. The newest generation offers Matter control, but they have a local UI that you can talk to. Shelly provides an application that you can run. Or, you can do as in my case - connect them to Home Assistant, as Shelly devices are a platinum-tier supported system.
To get started, I added the Shelly integration to Home Assistant. I did this some time ago when I was playing with a switch unit, so it was already there for this install. That’s a simple matter of adding it like any other integration within Home Assistant.
First thing I like to do it power them up with a cord I’ve made for this purpose and connect to the WiFi UI on the device. This is a local AP, unprotected, and sits at 192.168.33.1. When powered, you’ll see a new AP with “shelly” in the name. Connect, go to the above address once your device has negotiated everything, and you’re in the UI. I then set the WiFi to connect to my network, rebooted the device, and went back in with the new IP address and disabled the local access point. (Home Assistant will warn you about this if you don’t turn that off.) The Shelly integration then found the devices and automagically added it.
Past that, it was a simple matter of creating dashboard panels and automations like any other device.
I used two different devices this round:
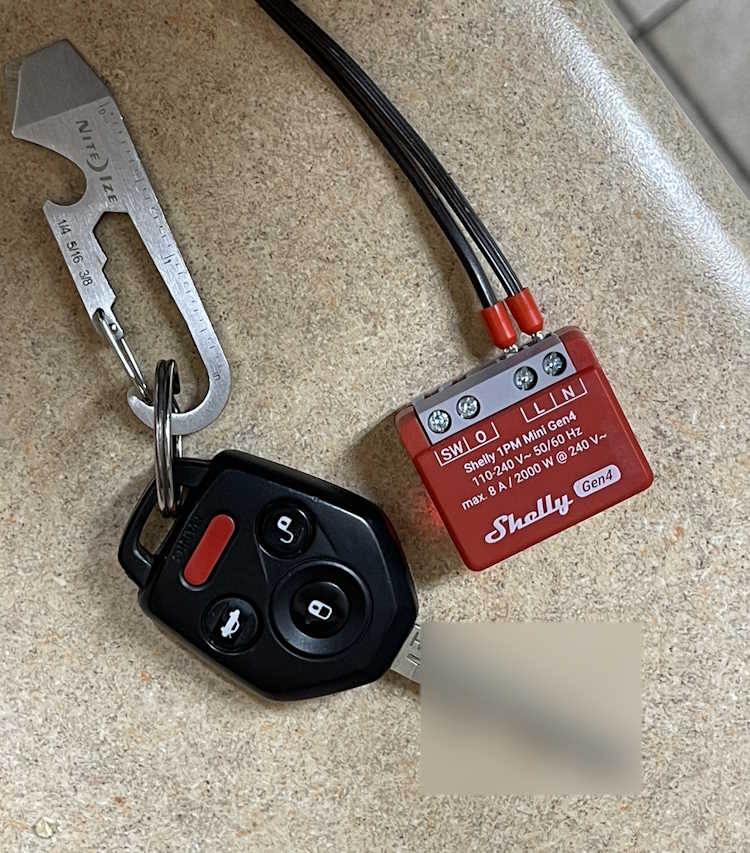
This is called the Shelly 1PM Mini Gen4. (Yeah, they need to work on those names.) It offers both remote switching capability via WIFi, and local switching capability via the “SW” terminal - you simply input the switched line voltage from the original toggle and it takes care of the rest. Other than a slight delay in switching, you notice nothing.
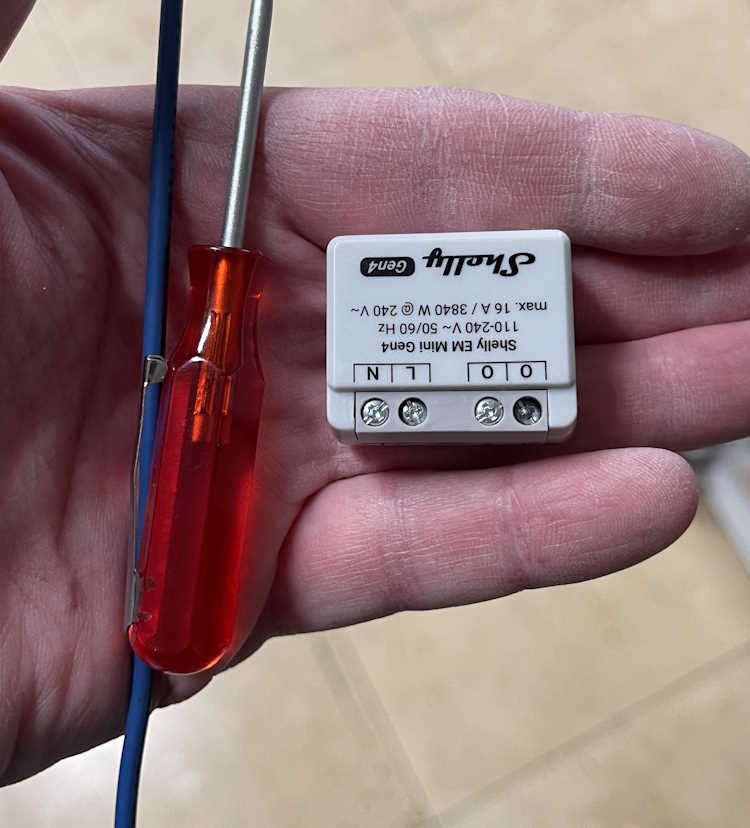
This device is similar, but offers a higher current capacity without any switching capability. I’m installing one of these in an outlet connected to my clothes washer. It connects the same way, just give it power and set up WiFi. The two “O” terminals are the line outputs, you use a single neutral connection which doesn’t pass through so you’ll need to jumper from the neutral line to this device. This is similar for their entire offering.
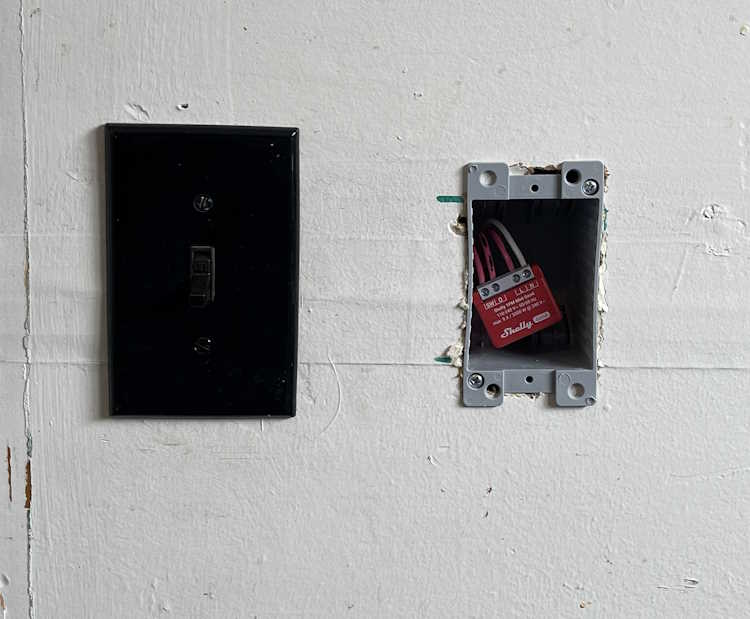
First one is the “Back Porch” lamp. That’s just a wall sconce with a bulb, like any other outdoor lamp you’d have near a door. Boxes in my home are old, small, metal, and cramped. Mounting nails go through the box into the stud, which reduces available space even more.
I decided to mont a new box next to it, just for the Shelly device. Cable was jumped and clamed to the device, and it got covered with a blank plate. Easy in, and can be changed without issue.
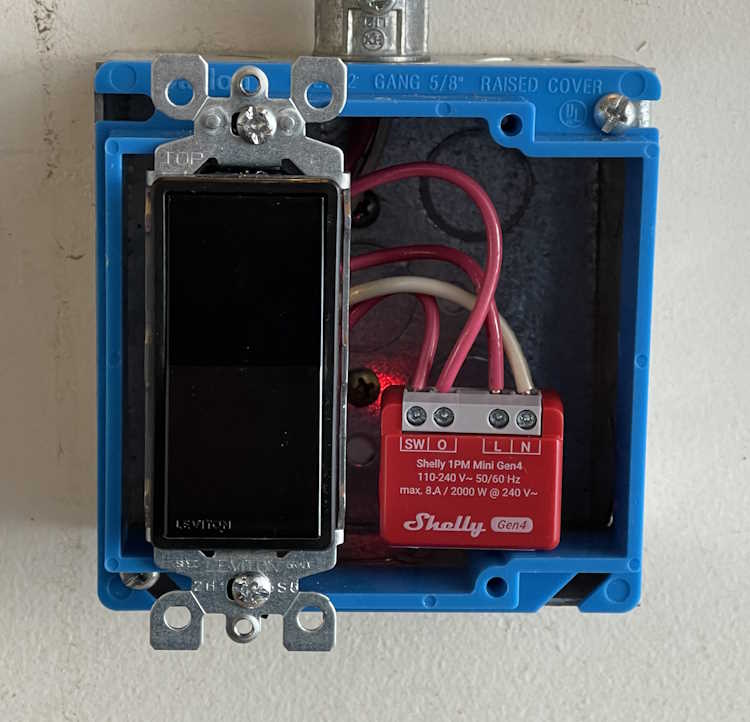
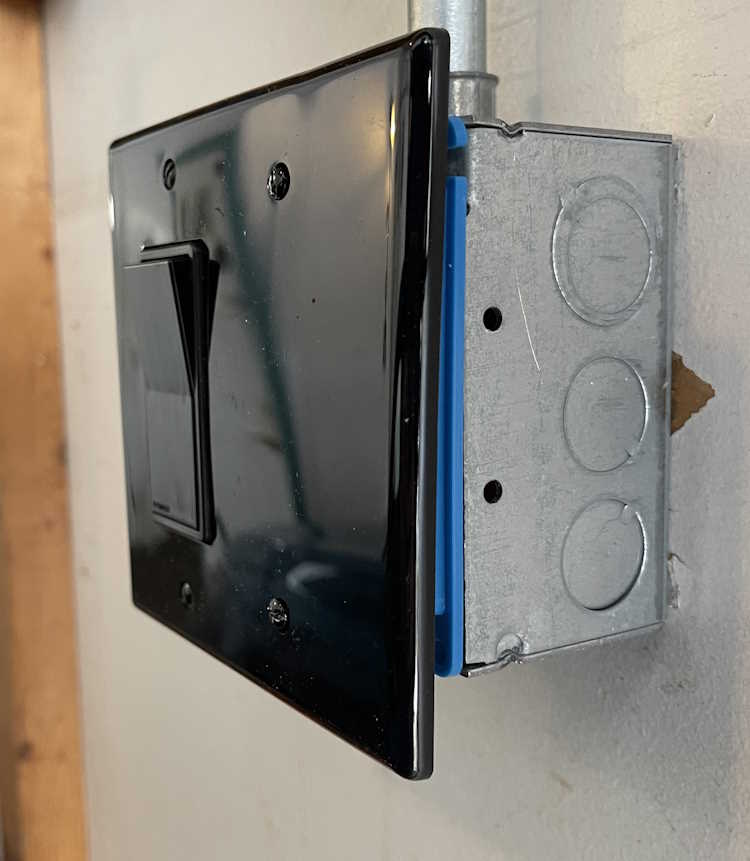
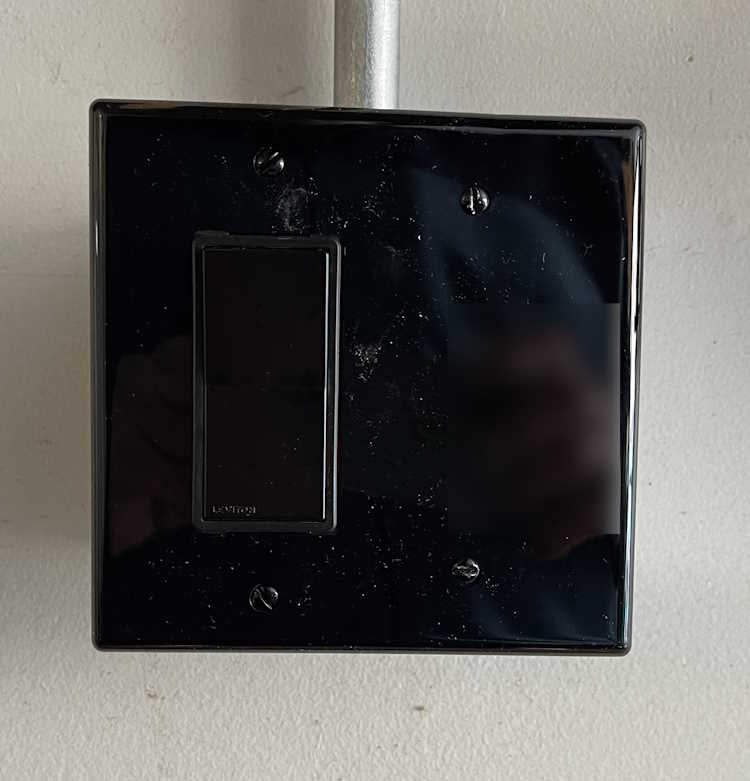
The second PM1 went into a lamp in the garage itself. This is just a wall lamp I put in for some extra light. It’s scheduled to come on and go off at certain times when I have a high probability of being in the garage. This is an on-wall piece of conduit, with a metal box. It originally had a metal plate, so I removed that and replaced with a plastic mud ring and cover. A Decora switch was used because that’s the kind of plate I could get at the time. Like the other unit, this one simply sits to the side of the switch, It faces my local AP, so there’s no signal issue with the metal behind it. You’d never know there was something inside…
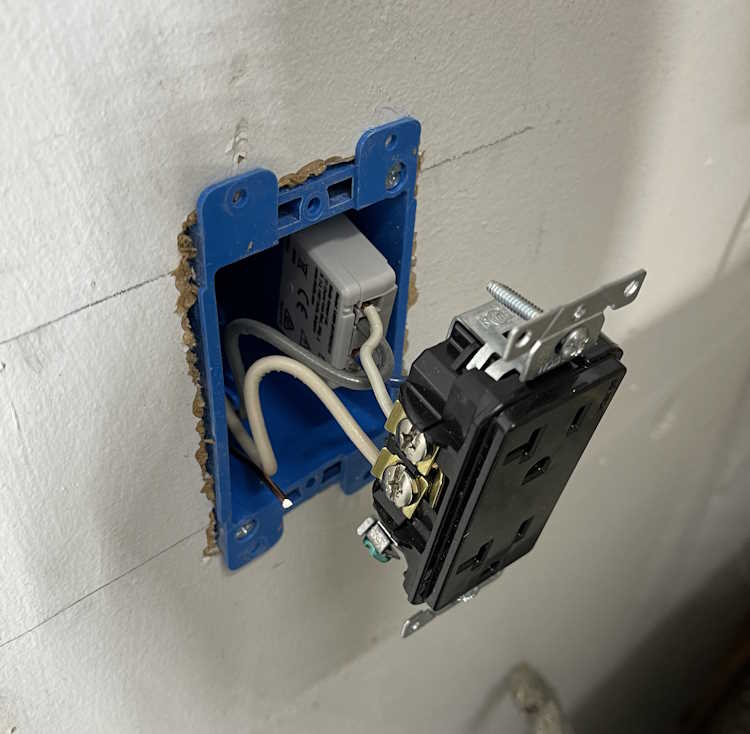
The third one for this install was the monitor-only device for the clothes washer. Again, this was a small metal box, and had a lot of wire in it. I took the opportunity to mount a new box next to it, run some fresh cable, and make the connected in the new box. The EM was attached to the back of the duplex, and simply slides into the box. I left enough cable that this can just pull out if need be, and the device is right there.
The screw terminals on these are just big enough to take a solid 12 AWG wire. Anything larger won’t fit.
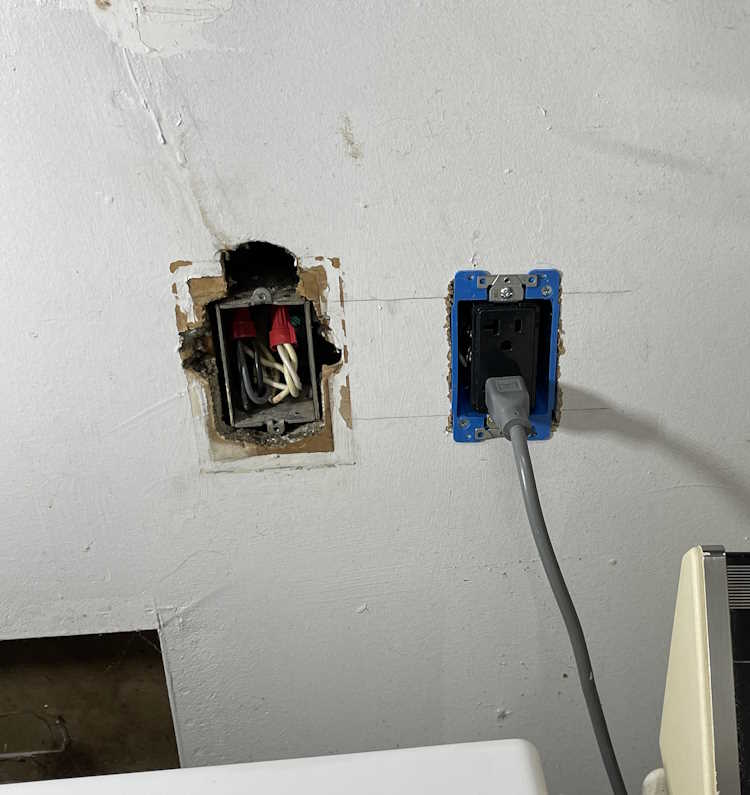
This one looks messy because the previous owner just broke into this box and ran a wire upstairs for an AC unit. You can still see where that was on the wall, and is evidenced by the big hole above the box. This line feeds the washer, and some of the kitchen - fortunately they did pick a 20A circuit, but it wasn’t rated for continuous use + kitchen gadgets. I took the time to tidy up the connection so it wasn’t overly cramped in the box.
So…what does that look like in Home Assistant? That depends on how you set it up, but this is what I have:
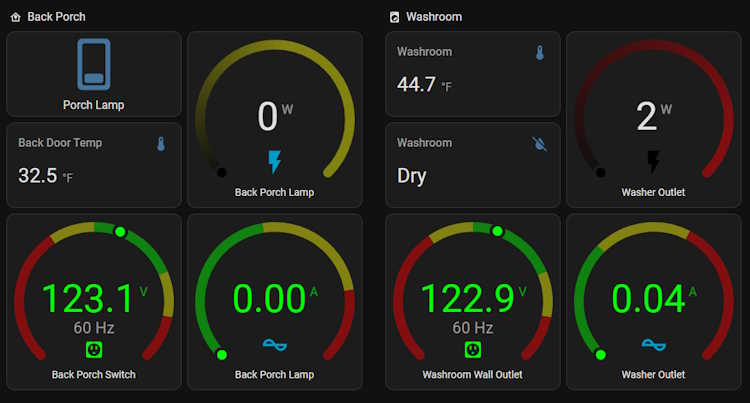
The lights all have switches. The monitor-only just has outputs because there’s nothing to switch. So far, it’s worked quite well and all automations I’ve set up have fired flawlessly.
So what’s the takeaway here? I’d consider these devices to be in the “experienced” category if you have the electrical system in your home that’s able to handle the extra size capacity, or “advanced” if you need to do what I did. They aren’t a beginner thing, but their operation is exactly what you want - quiet, unobtrusive, and full of all kinds of good information.
I’m going to be installing a few more of these devices before I’m finished.