The Superior Instruments Co. Model 76 Bridge part 5: Always check your work.
Thursday, March 26, 2026 at 07:57:18
But never right after you did the work. You have something called confirmation bias that that point, that means that you just put it there so it must be right and you’re not going to catch mistakes. Take some time away from the unit, maybe even the next day. You want to kind of forget what you just did.
Here’s the chassis, completed so far:
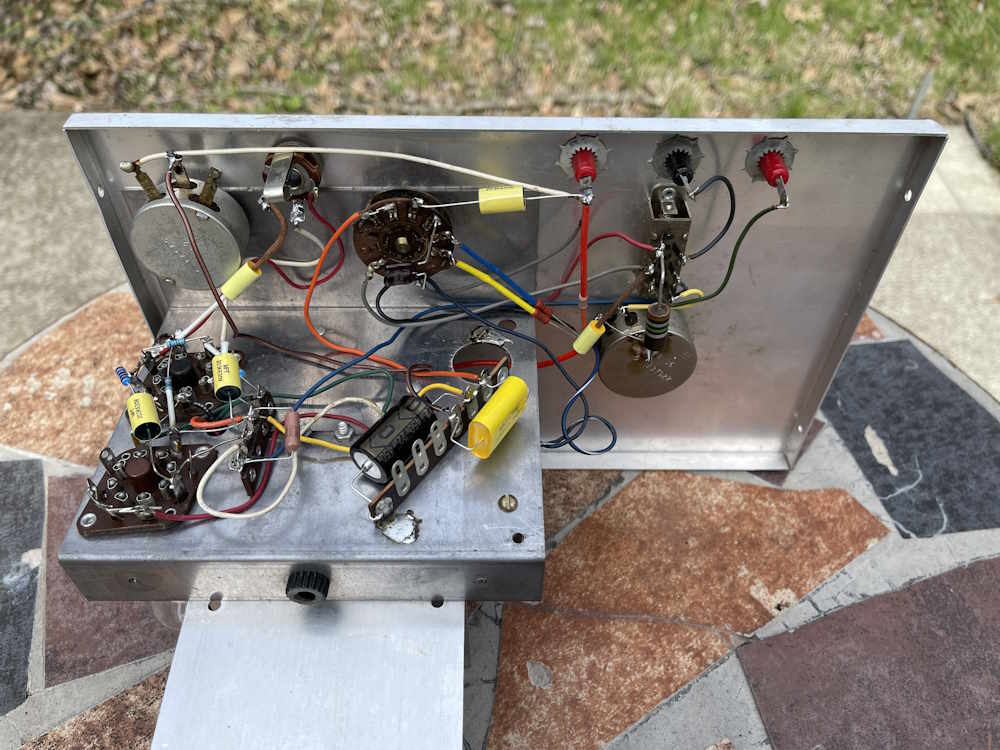
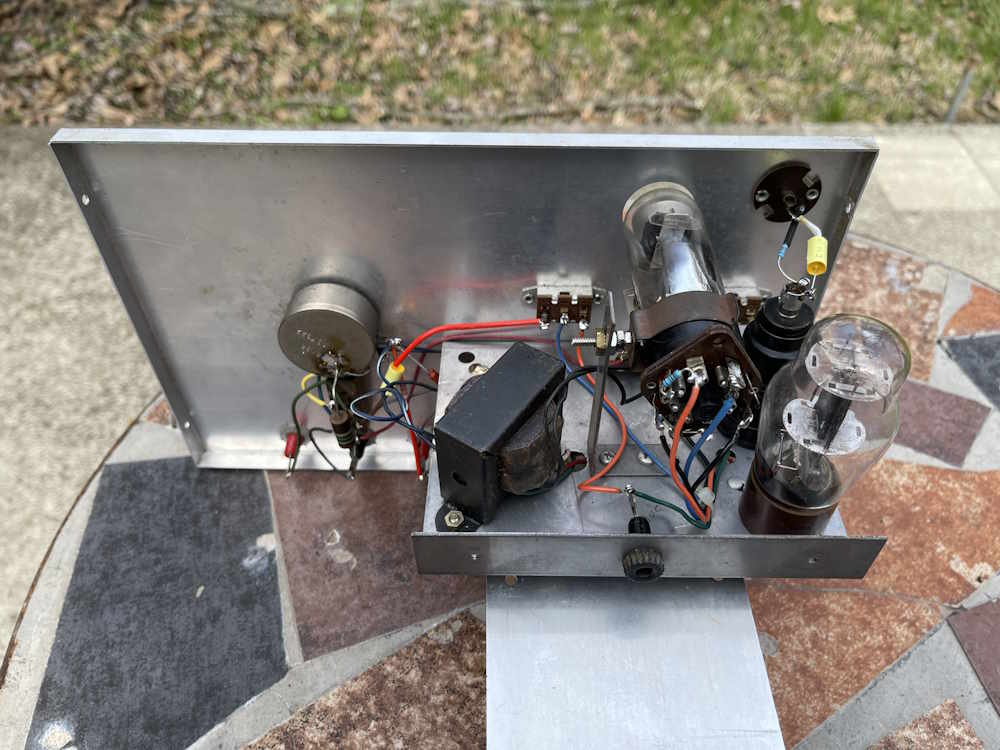
It’s still messy, but less messy than it was, and all of the parts are of known values.
Soldering
Soldering a chassis like this is always an adventure…I do each part in sections, so multiple components might get mounted before I solder things. Sometimes, I don’t solder things right away because I’m thinking that terminal may need something from a later section…regardless, sometimes things do not get soldered. There were a couple here:

Misplaced parts
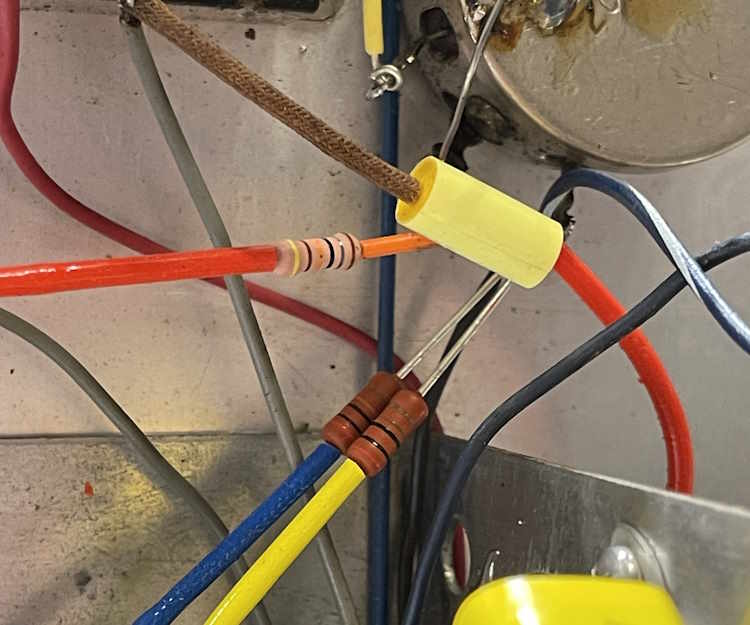
There was one part I put in the wrong spot. The 180kΩ resistor that’s behind the capacitor in the foreground attaches to the lower terminal of the potentiometer in the background. That should have went to the top terminal. This was an easy fix, unsolder, trim the lead, and re-solder.
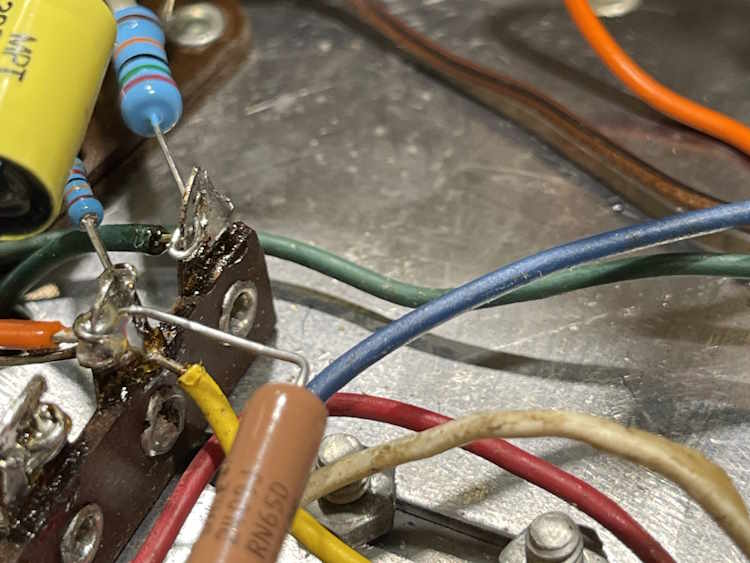
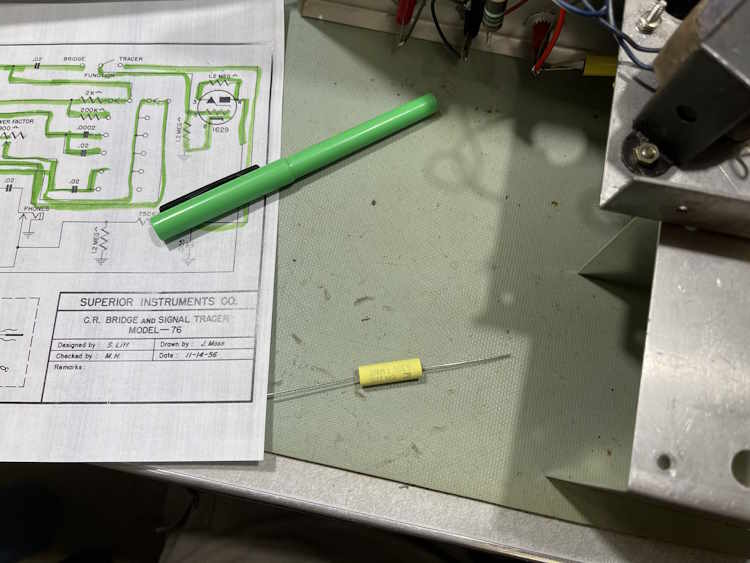
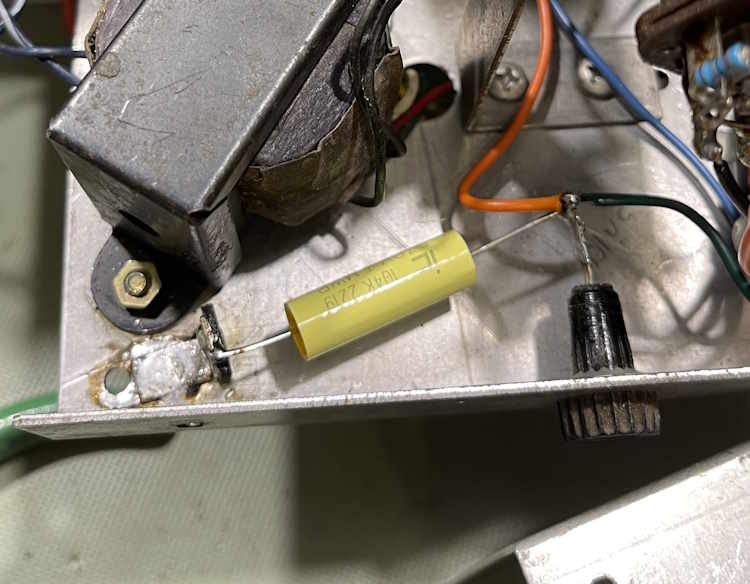
Missing parts
Here’s the jack on the back of the unit.

You can see there are two wires on the terminal. There’s also supposed to be a capacitor on that terminal to ground, and that part was laying right behind the unit in the tray I used to hold components. Here it is:
I was going to take it back to a terminal near the AC input, but eh. I took a terminal strip, made it into a 1 lug unit, hit it with 180W of iron and made that my new tie point. It’s a bit messy, but that solder isn’t going anywhere.
Checkout is complete. Everything is now where it should be going, and is soldered properly. Time to move on to the power-up.
Next part of this series: https://wereboar.com … ring-up-the-sico-76/
Previous part of this series: https://wereboar.com … rest-of-the-rebuild/
Wrapup and final thoughts: https://wereboar.com … -and-final-thoughts/