Pygg.xyz is where this blog started after being moved from blogger.com. It wasn’t a good look, unfortunately…anything xyz is pretty much automatically sus (non-scrofa, of course) and didn’t pass the smell test. That’s why you’re here on wereboar.com.
If you still have any pygg.xyz bookmarks, you can safely remove them. The registrar now owns the domain, and they’ll probably load it with ads like registrars do when it’s a parking page.
Thanks for stopping by, and I hope you find something of interest here.
Odysee is a YouTube-like that allows for videos and shorts, but offers content creators a bit more control over things. It will generally follow the YouTube feed, but there may be a short delay as things sync up.
I’ve added this for anyone who want to stay away from Google services. It’s located in the sidebar, or bookmark the link below.
A note on this: Odysee appears to be in some financial trouble. The founder left literally the day before this was posted, and he talked about having some monetary hurdles to overcome. It’s not really the platform - I like it, but as some commenters pointed out - it’s just a dumping ground for things already posted on YouTube, you’re not getting any creator interaction with videos.
I did notice that, and a lack of any participation. Watched a few videos on the platform last night. Years old, no views.
I’ll let that channel run as long as possible, but if it gets really janky or unusable because of bandwidth issues I’ll stop. If there’s one thing I don’t want to give you, it’s a video that has to buffer like it’s dialup.
I recently did an unboxing for a Radioddity GS-10B Pro. The included battery charger didn’t work, and a friend offered to help me open it up to see if we could figure out what was going on.
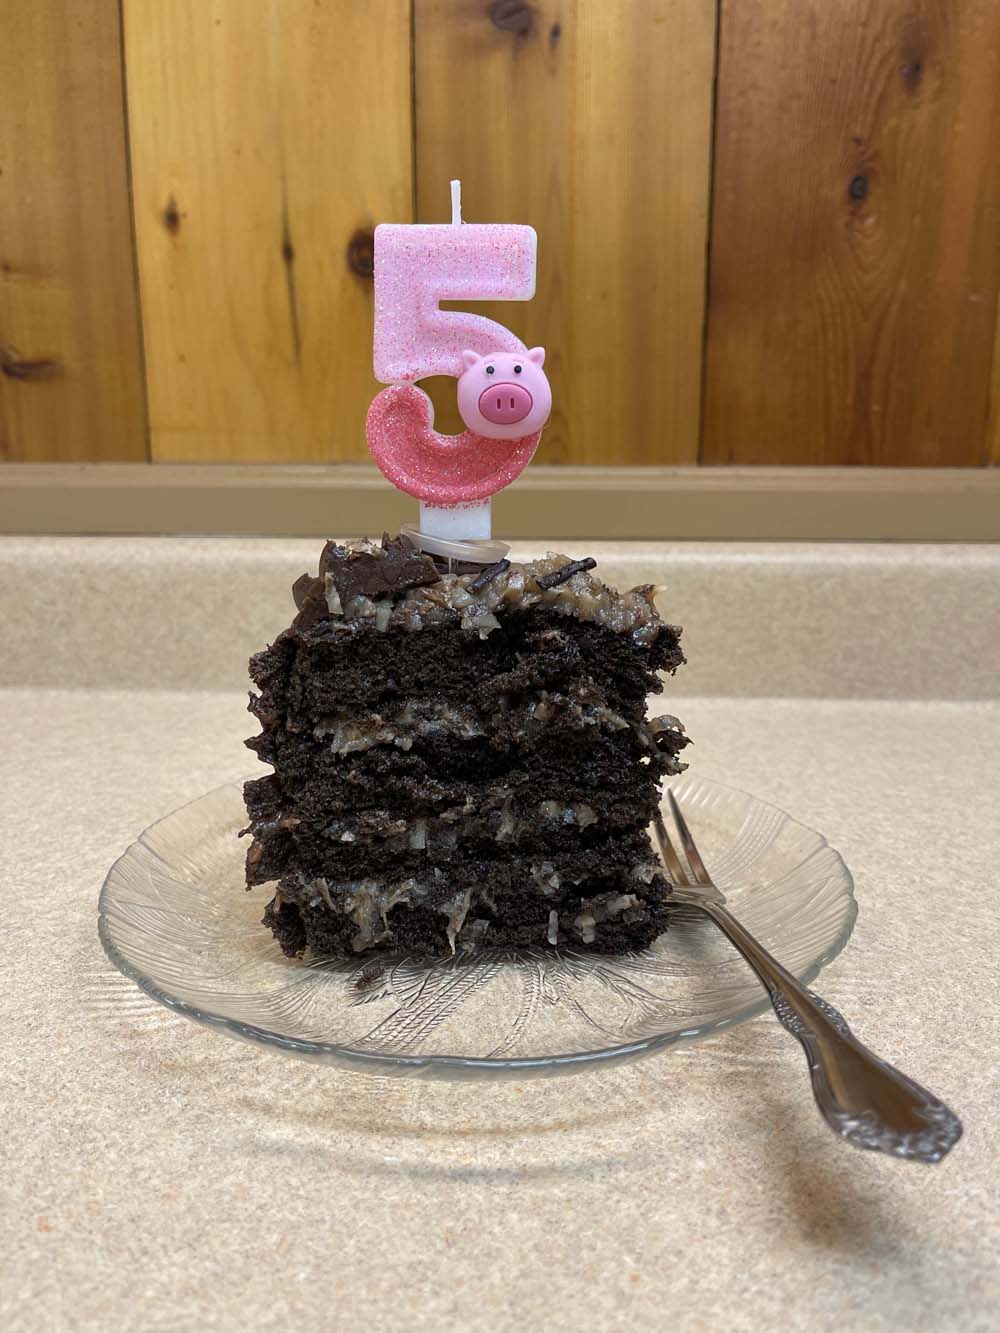
While those of us here in the states celebrate our country’s 250th birthday, Projects from the Bottom Drawer celebrates a much more humble acheivment - that of it’s 5th birthday.
On July 4th, 2021, I set up pygg.xyz as a way to move my personal dealings off of a very breached gmail address. It had recently been in the 2021 LinkedIn breach, something I still get fallout from 5 years later as mailers insist that I’m actually a business and do I need help with employees/receivables/publishing/etc.
At the same time, I decided to re-open this blog - it had been hosted on blogger.com. I quicky found that .xyz domains had little trust in the internet world and set out on a search for another porcine-related site. Wereboar.com had recently been released by it’s owner, so I made the purchase and here we are.
Pull up a chair, have a slice of cake, and thank you for joining me these past 5 years. I hope to present strange junk and weird projects for many more.
When I set the documents library up, I didn’t give enough thought to the naming conventions. Before I get deeper into things, it’s time to correct that. I’m making some small changes to where the docs library resides.
You’ll still be able to find the new docs library at https://wereboar.com/docs/ - the same as before, but there are now two folders: public and protected.
Public is just that. Documents I can share. Everything that used to be in wereboar-documents is now here, and you can simply edit your URL to go to the new link. Protected is documents of interest to what I’m working on, but can’t share for whatever reason - primarily copyright. These are password protected but will be moved into public if the situation allows.
If you happen to find anything broken, please let me know. I’m going to do a couple rounds of searching to make sure I have everything cleaned up, but this will take a few days.
Here’s a piece of relatively useless but interesting information - at the time I wrote this line, there has been 805,545 view on this blog. The most popular post is the 2025 Hamfest list: https://wereboar.com … mfest-and-show-list/.
I’ve added some new documents to the library, and I’m going to try and create a new zip every quarter (or so.)
This archive contains all of the documents I’ve collected for projects - at least ones that I can share. This is currently about 400MB, and is a zipped archive of zipped files of many different kinds.
Note the Drive link provides you a .7z file with a simple password: 123456 - this is to keep a certain website from complaining that oh no there’s words in that document I recognize and you can’t do that!
About a decade ago, I interviewed at a small company in a large town. They wanted a tech, and called me via a recruiter. They wanted me to do a test, which I declined at first, but eventually said “yeah, ok, why not.” It was a basic electronics test, and I passed 100% with one question that we had to discuss. We eventually came to the conclusion that yes, their document was rather poorly copied and my interpretation of the symbol used was acceptable because it looked like that.
The interview went well. I was able to competently talk to them about products and technologies, about what they were doing, and how I could possibly integrate myself into that. They stated that if I wanted to explore other avenues of experience, like PCB design or circuit analysis, then they were more than happy to allow that. It really seemed to be a good fit, and I went away feeling good about the interview and my prospects.
A few days go by, and I’m called and offered the job. I’m told the pay rate - base is a few cents more than I made at the time, but that’s not worth the longer drive and hours the company would need, nor did it take into account other payments my current employer gave (and had given) for many years, payments that I could reliably count on and they offered right up until the day the owners had to retire because they couldn’t do it anymore. Things I had mentioned during my initial screening with the recruiter. I was being offered about $1.70 less an hour for this job, and it didn’t include that this company had a higher insurance premium.
I turned it down at that rate but said can we talk about that? No, that was the offer. Take it or leave it. I left it. There was no arguing, no crying, no nothing from the employer. Not even a chance to negotiate. I did end up speaking to the employer a few months later when some things changed in my situation, but they were frosty. No problem, I understand, thank you for taking the time to talk with me.
Fast forward to 2025. A friend and I are going to a hamfest in Southern Ohio. This guy knows people at the company in question, I believe he went to school with some of them. He had done some consulting work for the company, so he was familiar with the people and the owner and talked to them at times. For some reason, during our drive the company came up as in they didn’t offer anything. I can’t remember how we got started on that but this is something on how it went:
Friend: They were mad when you turned that down.
Me: What do you mean?
F: Just that, they were totally p**sed that you didn’t take that job. They were mad. You were their guy, and when you didn’t take it, it really made them angry.
M: I was their guy?
F: Yeah.
M: You know why I didn’t take it.
F: Yeah, it didn’t pay anything. I told them that too.
M: What did they say?
F: They said “That’s what this job pays.”
M: Really?
F: I told them “Well, that’s just not enough, is it?”
The conversation kind of continued along the fact that friend couldn’t get them to move off that “this is what we pay” line of thinking.
So I was their guy, but “that’s what the job pays?” So even if I wasn’t their guy and was just “Hey, I think we can work with him” I’d get the same amount? What? I don’t understand that. I was ready to step into that role, but the company was just “Well, we have a set rate and it doesn’t matter if you’re the god of your discipline or if you’re just some dude.”
It’s probably for the best that I didn’t take that role. It would have been a lateral move for the most part, with company conditions essentially trading like-for-like. It probably would have been interesting, but I wasn’t willng to take a time and pay cut for the job at the time, even though I think we might have been able to work together later. So there’s not many tears shed here, just a “Hmm. What if?”
But the thing I still can’t get over is that attitude. Why even bother if you’re not going to negotiate for the things you want? Why not tell me this up front if you have a set number already chosen? I would have said “No, I’m sorry, I make more than that and we shouldn’t waste our time,” but…time was wasted and people got mad, all because “their guy” decided that being that guy didn’t pay enough - or even what he had at the time.
C’est la vie. Life moves on and we learn what to ask and when. I know they hired someone, but I wonder if they learned what to ask.
We mostly toured the buildings, but I went away disappointed as there were no test equipment vendors present - in fact, the only real TE vendor there was Bird, but they aren’t selling to me. The guy I was with was interested, however, as he needs a commercially available handheld SpecAn that isn’t a Chinese company.
I did pick up a few things here and there, but not much. Mostly rain discount stuff.
Here’s what I saw at the show:
A meter with the Niagra Power sticker on it.
Did I photograph this already?
I took it home. Gotta have a voltmeter at a show.
One Dollar Rain Discount. It has a burning smell.
UNIX, anyone?
110VAC single phase. Unusual.
Lots of reel-to-reel players.
A very precise balance beam scale.
Stacks of stuff, why we are here.
We left probably close to 1PM, as many of the flea market vendors had started to pack up. I skipped Sunday as there wasn’t anything I wanted to see, I was aching, and I wanted to play with some of the things I bought.
Next show is Breezeshooters in Butler, PA. See you there!
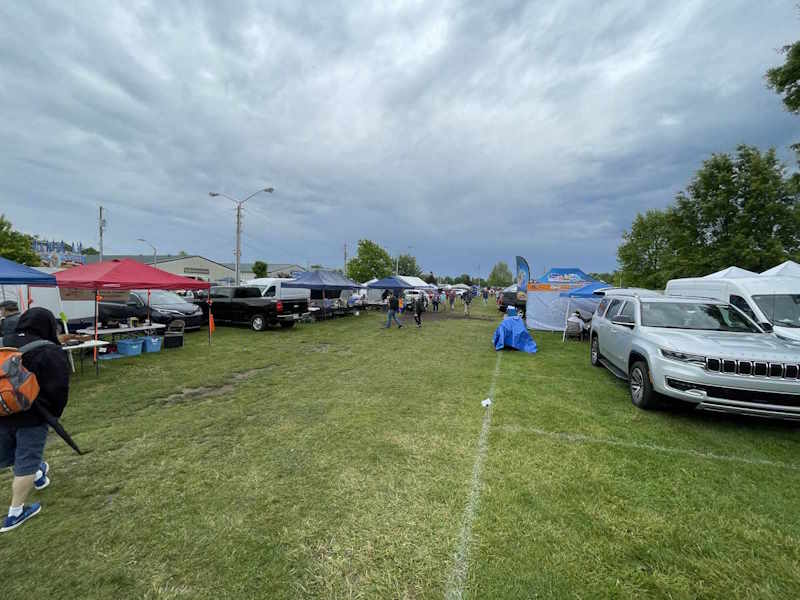
Friday turned out to be a just slightly damp day at the show, we had a little rain but it cleared off quick. We toured the flea market, and saved the buildings for Saturday due to the forecast of heavy rains. The steak tips and mashed potatoes vendor wasn’t here this year, so bourbon chicken and a banana milkshake subbed in it’s place.
This year, the mobile AM CB stuff was almost all gone save a few units here and there. Hobby-level test equipment, i.e. the EICO/Knight/Heath/etc. was almost not present, save for a bunch of those crappy RF generators that no one really wants - the bridges and tracers and things are pretty much no longer for sale. At least, not at Dayton. Of course, the piles of plastic radios and old televisions are long gone, and even the big boat anchor radios are vanishing. I think I saw maybe 1 Hallicrafters S-38 unit for sale…
Things are changing, but there was still a lot to see:
A nice A-K speaker.
A basket of Apples.
Just some audio stuffs.
A nicely restored cathedral radio.
Choke the Chicken…not here please.
An old Data Precision meter.
Many DEC Rainbow computers.
New, old-stock desoldering irons.
My favorite brand of tools?
Designed for butane flow measurements.
Some tunes for the ants.
No idea what this model was.
Someone's pride and joy, dumped in a bin.
I eventually took the scope for $1.
The old way of measuring standing waves.
Just some random HP things.
Ok, if you insist.
Loudenboomer!
Some info on the Loudenboomer.
Would you like to play a game?
It's not tourist season without a thumb.
Some military equipment.
Telephone B.C. (Before Cellular)
How many of these were made?
Moto comm analyzers.
A really nice condition scope.
Some old computing horsepower.
A really old opto counter.
This scope was in bad shape elsewhere.
Parts. I took a few transistors.
High voltage?
Used to be piles of this stuff.
These are vanishing as well.
Some more radios.
And some more radios.
A scope that was part of a school course.
Even if it was good, this showed bad.
Some sort of receiver.
A tape deck. Friend wanted it, you carry it!
Lots of these, no one wants.
Some of those funky round speakers.
I took the Sabtronics unit for a sawbuck.
Semiconductor testing devices…in peach.
A Shango Special.
I have no idea.
A table full of stuff.
Hallicrafters SX-62.
It's a radio that's a table that's a radio.
Teletypes for your 110 baud needs.
A cool old terminal.
daytonf26-terminalsettings-wereboar.jpg
The only signal tracer I saw.
A giant TRF radio.
A nice looking TRF unit.
Warm soda and melted candy anyone?
Surprising, more W-J stuff this year.
Some W-J stuff.
We spent pretty much the entire day, heading out at 4:45 a few minutes before closing. We went Saturday as well, but I skipped out on Sunday.


")


