A Zenith X184 Clock Radio - AA5 capacitor replacement part 2
Monday, June 30, 2025 at 06:59:03
This was a short one, and only has two parts. Link for the first part is at the bottom of the post.
The Zenith X184 doesn’t require much repair, just your typical old radio problems. So…first step is to gather the parts we need to do the repair. In this case, a 47μF and 100μF capacitor to replace the 40μF/80μF part, a neon bulb, and a 100kΩ dropping resistor for the neon bulb.

The 47μF is a part that was originally slated to go into the Hallicrafters S-38C I did a while back, but some goofball soldered it in backwards and had to remove it. Thus, the shorter than expected leads…
Anyway, first thing is to make the neon assembly:
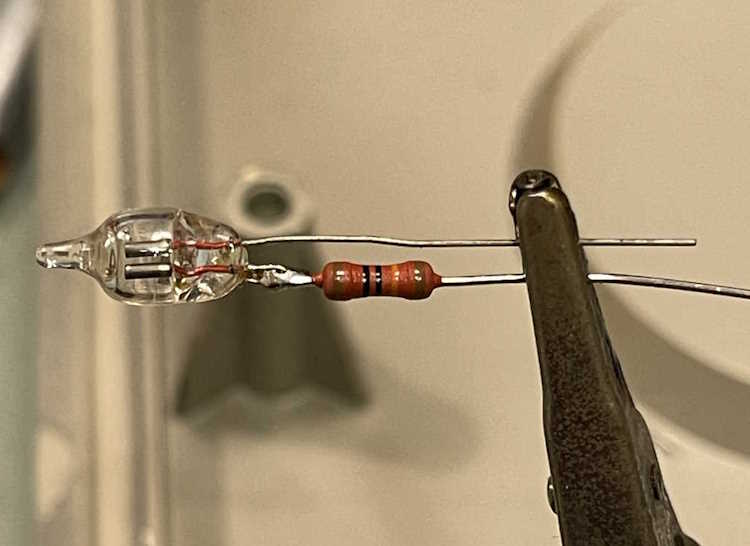
Normally, you’d use a lot lower value dropping resistor - probably 68kΩ or some such value. I’m popping it up to 100kΩ so the bulb lasts longer.
Next is to put the capacitor(s) in place. This is mostly just cutting out the old one and installing new. I decided to just leave them float on their wires since you’d have to throw the thing to bend the metal chassis. They’re tied together and tied to a cable bundle, so they aren’t going anywhere, and the electrons don’t care. Chassis is ground on this one, so even if it did go somewhere it would simply burn out the filament of the 35W4 which acts like a fuse.
The original capacitor was essentially open. I got a few pF on the capacitor checker.

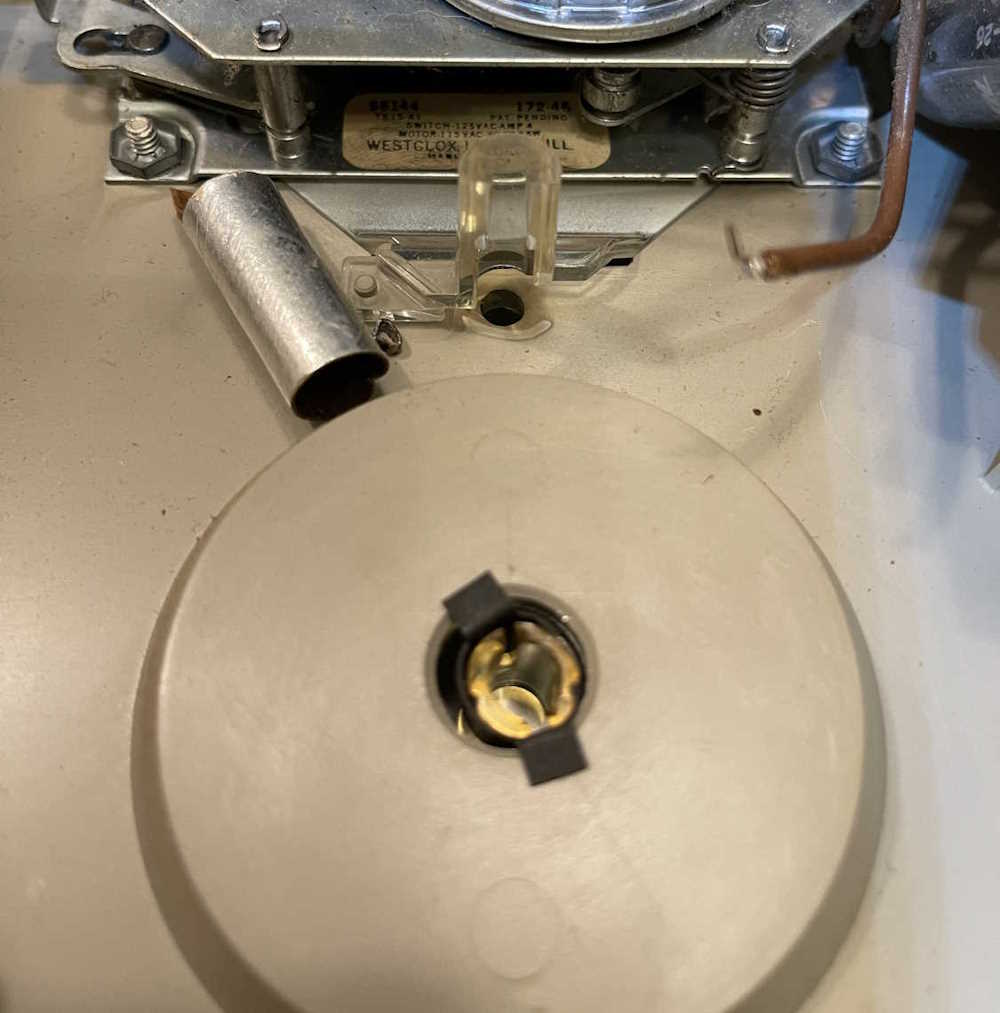
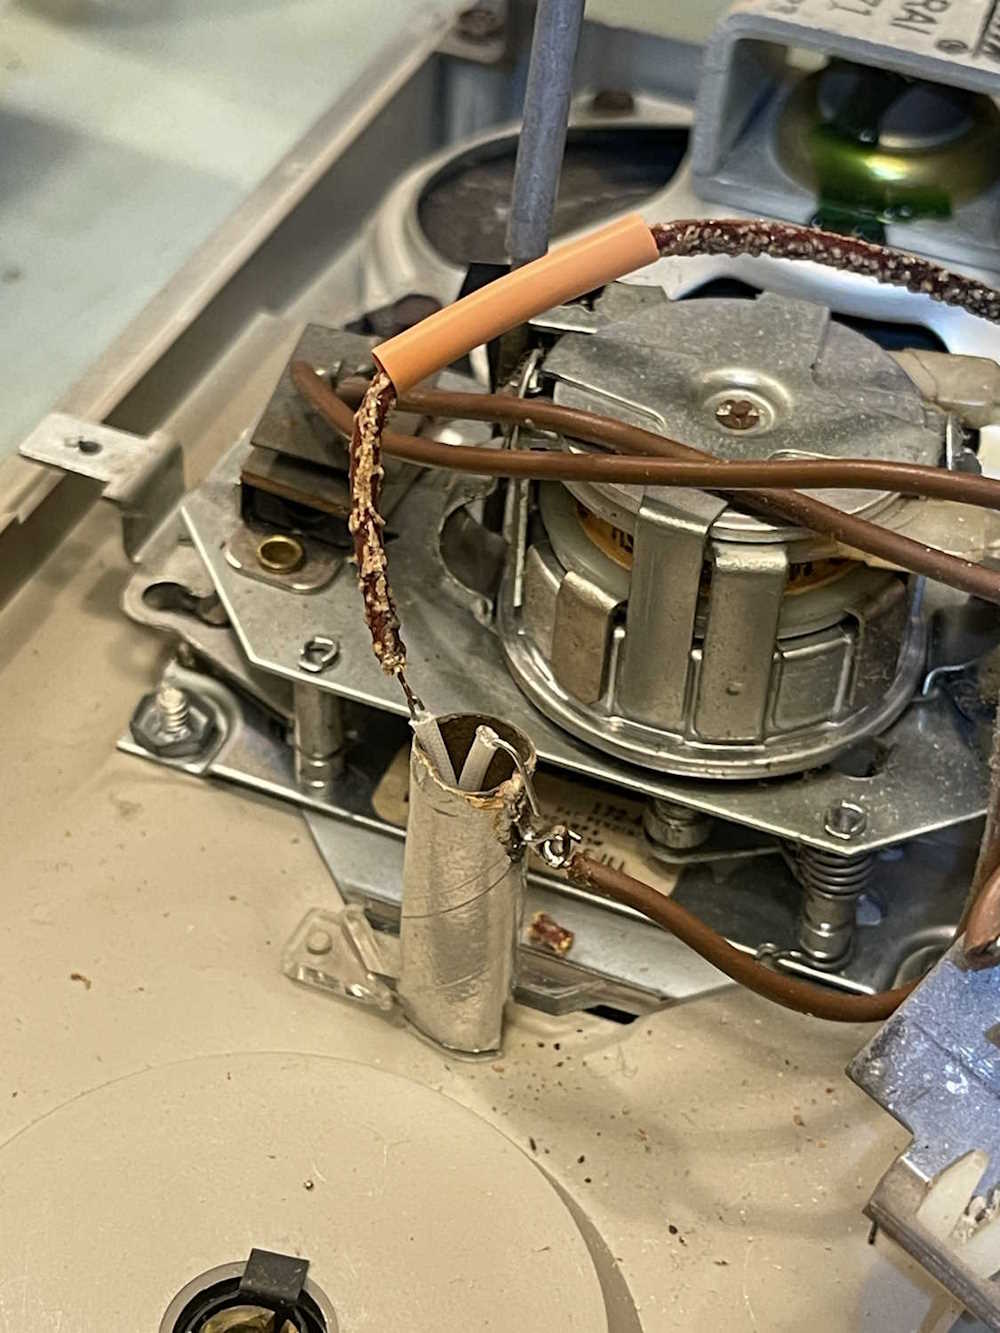
Next is to install the neon bulb. This is inserted into a clear plastic piece that acts like a lightpipe for the dial face. This part wasn’t meant to be replaced - I had to carefully unsolder the brown wire from the tab and pull it off the pipe. The neon fits into a recess at the bottom, so you kind of have to tape the new one in place so it doesn’t fall down on to the metal faceplate. I added some electric spaghetti to help protect the leads from shorts, and soldered it and the two connections (including the salty pretzel wire!) and finished with some heatshrink.
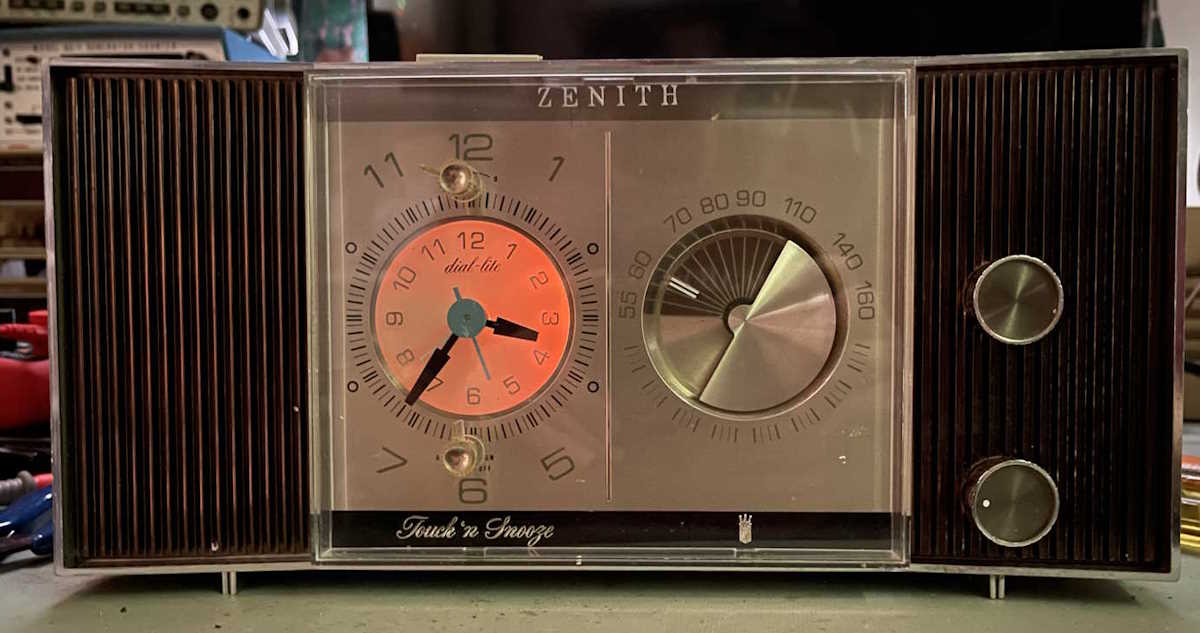
So, it’s time to button up. Does it work? Yep…and the first thing it says after an extended sleep is a commercial for the drug-o-the-day. Sorry radio, things have changed since you were here last.
(The camera exaggerates the light, but you’d be able to see this in a completely dark room no problem.)
That’s all for this one, these AA5s are easy to repair for the most part. Next up is a rebuild on the Heathkit AG-7.
Previous part of this series: https://wereboar.com … -replacement-part-1/