- 2024
- Apr
- 30
MFJ has announced they are closing their doors.
For anyone that’s been in amatuer radio for more than a few years, the name MFJ is probably one that is quite familiar to you. From being the current owner of venerable names like Hy-Gain, to producing a wide range of custom electronics geared towards the radio operator, MFJ has showed up in every facet of ham radio.
On April 25th 2024, Martin Jue - the owner and founder - announced his retirement. The manufacturing portion of the business will close, removing their reasonably priced antenna, tuner, and other options from the market. From reports I’ve seen, certain imported products already sold by the company will continue forward.
This is quite a loss for the community. While MFJ has gathered nicknames over the years - Mighty Fine Junk being one of the more ‘polite’ ones, their products are cheap enough for the amateur amateur, but useful enough for the pro.
There have been reports that MFJ turned down some offers to buy the company, with other more hushed reports stating that it was because the business needs to stay where it is, physically. That may not be possible as other companies are going to want to consolidate to reduce costs - and as one QRZ commenter said “Don’t rule from the grave.” There’s still a chance someone could pick it up and continue operations, but that remains to be seen. All of that is just forum say-so, take it with a lot of salt. It’s possible that rising costs and other unknown factors make acquisition impossible.
Regardless, MFJ’s departure will be felt by many, even though the familiar red logo will continue to be at sales and fests for the rest of our lives.
Martin’s letter to the community: https://mailchi.mp/6 … 99/a-heavy-sad-heart
The QRZ thread: https://forums.qrz.c … ay-17th-2024.911452/
- 2024
- Apr
- 29
An Eico 145 Signal Tracer - Part 4
Not much this time, just some prep work for the big stuff.
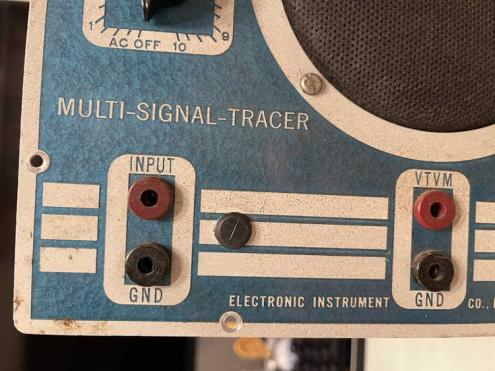
First was to unsolder and remove the RF jack on the front and find something to put in the hole. This piece of plastic from…who knows…almost fit and will be secured with some RTV later in the project.
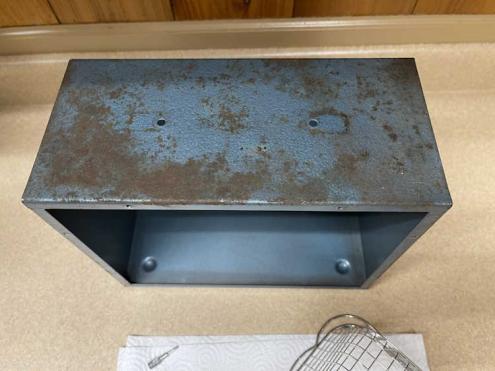
You’d never know, but the case was washed.
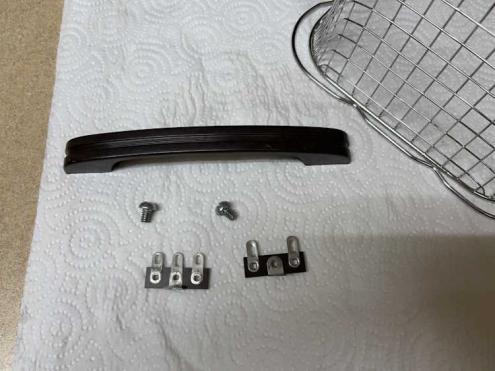
The handle and some hardware was given an ultrasonic bath to clean it.
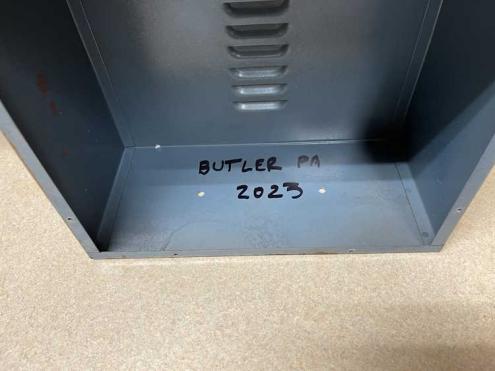
The location and year of purchase was noted inside.
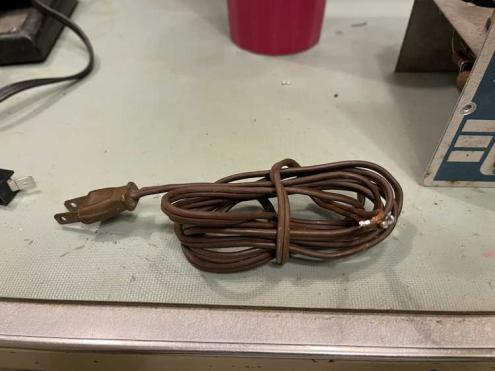
And the old, almost hard as a rock cord was removed.
Next is to start removing components. I haven’t decided if I want to do it all at once, or try to do it a part at a time. I can certainly get cleaner results removing everything and doing it all at once. I have the assembly manual, so - probably all at once. Stay tuned!
Next part of this series: https://wereboar.com … ignal-tracer-part-5/
Previous part of this series: https://wereboar.com … ignal-tracer-part-3/
- 2024
- Apr
- 29
A new LinkedIn scam.
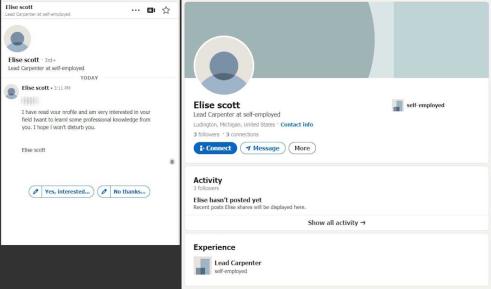
For a while, I was getting these odd connection requests where it was a strange picture and a bunch of unrelated jobs and universities all around the world. The person would always have a job of “shareholder” or somesuch nonsense, and they were always an entrepreneur, and they were a jet-setting, globe-trotting executive that had time to take a wedding dress photo on the beach for their profile. They were also Chinese, even if their photo wasn’t. You could usually reverse search the image and find it on the page the person lifted it from. Nope, right in the bin.
The new one seems to be people who have no profile picture, no jobs listed even though their headline may clearly state multiple job titles that kind of but don’t really relate, and one entry in their history - usually a university from 10 years ago. It’s always “I am very interested in your career and would like to work with you” in the introduction in-mail. Sometimes they have a job, but it’s vague or “self-employed.”

Mark, why are you a Chinese woman?
Report them as not a real person, and they’re usually gone in a day or two.
It’s nothing but a scam, and you have to be on the lookout for these bad actors. If you’re in a job that may have access to sensitive corporate or government info, it’s even more prudent that you refuse anything that even smells just slightly off. It’s not going to cost you anything to hit the block button, but could cost you a lot if you take the request and start talking.
- 2024
- Apr
- 29
What I took home from TUSCO 2024
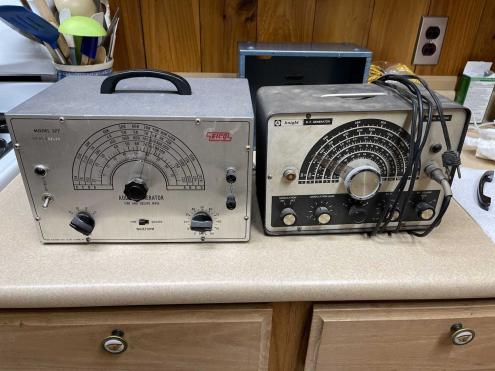
I really didn’t go to this show expecting to buy much, and I didn’t - I spent $30 and brought home these two items:
The audio generator on the left works, but has a messy sinewave output. I’m not sure if this is normal, but knowing some of the other equipment I’ve had from this era - it may be. There are some capacitors in the unit with high ESR, so I may play with it a bit before making further judgement.
The RF generator on the right has an absolutely miserable output, the entire bottom half of the output waveform is clipped off - which I thought was bad. Nope, they apparently overdrove the final amp to the point where that’s the way it worked. It also is overmodulated with internal audio, so this thing was a turd when it was new. I found some suggested fixes, so I may play with it a bit when time allows.
The RF generator was a “Offer I can’t refuse” thing - the guy said take it for $5? Ok, sure!
That’s all - I did want the capacitor checker in my show post, but I restrained myself and someone else picked it up for the low price of $40. Thank you rando for saving me!
I passed both of these units on to other people.
- 2024
- Apr
- 29
The 2024 TUSCO ARC Hamfest
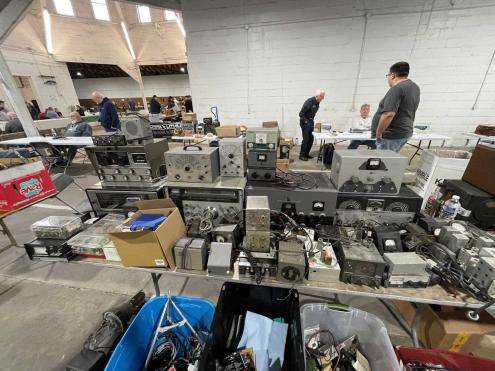
This was my second year attending this show. It was maybe just a bit smaller than last year. This show seems to be a lot of “clean out the garage” items in bins, and a bunch of estate sale items from now silent keys. It seems to me that this is the club hangout day, and it’s a nice friendly event. Didn’t take long to tour, but well worth the drive.
Here’s what I saw this year:
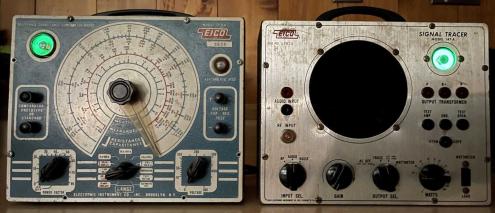
This was a table full of items from a silent key. His wife is into radio as well, but not as much as the gent was, so she wanted it all to go away to other homes. Lot of nice radios and 60s vintage test equipment. I took home the EICO signal generator to the left, and a Knight RF generator (not shown) from this table - my only two purchases.
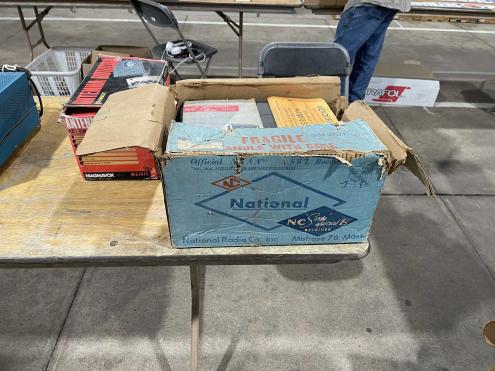
A National Radio “NC-Sixty Special-B” in a blue-gray cabinet. This is a general coverage shortwave receiver, and was in dirty but acceptable shape - even the power cord was that steel gray color! What’s unusual about this is the box is still with the unit. I think this is the first time I’ve seen a National box.
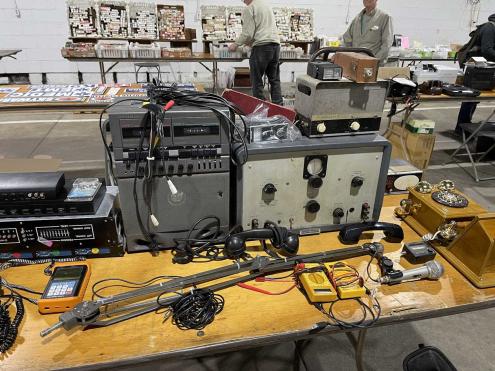
A table with random test equipment and radios. The Heathkit capacitor checker in the center was in really nice shape, and I had to walk away from it - fortunately someone else bought it. I could probably get that, clean it up, and turn it around for double the cash because people seem to be trying to reform crappy old electrolytics with these things instead of just buying good new ones.
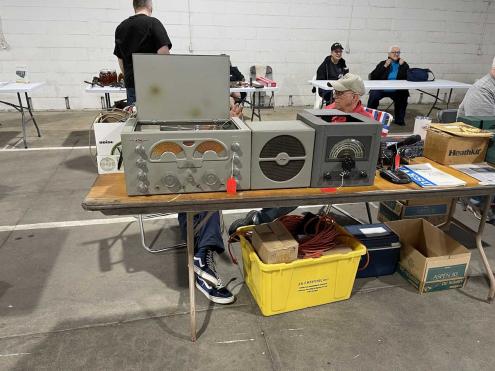
Some National radio equipment. You can’t have a show without this stuff, and it was in pretty good shape with good prices.
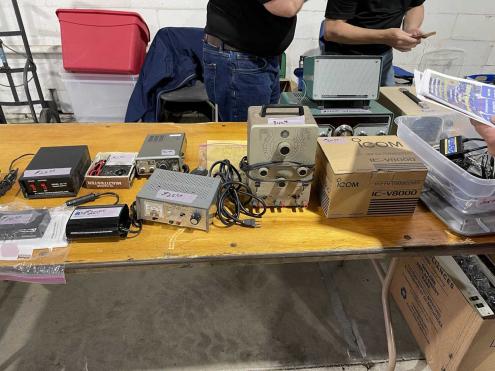
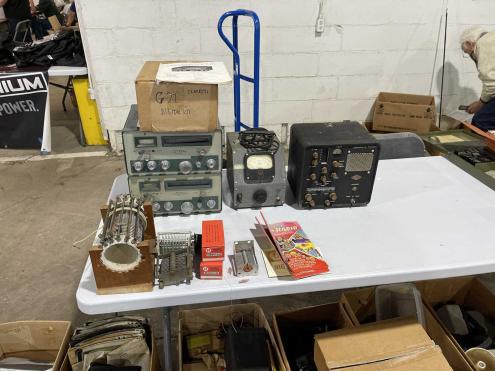
Items for sale by (I believe) the club itself. I saw some of this stuff last year, the TV field strength meter is kind of cool looking in a sci-fi way but ultimately of little use to me. Nice big EICO generator there in back as well. Just random stuff that probably will find a home when the right buyer walks by.
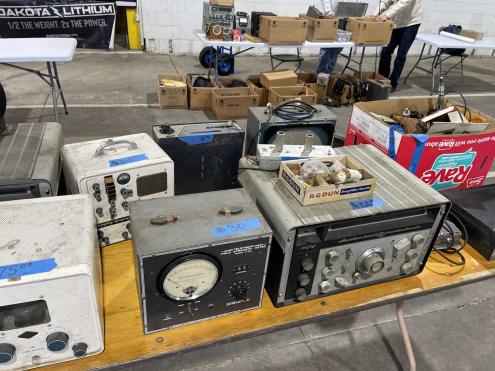
Here’s the boat anchor portion of our program, these giant HP signal generators seem to show up in a lot of places, and this show was no exepction. The rest of the items were meters, equipment, and audio gear.
This gentlemen was at the show last year and had a similar assortment of odds n ends at good prices. Just random things.
That’s all for this year. I’ll attend next year assuming we’re not afraid of another election year variant cold!
- 2024
- Apr
- 29
If you’re planning on going to the Dayton Hamvention…
You still have time to mail order tickets if you’re in the USA, Canada, or Mexico. All other tickets can be ordered online, but are being held will-call.
Because of the non-promptness of the mail, I’d suggest sooner rather than later!
- 2024
- Apr
- 25
Stuff I brought home from Cuyahoga Falls 2024.
I did it again. Too much stuff, but I’m going to blame some of the sellers for being so congenial about negotiating on prices! (Yah right!)
So, what did I bring home this year?
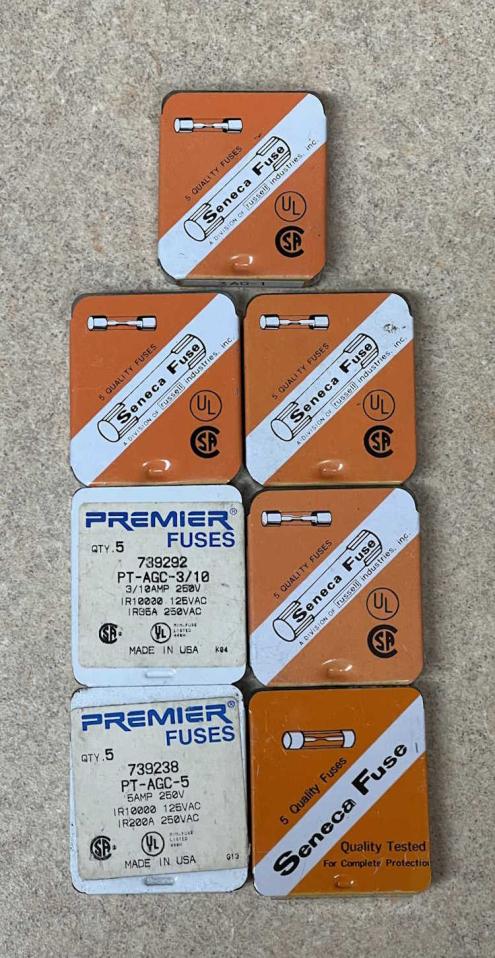
Fuses.
This vendor had a lot of different values, including a lot of fractionals that will cost you a small fortune if you buy them new, so I picked up some 1/3, 1/4, 15mA, and 1A varieties. What’s kind of cool about these things is Seneca Fuse used to be a Columbus, OH corporation, and one of the boxes is marked as such. The company was purchased by an entity called Russell Enterprises, which appears to have long since gone out of business.
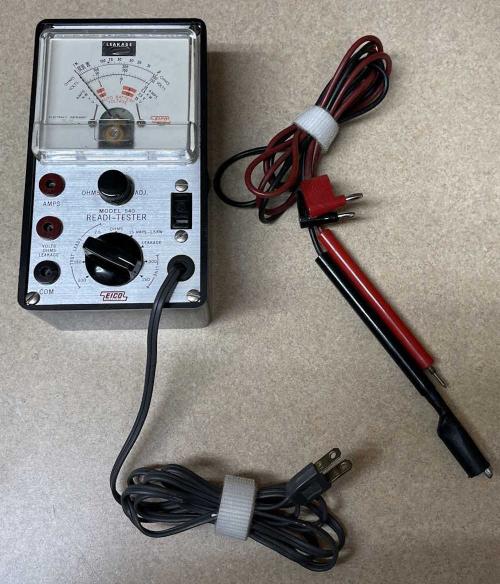
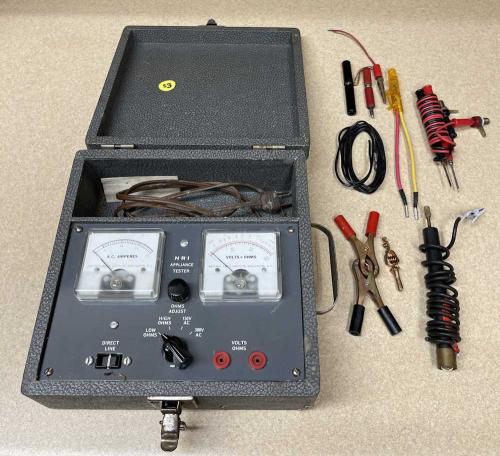
This is a cool little device that didn’t cost much. It’s a primitive hypot-type device that can test for leakage in a circuit. While primarily designed for appliances and other large current consuming things of yesterday, it still works great as a bench voltage monitor. It also performs it’s other functions without issue, so it was a good find - and it had the manual with it. I’m not sure what the leads were for, this device used EICO’s pin plugs. No worries, another set of leads on the bench is always a good thing!
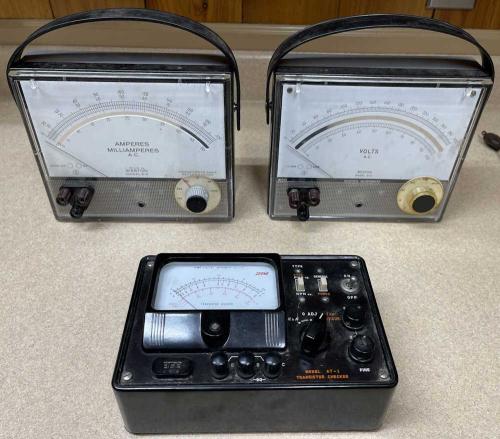
I actually only wanted the AC Voltmeter in this lot, but the seller was really good on the price for all three, so I came home with the AC Voltmeter, a current meter, and the oddball Sanwa transistor checker. The meters are nice dampened movements and work well, but I haven’t installed batteries in the tester to see if it works. Not sure I will, those little handheld device checkers do an excellent job of sorting parts and identifying things for you.
This little meter in a case was probably part of some course offered by NRI Schools, an early “distance learning” company. (Started in 1914 as National Radio Schools, ended in 1999 as NRI - changing tides on the electronics landscape did them in.) While it’s not really of much use, the real Mueller copper clips and other test leads were well worth the price of $3. The device itself sat in a basement for some time, and it smells like it - if I can get the smell to fade, perhaps I’ll find a use for it.
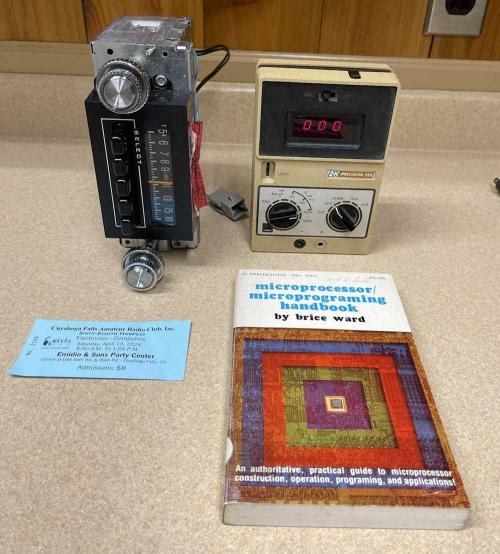
Here’s the odds ‘n ends portion of the program. An apparently new Ford AM radio that I got for a put-in-the-rack project, a B&K Precision LED voltmeter that matches my capacitor checker, and a surprisingly well written TAB book about early microprocessors. I say “well written” because TAB would publish almost anything. Some books were pretty good, but some were literally nothing more than a guy who wrote a book about taping LEDs to various things and called it “101 electronics projects.”
I don’t need more of these, but they were a good price for functional units, and they’re starting to get outrageously priced. These were checked for operation, and will go into storage as parts donors - or perhaps as resale units once cleaned up and re-capped. Who knows?
In all, it was a good show. I didn’t need to drag home some of that stuff, but I did. I’ll see you at the next show this weekend!
- 2024
- Apr
- 23
A Radio Shack 28-177 Crystal Radio Kit - Conclusion
After returning home to my high-signal area, I hooked the crystal radio up to it’s antenna, and gave it a ground through the building to earth. As expected, several stations were available for listening.
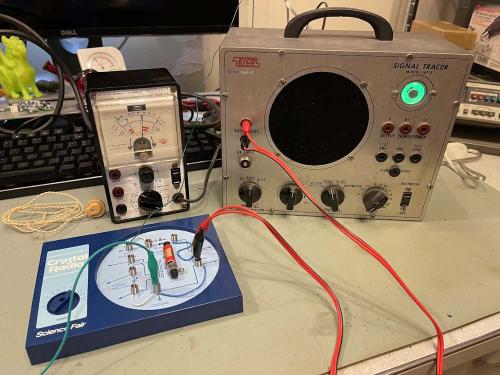
As for the kit itself, it performs pretty much like you’d expect. Selectivity is poor, but the stations I did receive came in loud and clear. The only problem I had was the earpiece appears to have a broken connection somewhere - not surprising, seeing as it was coiled up for 30+ years and is probably a little crispy. It’s not like those were high value items to start with! (They’re still available if you want to pick up some from a well-known auction site on the bay.) I simply grabbed the trusty signal tracer for my listening pleasure.
Overall? Works as expected, and I had fun putting it together. Now to listen to…eh…nothing much of interest. Oh well.
- 2024
- Apr
- 21
An Eico 145 Signal Tracer - Part 3
Now that I’ve verified that the unit works, it’s time to get it ready for rebuild - that means ordering parts.
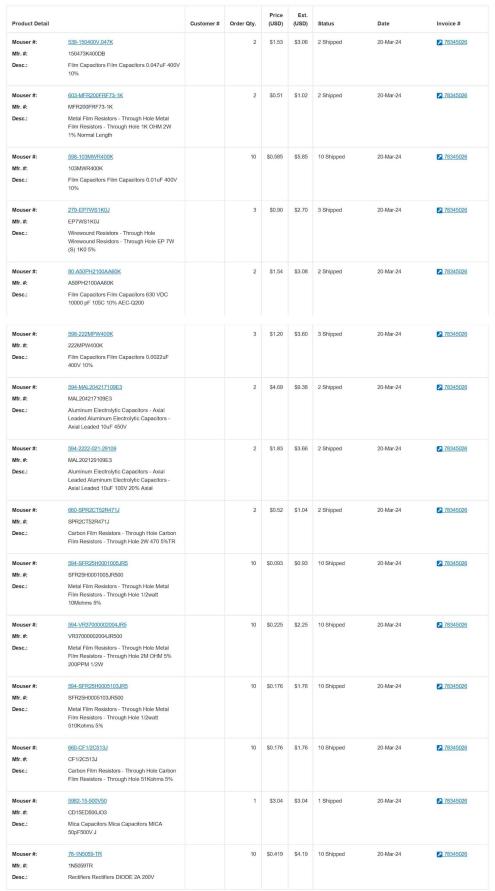
I’ve created a list of parts to order. I’ve stayed with carbon film resistors, or metal film if they were more reasonable - carbon film seems to be fading in availability. I did make two changes - one is the cathode resistor for the 6K6 output tube, the other is the power supply divider.
From everything I’ve read, the 6K6 was run a little hotter than than it should have been, and a 1K (versus the original 470 ohm) has been used to cut down on the output power. We’re not really concerned with power output here, this is a signal tracer - not a stereo amp. This should help any new output tube used stay useful longer.
It’s still a 2W resistor, metal film instead of the original carbon comp. The bypass capacitor has also been re-added, as it appears to have never been installed.
The second change is the power supply divider resistor. This has been increased to a 7W resistor with a voltage rating high enough to withstand the power supply voltage. You’ll notice in the original pictures, this was a long carbon comp resistor. While power is a concern here, the the voltage rating of the resistor is the main concern. 300V in a power supply could arc across a short carbon comp resistor, To increase the voltage rating, they were simply made longer to give you more space between input and output.
Now, that’s not a problem (as much,) but you still need to be mindful of the voltage rating of the part. In this case, I’ve chosen 500V. This, and the power rating far exceed what’s needed. However - it’s wirewound instead of comp. Inductance in the circuit could change the output voltage a little. Not that we really care, but it’s something to watch out for. I certainly wouldn’t do this in the audio part of the circuit.
All capacitors are as close to the values as you can get in a modern part. 0.01s are readily available. 0.05 is now 0.047, 0.002 is now 0.0022. All are 400V, except for the across-the-line capacitor, which I chose 630V for. The 50pF mica is probably fine, but a new one was purchased just in case.
Electrolytics, of course, have to go. 8uF are now 10uF. This is both someplace you don’t want to scrimp on, but you don’t want to go crazy with. You don’t need transistor device filtering here, so always stay around the original value. With 8uF, you could use 10, 15, 22…no issues. Don’t start sticking 100, 1000, or more in there - you don’t need it, you run the risk of drawing too much current off the tube as the capacitor charges, and you’ll spend a fortune getting parts with that high of a capacitance and a voltage rating.
There are two schools of thought here on voltage rating for capacitors. One states that higher is better, the other states going far higher than your expected voltage will eventually destroy the part as they can’t stay formed properly. I can’t speak for either, but I was always taught give yourself some headroom but don’t go wild - so that’s what I did here for the electrolytics. I expect 300V max, I went with 450WVDC.
In all, I spent about $48 on parts. Most of that is the electrolytics and the higher power resistors. I could have cut that back some, but I always like to order a few extra parts. It’s not like they won’t get used later.
There’s one other modification I’m going to make here, and that’s the addition of a couple of diodes in the heater line for the tubes. These units were designed to run on 110VAC, not the common 125VAC we get today. That means you get about 7.1VAC on the heaters - far in excess of their rated 6.3VAC. Two diodes, back to back, should cut about 0.6V off, bringing you to a much better 6.5VAC. Still high, but it’s not going to destroy the heaters as quickly. If you really want to be ideal with the thing, a variac to bring input voltage down is the best option - but if you’re going to have this in places that aren’t your bench, the diodes are a good option. I chose 200V, 2A 1N5059 units here - mostly because they were inexpensive and about 2x rated current, and somewhat because these round glass body diodes look kind of cool. They’ll go on a phenolic terminal strip.
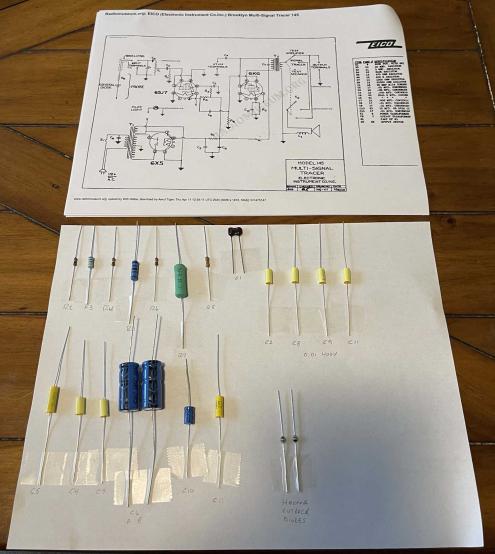
Next step was to inventory everything and compare it to the schematic and parts list. There’s not a lot here, but I seem to have everything I need save for the bits I’m going to get from stock at the bench.
Next step is rebuilding…do I want to just yank everything and replace it all at once or do it part by part? It’s probably best to do it the latter way, but doing it the former way allows you to clean up everything and make it look nice. I’ll think about that for a while.
Until then, stay tuned!
Edit: I did decide to go with a nice aluminum cased resistor for the power supply divider. The one I originally chose was wirewound, that shouldn’t make a difference - but a nice resistor with a heat sink should keep this thing going for years.
Next part of this series: https://wereboar.com … ignal-tracer-part-4/
Previous part of this series: https://wereboar.com … ignal-tracer-part-2/
- 2024
- Apr
- 20
A Radio Shack 28-177 Crystal Radio Kit
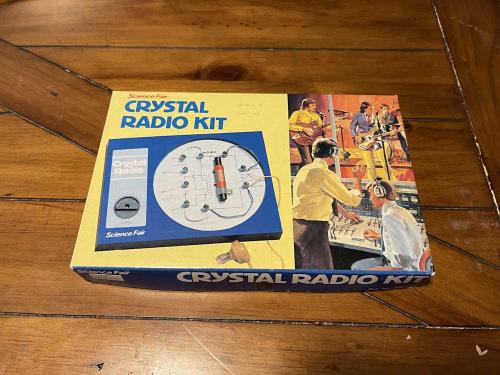
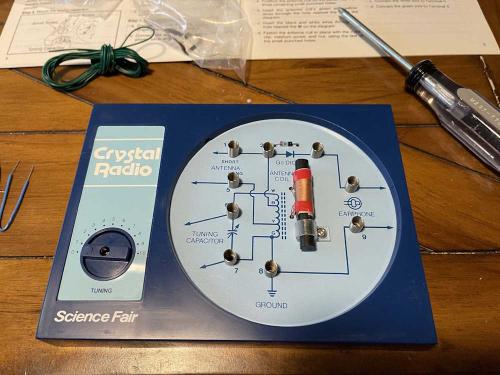
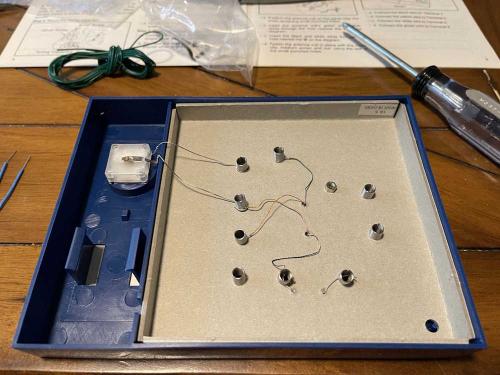
This kit used to be a staple of Radio Shack’s lineup. It’s nothing more than a simple crystal radio kit with a tuning capacitor, ferrite bar antenna coil, and a 1N34 or equivalent diode on a simple plastic cased paper breadboard. The plastic chassis was reused for many things, as evidenced by the battery holder on the bottom, and the multitude of devices that were presented in the catalog.
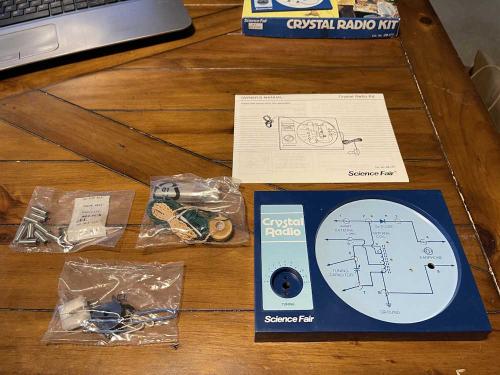
This particular example is brand new. First thing to do is inventory all the parts, and they’re all here in 3 bags.
1 - Spring terminals and free candy.
2 - Ferrite bar, earpiece, antenna wire, and diode.
3 - Capacitor, knob, wires, and screws.
The chassis and manual complete the parts included. You’ll need a piece of wire for a ground - the manual suggests using part of the antenna wire. I had some 18ga primary wire in my toolbag, I used that for this test instead.
Assembly really only takes about 15-20 minutes. Punch out the holes for the springs, install them, then the diode, tuning capacitor and ferrite bar.
The only issue here was determining what wire on the ferrite bar’s coil went where. The color on the white and yellow wires was somewhat faded from years of storage. There was just enough left that, with some close-up examination, I was able to determine where they went.
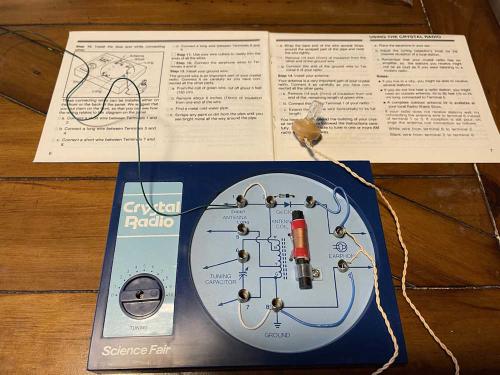
Assembly was finished, with just the antenna, ground, and earpiece to add.
(The ground wire was connected after the picture was taken. It went right to the earth of the building I was in.)
Unfortunately, the area I was in didn’t have any strong AM stations around, so there was nothing to listen to. I was able to get some electrical noise on the earpiece, so it’s at least working. I was going to demo the device connected to a signal tracer, but that’s going to wait until I can get to a location with better signal strength.
Stay tuned!
