- 2024
- Oct
- 10
An audio analyzer project idea from years ago.
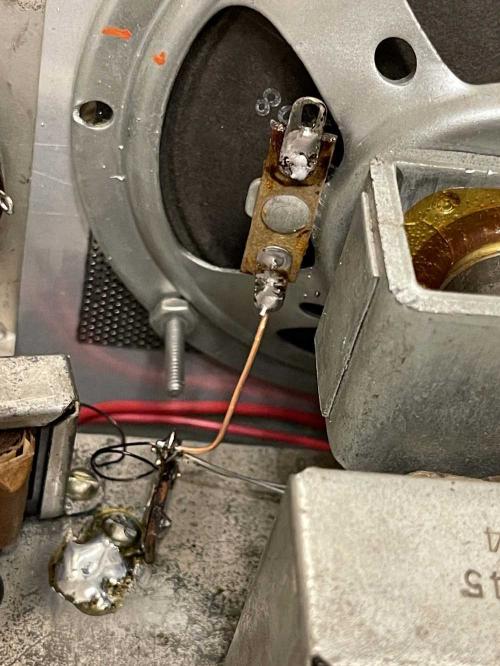
A long time ago, I had an idea to make a 10 band audio spectrum analyzer out of meters. I’d use a pre-existing circuit from another device for the band filters, and then rectify it using precision rectifiers. Some other glue circuitry was needed, but I don’t remember everything that was planned for the device.
I couldn’t find enough of the same kind of small meter I wanted to use, so the project got shelved. Eventually, I got rid of the big audio system and no longer had a need for it - but it’s kind of a neat idea and I would still like to complete it. Seeing as how eye tubes are available from overseas sources at a decent price, it may be interesting to revisit this with those instead of meters.
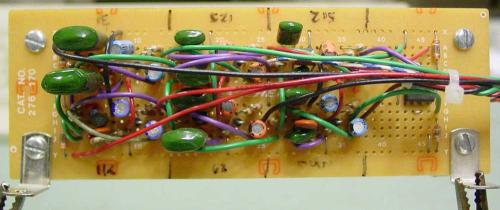
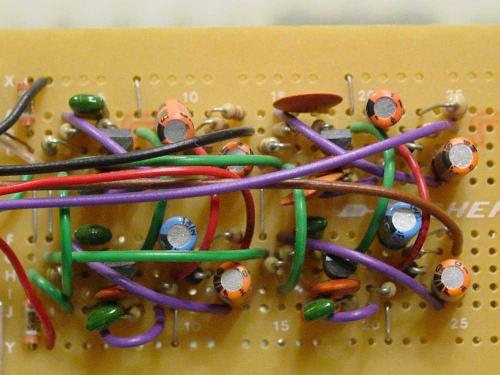
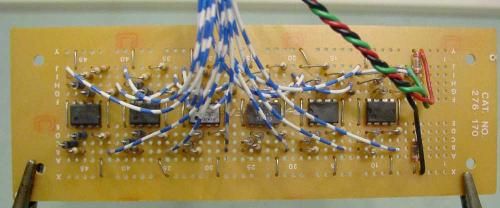
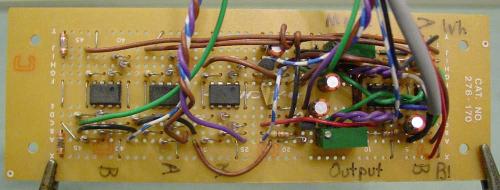
There were four board completed for the project before I didn’t have need for it anymore:
This is the board for the lower 6 bands of a 10 band unit. They’re simple wide-band bandpass filters with a center loosely around the frequency of input. The more eagle-eyed among you may recognize this circuit from that Radio Shack graphic EQ with the multicolor LED display that they sold in the early 90s. It’s right out of the service manual for that device.
This is the board for the upper 4 bands. Same as the lower 6.
This is the lower 6 band precision rectifier. They’re all full-wave bridge rectifiers with an op amp to provide gain for the circuit so that it combats the drop of the diodes. Ge diodes were chosen because of their cheapness (at the time!) and their relatively low voltage drop and fast recovery. This was to provide DC for the meters themselves, which would be directly driven by the output of the op-amps.
1N34 aren’t really cheap these days, but you can still get big packs of them from auction sites relatively cheaply if desired.
I really don’t remember what this board was supposed to do except combine the two inputs at an equal rate. It was going to be doing some other stuff as well, as evidenced by the remaining circuitry - but I can’t remember what that was supposed to be. I’d probably just set this aside and spin up a new precision rectifier and input board if I were to re-start this project.
That’s as far as I got before shelving the unit. I think I’ll revisit this over the winter.
- 2024
- Oct
- 8
An Eico 145 Signal Tracer - Part 6c - I was only going to run a few wires.
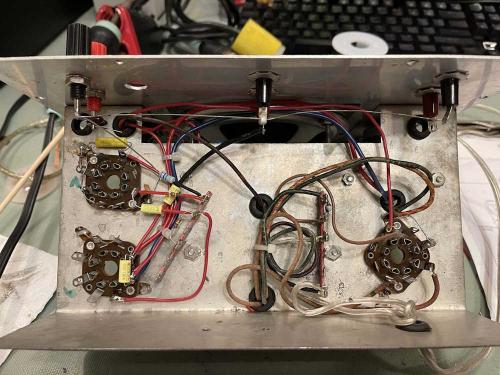
I sat down tonight with the intention of tacking in the B+ lines for the transformer and running the filaments. I ended up building half the unit.
I probably didn’t need to use a big terminal strip on the left, but that’s what I had so that’s what I used. I kind of wish I’d picked up more of these years ago from Mendelson’s…
Most of the audio amp is built, I have about 6 parts left to place, the filaments (!), one AC line, and then plumb the audio through the output switch. There’s a couple of layouts that I’m not happy with, but they’re all snug and not going anywhere.
Depending on time, I’ll probably finish this in the next two parts. Stay tuned!
Next part of this series: https://wereboar.com … art-6d-almost-there/
Previous part of this series: https://wereboar.com … ng-the-power-supply/
- 2024
- Oct
- 7
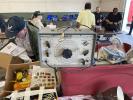
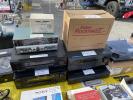
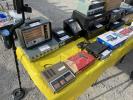
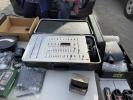
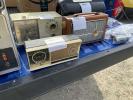
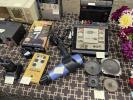
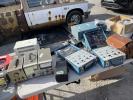
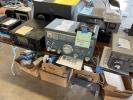
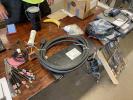
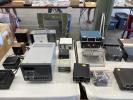
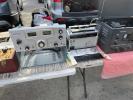
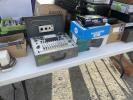
Photos from The Scioto Valley Amateur Radio Club Hamfest 2024
This was a show I’d never been to. It’s certainly a local thing, with a few rows of vendors and a good, but light crowd. Regardless, there was some of that cool stuff you get at shows like this, and I picked up a few books and a boat anchor for my collection of things that hold the floor on the ground. It’s close enough that I’ll probably go next year as well.
Here’s what I saw at the show:
.
On the way home, we stopped at a place I didn’t know still existed - one of the few remaining Rax Restaurants.
Next show is the MARC show at the MAPS hanger near North Canton. See you there!
- 2024
- Oct
- 6
That weird lightbulb in Heathkit - and other - test equipment.
If you’ve ever opened an audio generator from the tube era, chances are you’ve seen one of these in the circuit.
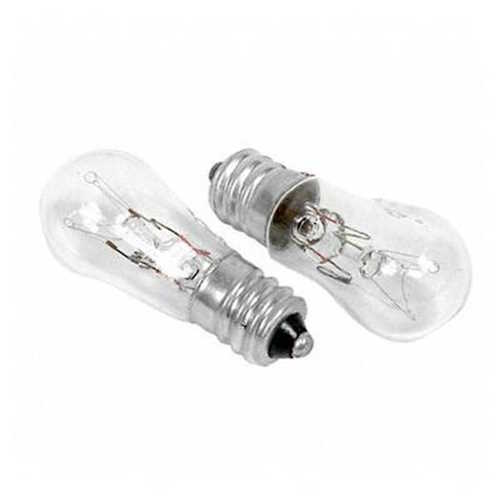
That’s a GE type 11098 - 3S6/5 - a 3W, 115V lamp. It’s used as a balance element for the oscillator in those devices. It acts like a PTC resistor.
The generator I picked up recently at the Piketon Hamfest has a slightly unbalanced output, with the bottom of the signal being flattened. While I assume there are probably some capacitors in there that are bad, it was suggested that I try this lamp. (Maybe…I did find a post where one of these simply needed new tubes and a tune-up.)
They seem to be widely available, as they’re some sort of emergency lighting bulb. I’m planning on ordering some and will give it a try - stay tuned for results!
- 2024
- Oct
- 5
Some notes from The Scioto Valley Amateur Radio Club Hamfest
I grabbed a friend and headed down to this show earlier today. It was a pretty small event, but that’s the kind of thing I like to go to - you never know what you’re going to find. We even stopped at (the last?) Rax on the way home.
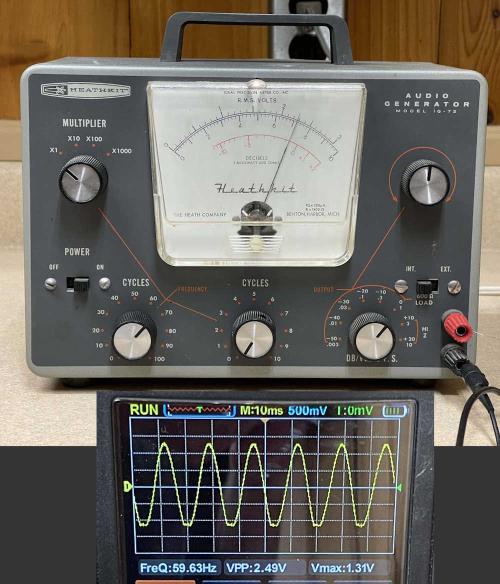
I didn’t pick up much - some books, some parts, and this Heathkit Audio generator with a parts donor unit.
I’m asking it for 60Hz, and getting 59.7. That’s pretty good for a piece of 50 year old equipment. It’s a simple capacitive oscillator, so there’s not much to go wrong - exactly what you need for your bench. It’s certainly in need of service, but what do you expect?
Pictures from the event are on the way, so stay tuned!
- 2024
- Oct
- 4
The Aerovox Model 97 Inductor-Capacitor Checker
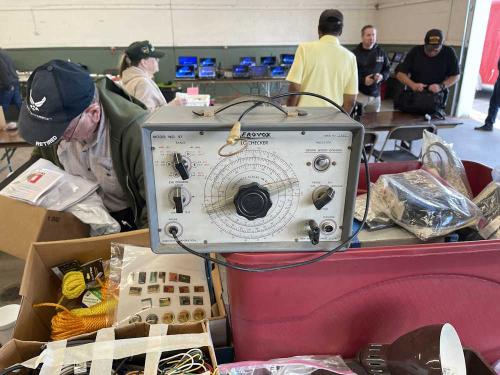
One of the things I picked up at the Cleveland Hamfest was the Aerovox Model 97 from this picture:
It was cheap, it was from a Silent Key estate that a friend was cleaning up, and it had a functioning eye tube - the primary reason I picked this one up. Those aren’t exactly the easiest thing to come by these days, so having a few laying around is probably a good idea.
This is kind of an oddball unit as far as checkers go - most simply use a pair of leads you put across an unknown part. This one is a bit different in that it has an inductively coupled loop that acts as the probe for the device. You place a coil with probe ends across your part and that couples back to the checker - no direct connections are made, so you save the device if the part is charged.
Unfortunately, the probe coil was not present with the device - it may have been buried somewhere in the box it was stored in, but who knows…I don’t have it, and seeing as how this is a very low capacity device, it doesn’t bother me. Any one of the Eico or Heath devices is a bit more useful in this regard.
It did include a manual, which I will enter into the wereboar archives. You can download a copy here (this link is hosted on my webhost provider’s service):
https://wereboar.com … ker%20Manual.pdf.zip
I’ll be doing an internal photo shoot of this device before it goes into parts storage, so stay tuned!
- 2024
- Sep
- 29
An Eico 145 Signal Tracer - Part 6b - Continuing the power supply.
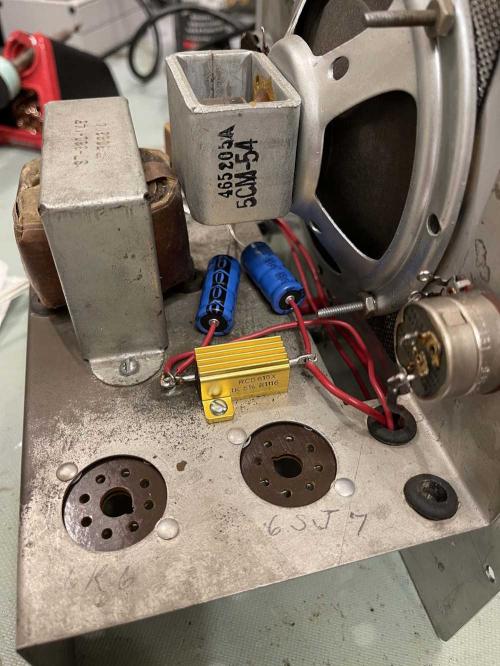
I had to make some executive decisions in where to place things here, since I have more going on under the chassis. Instead of using a leaded device for the power supply dropping resistor, I chose to use a non-inductive aluminum cased resistor. Is a 25W resistor overkill here? Yes it is. Do I care? Not at all. I also moved the filter capacitors on top of the chassis since the old device with it’s mount clip is now gone. Two holes were drilled to mount the resistor - theoretically this should sink into the chassis as well, but the resistor is more than capable of dissipating the 2W the original was designed for without any heatsink at all. One side has the connection from the rectifier and a filter capacitor, the other is connected to the output transformer, and will run to various points in the circuit itself.
The only thing left to connect to the filters is that second connection, then it can be soldered.
Will this cause some hum? Maybe, but the audio output transformer lead was already as long as it is now, so who knows.
You can see the filters, laying against the chassis, going to a ground point near the output transformer.
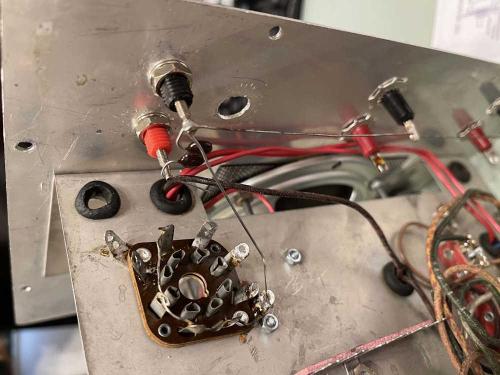
I also connected the grounds at the input, and soldered one side of the 50pF capacitor down.
(I don’t know why I ran that wire from ground like that. I’m a stupid wereboar and got rid of it later.)
Last, is the ground point on the audio output transformer side. The transformer itself is a little smaller than the holes drilled, so was this a replacement? No idea, but I went ahead and drilled a new hole for it so it’s not flopping around on the chassis. The original transformer mount hole had a small ground tab in it, I went ahead and recycled one of the terminal strips from the bottom as a ground. This point has both filters, the speaker, and the output transformer connected to it. Since this is a fairly important ground, I hit the chassis with some scotchbrite and soldered the tab in place, insuring a nice, solid connection.
There’s a bit of solder splatter there to clean up.
You’ll notice that the output lead for the transformer is coiled up. I’ve been trying to avoid trimming any length from parts left on the chassis, just in case.
Just to note, I am in no way concerned with making this look original. It’s going to be a working device, and that’s it. I’ve tried to select good parts, so barring tube failure this thing should work for many years - and I may just get a set of tubes regardless to populate the device when it’s ready for service.
Stay tuned for part 6c, a few more connections and we’ll test the power supply!
Next part of this series: https://wereboar.com … -to-run-a-few-wires/
Previous part of this series: https://wereboar.com … tarting-the-rebuild/
- 2024
- Sep
- 28
Salary is confidential? Your response should be thanks, but no thanks!
Some years ago, I was contacted by a company that manufactured building products, as well as electrical devices to handle said building products. This was in regards to a technician position - more of an engineering tech - at the company’s headquarters. They’re just a shade under 2 hours from me, travelling on some country roads - there’s no way I could live here and drive there.
This was kind of an odd process, we had a phone screen and an on-site interview first, and a couple weeks later they asked me to fill out some online paperwork - applications and some assessment thing. During this time period, I had been unable to find out any information about the pay rates for the position. When we got to the hot and heavy part, I asked.
You can see the recruiter’s response and our email chain in the image.
I was told the salary range was confidential, but the recruiter could advise me based on my current salary if we should continue. I provided said information.
The eagle-eyed among you will notice the recruiter never really affirmed that it would be worthwhile to continue. Just that they had reviewed it. I didn’t notice that at the time. You’ll also notice I made the mistake of not saying what it was I wanted.
Did I get offered the job? Yes. Was it worth the time? It was a little more base, but was a net loss when I factored in medical and other items that my current employer gave employees at the time. I had to turn it down.
The recruiter and interview team called me. They wanted to know what they needed to do to get me in the door. I said “it’s the money.” It’s just not worth the few cents more you offered. You know where I live, you know what I make, you know I’d be leaving everything behind and essentially starting over with a higher-skill job. Make me a real offer.
Well, that went nowhere, and that’s the last I heard from the company.
Now? If I couldn’t get an answer up front about that salary range, I’d simply thank you for your time. It’s confidential? No, it’s not, and I’m going to be running away from your company.
It taught me to get all the information up front. If someone tries to play games and hide that info? Turn around and leave. That’s all.
- 2024
- Sep
- 27
An interesting modular digital trainer.
No, this doesn’t help you keep your digimon in check. At least, I don’t think it does…
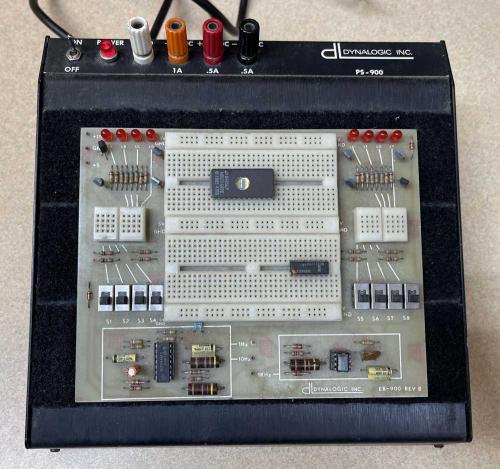
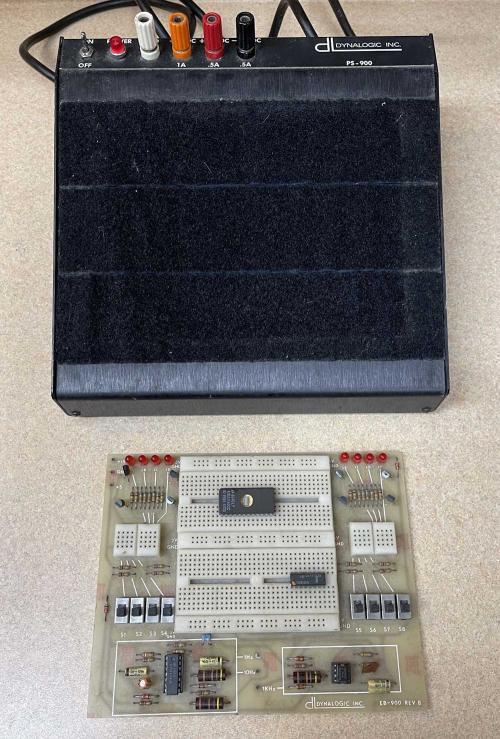
I picked this interesting digital trainer device up at the recent Cleveland hamfest. Why? I’ve been getting back into experimenting now that I have a bit more time, and I don’t really have something like it. Sure, I have breadboards and things, but this has some amenities like indicators, switches, and a couple of clocks onboard, as well as power supplies. It’s made by a company called Dynalogic, and they specialize in modular breadboard systems for schools - this one even has “University of Toledo” (Ohio) on the bottom.
(Dynalogic has a website, but the last date is 2010. Not sure if they’re still in business or if they just don’t update often.)
It looks like a piece of late 1970s kit with the black case.
The power supplies, while operational, are a little low. 5V was 4.82, and both 15s were 14.4. Probably some bad caps in there, which wouldn’t be surprising for the age. I’ll open it up this winter and give it a check.
Dynalogic’s breadboards are made to be modular, and this one is no different. The black material under the board isn’t static foam, it’s velcro. You buy the base, then put whatever board you want on it - including stuff you make yourself. It’s really an interesting way of doing it, because there’s no special things needed - just put a couple spots of hook on the back and drop it on the box.
This unit appears to require the +5 and +15 volts, which is input at the little jacks on the top left- you’re supposed to run a standard breadboard wire down to them. This gives you a metal contact to tap from and run the rest of the devices on the board. As stated before, it features 8 indicators, 8 switches, 3 clocks, and some prototyping space (the chips on the breadboard were there when purchased and have no relation to the board.) Pretty simple in all, this is enough to do basic circuitry and give you some I/O. Nothing on here except some 555s.
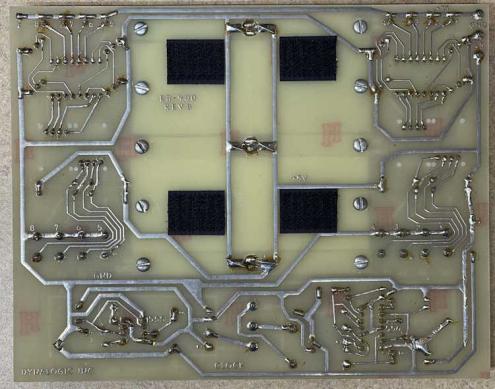
The back of the board indicates that it’s hand soldered. Whether this was from Dynalogic or by a student, I don’t know. But in wasn’t wave soldered, that’s all I can tell you. You can see the velcro hooks.
Overall? This is a nice piece for the few bucks I gave for it, and it was drawing a lot of interest when I took it with me. I think, after cleaning up the supplies, that it will find a nice home on the bench.
- 2024
- Sep
- 24
Pictures from the 2024 Cleveland Hamfest.
As stated earlier, this was my first time attending this show, and I didn’t leave unhappy. It consisted of about 4 rows of vendors in the parking lot, and a small building mostly full of vendors. There was certainly plenty to look at, and prices were generally very reasonable. Everyone was willing to deal, so I’ll blame that for my haul.
The fairgrounds are tucked behind some houses, so we had to make a go-round and get back to the entrance, having turned the wrong direction the first time. But no big deal, we arrived at 8:15 and spent about three hours browsing the warm, sunlit aisles of stuff.
The trip home warranted a stop in Coshocton for lunch and a brew at Wooly Pig, a place I highly suggest you check out if you are in to that sort of thing
Here’s what you’re waiting for, all of the things I saw at the show.
.
Next show may be Piketon, that’s a “If I feel like it” thing. You can check out directions to that show by clicking this link.
Regardless, there’s also MARCS and Fort Wayne, as well as the Antique Show at the state fairgrounds to come. See you there!
