- 2024
- Nov
- 27
The B&W Model 200 Signal Generator Part 2 - Diagnosis
As seen in the last part of this series, there’s definitely a problem in this unit preventing it from oscillating properly. It’s time to start digging in and seeing what’s what.
I picked up a new / tested good used set of tubes at the recent Fort Wayne Hamfest. I started with a baseline measurement to make sure everything was acting as before, and then started with the rectifier. The signal output was a big stronger, so the 6X5 is probably weak. Not a big deal, and probably expected.
Going around the rest, including the PTC resistor lightbulb, nothing changed save the signal was again a little stronger with a new 6SJ7 oscillator tube. Not enough to worry about, so all tubes were swapped back to the originals. The problem is in the components.
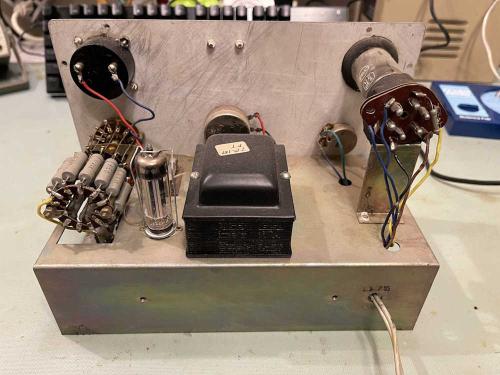
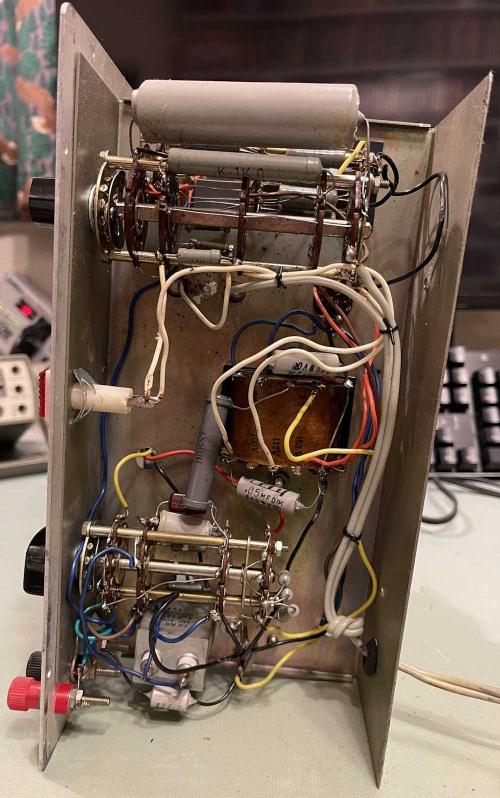
The device is mostly disc capacitors, and while they do go bad, it’s not often. Ignoring those for now, I decided to do a quick check to spot any obvious failures before powering and measuring voltages. First thing I checked was the big 10k 2W that I assume is a power supply divider.
160k and dropping. Odd…no capacitors here, and it finally settled down to 9.91k. That’s probably the smoking gun right there - the resistor is changing value as it gets hot and driving B+ down to a level where the unit can’t oscillate. Once the oscillator is off and the current is lower, the B+ increases just enough to oscillate - rinse and repeat. I need to check B+ to make sure, but this sure is suspicious.
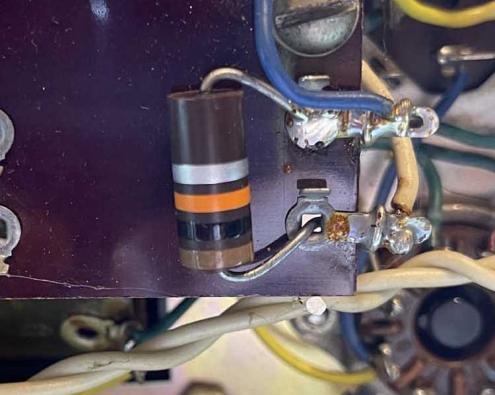
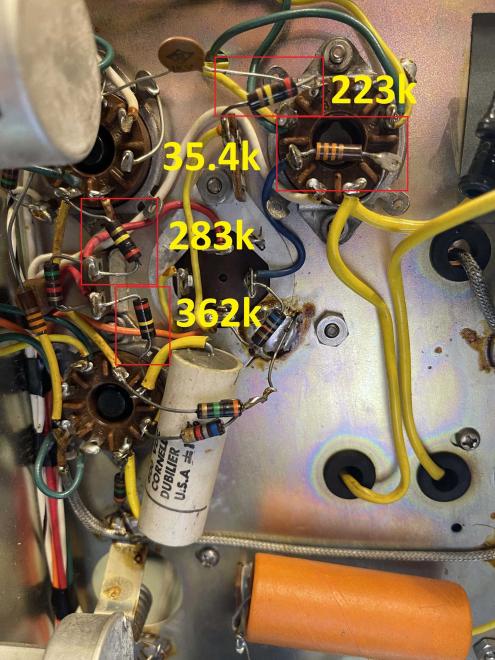
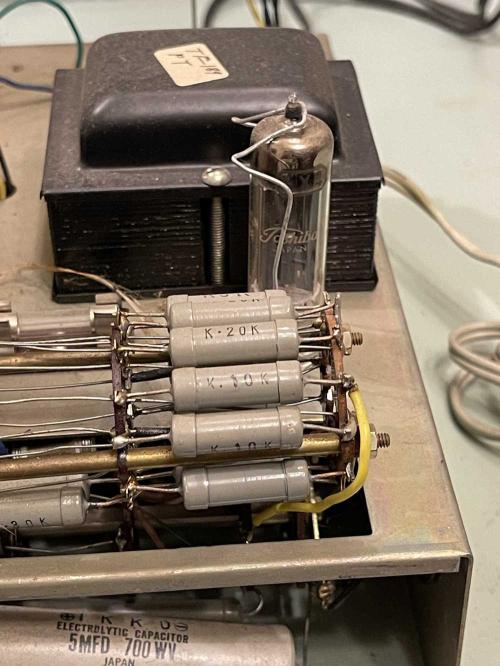
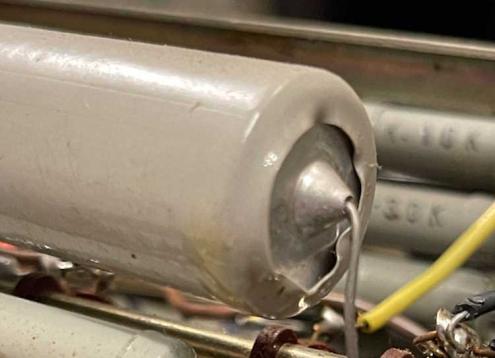
With a reasonable guess secured, I did some spot checks around the oscillator. There’s a 33k across the 6SJ7 that has increased to 35.4k - a little out of tolerance but eh…there’s also a 200k flying off the tube, and it was quite high at 223k. Ok, that’s possibly a problem. I noticed two more of this type and checked those - way way out of tolerance. Everything else seemed to be close enough that I wasn’t concerned,
I wonder what made just those particular ones that bad?
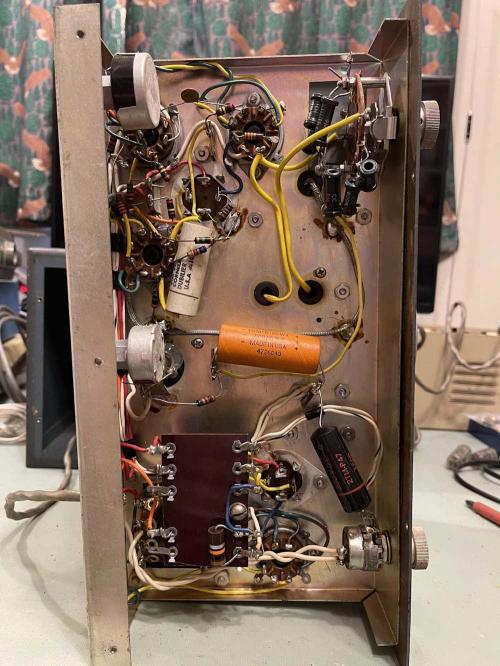
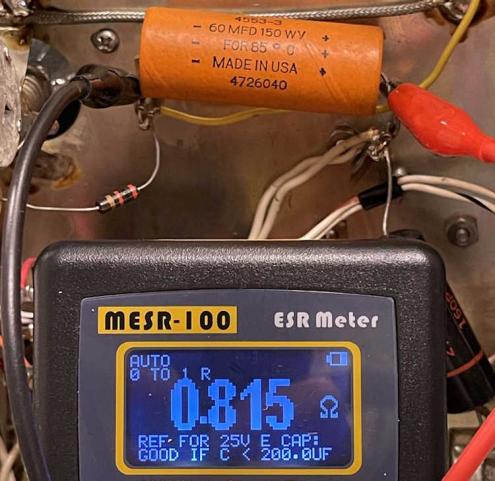
There’s a couple of other things here that probably should go. That big white CDE El-Menco ripoff capacitor is a type that can be problematic. There’s also a dry electrolytic that’s checking fine but probably can go, and a black plastic capacitor that connects to the output control that needs to be replaced because they crack and gain moisture.
There are multiple supply electrolytics, and they all seem to be good. I’ll need to let the unit run a bit and see if they get warm, but if not then I’m not going to worry about them until something happens. I’m going to replace that nasty power cord as well, but that’s just a “always do it” thing for me.
With possible fixes identified, it’s time to set this unit aside until parts arrive. Stay tuned!
Next part of this series: https://wereboar.com … ng-it-aside-for-now/
Previous part of this series: https://wereboar.com … 00-signal-generator/
- 2024
- Nov
- 23
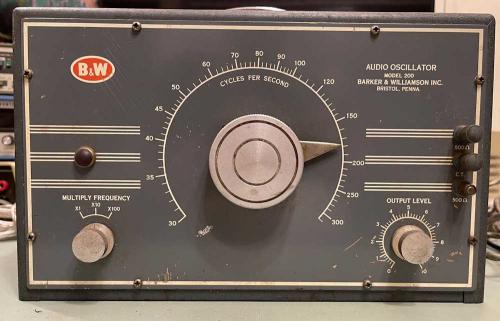
The B&W Model 200 Signal Generator
This is a device I picked up at the Dayton Hamvention earlier this year (2024.) It wasn’t much, but what caught my eye is that the thing is built like a brick shithouse. The big dial on the front is just wonderful in it’s smooth spinning. It’s missing a single output terminal cover, but that’s not a big deal.
This looks to be similar to most generators of the era, with a couple of extra tubes. I’m going to assume that since this has a balanced output, it’s using a phase inverter and final amp to drive the transformer output. Otherwise, it’s your standard oscillator and that old GE lamp as a PTC resistor, just like you’d find in a Heathkit or other type.
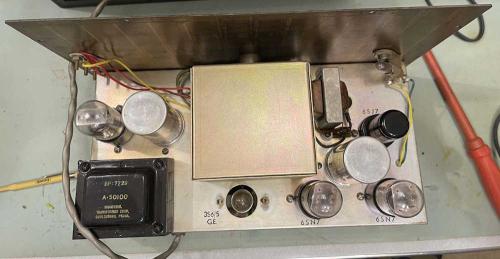
Tube compliment is:
6X5 as the rectifier
6SN7 as the final drive amp
6SN7 as a phase inverter
6SJ7 as the oscillator
GE3S6/5 lamp as a PTC resistor in the oscillator
(I assume)
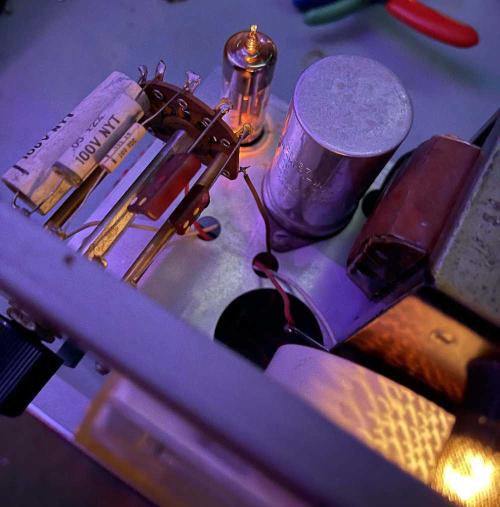
The bottom is fairly clean. Some capacitors probably need to be replaced…
But a quick check says maybe no?
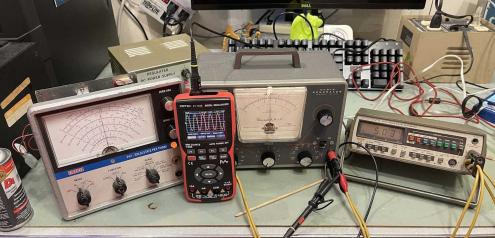
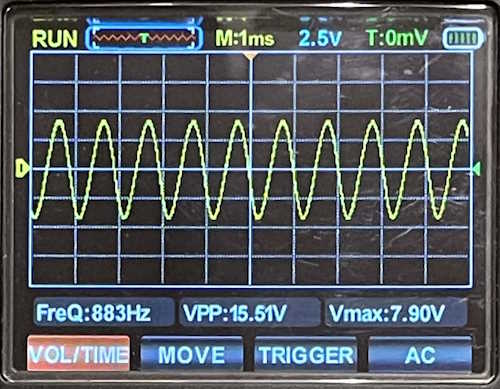
Output looks ok…
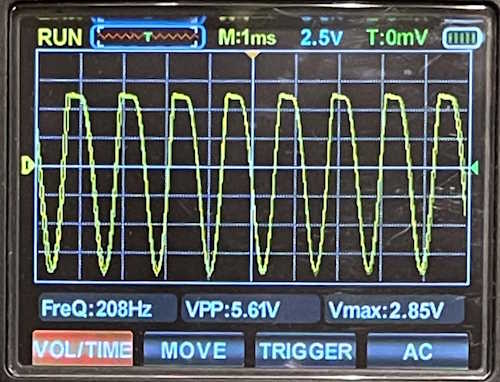
But about 3-4 minutes later the signal starts falling off, as in just fading to zero - and them coming back up. It just keeps doing this over and over, no matter what the output level or frequency is. I’m not sure what’s going on here, but the signal comes back up like the oscillator tube is dying.
I’m not sure what’s going on here, so I’ve picked up a new 6SJ7 and a couple of checked good 6SN7 to sub out and see if it’s one of the those. I have a used lamp laying around somewhere and I’ll check that as well. Other than that, I haven’t really investigated things much as data about this unit seems to be kind of scarce.
Stay tuned and we’ll see if this thing works!
Next part of this series: https://wereboar.com … or-part-2-diagnosis/
- 2024
- Nov
- 22
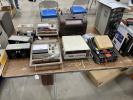
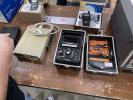
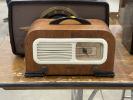
Pictures from the 2024 Fort Wayne Hamfest
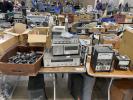
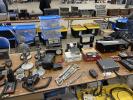
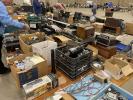
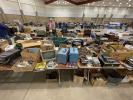
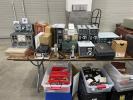
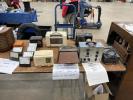
The show this year was smaller than usual, occupying maybe 3/5 to 3/4 of the normal space, with a large section left empty. Prices at this show ranged from ok to stupid, which is kind of unusual as this show usually features pretty good values. There were a couple that simply were smoking crack and asking prices that would have been appropriate years ago when the equipment was newer.
I primarily went to get a bunch of tubes from Bob at hamtubes.com - he always has really good prices on tubes both rare and common, so that’s where I spent the bulk of my purchase money. A few other things came home with me, including a couple that will get featured here as soon as I can get to them.
There were still good things to see, and here they are:
.
That’s it as far as hamfests for 2024 - the next two shows will be the Scott Antique Market events this coming (after Thanksgiving) weekend, and right before Christmas. I may combine those two into one post, depending on what I see.
See you there!
- 2024
- Nov
- 16
Pictures from the Ft. Wayne hamfest on the way!
The Fort Wayne hamfest happened today. The show was kind of mildy disappointing, with somewhat less vendors showing up this year - and some that were simply smoking crack when it came to prices. One in particular made eBay prices look low, and reminded me of the vendor that had those big stainless steel racks of test equipment at Hamvention with astronomical prices on them, rain or shine. I wish them luck in selling, but you’re going to be hard pressed to unload some of that stuff - especially when you can get new equivalents (from the same manufacturer!) for less.
Regardless, there was still some good stuff to see and take home. Stay tuned, pictures are on the way!
- 2024
- Nov
- 11
A Heathkit IG-72 Signal Generator - Wrapup, set-up, and final thoughts.
The device is working properly and has been buttoned up and put in it’s home on the bench. Here are my thoughts on how things went…
Thoughts
This unit was really the opposite of everything you expect from an old device. All of the passive components inside, like resistors and capacitors, were in good shape and don’t need replacing yet - although at some point it probably will require electrolytics. That’s for future me to decide.
This device really shows that you have to expect anything with an older device. Parts that don’t do anything other than hold a part can degrade and cause issues, especially when working with the higher voltages present in a vacuum tube device. I never would have though that a tube socket would fail like it did. Sure, they fail because the sockets themselves get weak, corroded, oxidized, etc. and make bad contact, but arcing across? That’s new to me.
I supposed it shouldn’t be unexpected, carbon tracking is a thing. The moral of this story is expect the unexpected. Especially when working with an 60 year old device that was built from a kit.
The complete timeline for this project
Acquisition at the hamfest: https://wereboar.com … o-club-hamfest-2024/
I should fix this thing: https://wereboar.com … 72-signal-generator/
Part 1 - Observations: https://wereboar.com … part-1-observations/
Part 2 - Suspicions: https://wereboar.com … r-part-2-suspicions/
Part 3 - Parts? Parts! https://wereboar.com … t-3-do-i-need-parts/
Part 4 - It’s…fixed? https://wereboar.com … no-need-for-repairs/
Part 5 - We’re not done yet! https://wereboar.com … 5-were-not-done-yet/
Part 6 - Back up and running: https://wereboar.com … back-up-and-running/
Part 7 - I think we’re done: https://wereboar.com … 7-i-think-were-done/
Intermission - The bad part: https://wereboar.com … athkit-ig-72-socket/
Intermission - That odd light bulb: https://wereboar.com … ther-test-equipment/
Wrapup - You’re reading it now.
Notes on calibrating this thing.
The calibration - more of set up - for this device in the manual was written for a time when you probably didn’t have a Hi-Z meter on your bench, but pretty much everything is these days. Instead of following the manual, I did this:
Equipment required:
Oscilloscope
Voltmeter that’s accurate at 1kHz
Leads and stuff
1: Set the frequency to 1kHz, attenuator switch to maximum, and set the output level to ~5VAC RMS using your meter. Ignore the meter on the face of the unit for now. Connect your scope and meter to monitor the output.
2: Let the device warm up. Get it nice and warm. I put a cardboard box over mine to get it toasty. I think this is also how I got it to arc continually so be careful here - don’t set it and forget it. Heat is going to cause marginal things to fail. Check on the device every once in a while during warm-up.
3: After a few hours, when the device is warm, check the sine wave output on your scope. Slowly adjust the oscillator output control (the potentiometer on the inside of the chassis closest to the transformer.) Adjust the sine wave until you just start to get one of the tips cut off, and then back off a decent amount so you have a good sine. Note: These have decent high output with fresh tubes, you can probably back off a lot here. And, I do mean a lot - this will drift so give yourself plenty of headroom.
4: Let it set for a while. You may need to adjust this sine wave a couple of times.
5: When you’re happy with the sine wave, adjust the output level to 5.00VAC RMS with your meter. Using the meter level control on the chassis (it’s the other potentiometer inside the unit,) slowly adjust until the device’s meter so that it agrees with your meter. I use 5V because it’s dead center of the meter’s scale.
You should be able to assemble the device at this point and have a clean sine with a reasonably accurate meter. Note, however that this meter isn’t calibrated at every scale and frequency, so it’s a best guess at all times. The manual even warns about this, so if you need a precise level always let the unit warm up and adjust with an external device connected.
After everything was said and done, I had an accuracy of about 2% with the selected frequency. I think that’s pretty good for a device from the late 50s.
Why did I choose 1kHz? Primarily because this is going to be used for signal tracing. You can choose whatever frequency you think is best for your purposes.
One of the things I’m considering is trying calibration at 10VRMS. That is, set the level control to the maximum, and then back the oscillator control off until there’s 10VAC on the external meter, then adjust the internal meter to follow. This should keep the system well within the linear range. That should be possible since the output is constant before it appears on the attenuator’s input - but there’s always the chance that it won’t oscillate at some point (frequency) because it’s lower than what the circuit is expecting. It’s going to require experimentation to see.
That’s all with this device. It’s been on quite a bit as I’ve used it for testing devices that are in the “keep or sell” pile. If anything else happens to this, I’ll post about it here on wereboar.
Previous part of this series: https://wereboar.com … 7-i-think-were-done/
- 2024
- Nov
- 8
An Olson TE-189 C-R Analyzer - Some notes on parts.
(It’s actually a TE-189 device…how did I miss that. Really wearing my stupid hat on this one!)
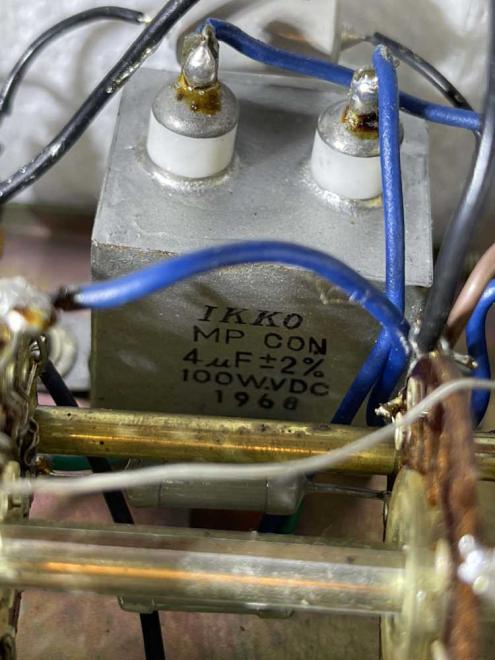
One of the parts in this device that probably needs replaced is a big capacitor in a metal box.
I was looking at this going where have I seen this before, and how do I replace it.
A quick search and yes - it’s a metallized paper capacitor, and was probably used as a motor start capacitor. That style of device is still available, but it’s not common these days - metallized films have taken over the market. The value of 4μF is kind of odd as well, but shows up both in modern motor start caps, as well as capacitors for speaker crossovers. Since both are non-polarized like this one, replacing it will be easier than I expected. 2% parts are a bit harder to find, but available with a little searching.
Some other things I’ve noticed about this unit:
- The threadlocker that was used is very very good. The meter and the dial pointer were both held in with screws that were coated with a white paint-like substance. When I removed the dial pointer screws, they both snapped. These seem to be closest to a 4-40 3/4” Oval Head screw.
- The paint on the knobs on mine was flaking already, and an ultrasonic cleaning removed a lot of the rest.
The point here is to be careful with the old stuff.
On to making a list of what to order!
Next part of this series: https://wereboar.com … yzer-considerations/
Previous part of this series: https://wereboar.com … t-should-we-replace/
- 2024
- Nov
- 8
An Olson TE-198 C-R Analyzer Part 2 - What should we replace?
(This is a TE-189…oops!)
The short answer is everything here that needs to work seems to be working. The long answer is probably all of the capacitors that are in the circuit, the power cord, and the neon pilot (because who doesn’t want the nice neon glow?)
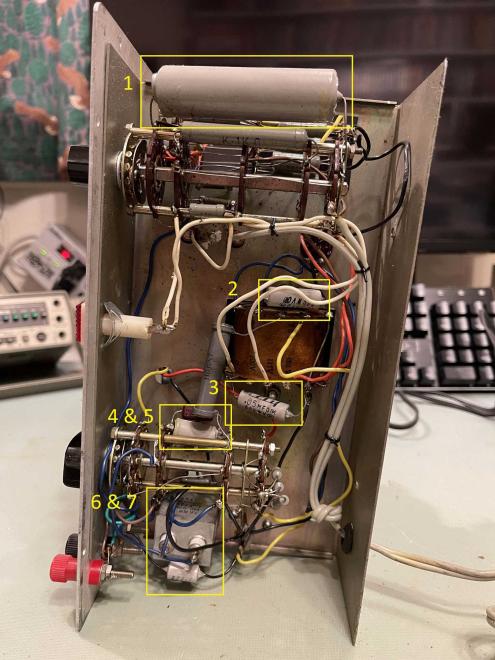
Looking at the unit, there are several capacitors - but not as many as you think - in this thing:
#1 is the big one - this is a 5μF at 700V filter capacitor. Is there really a need for something with this kind of rating in this circuit? You bet:
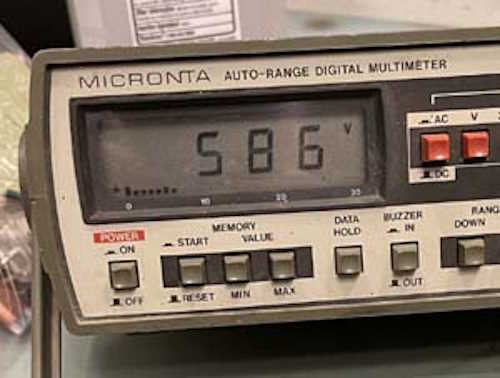
Almost 600VDC is present on this device, so it’s certainly a good candidate for replacement. The OEM left some overhead there, so it’s not completely shot at this point. I have to wonder how this device ever worked, however - the negative lead on the capacitor wasn’t soldered very well and didn’t wet. It just slid up and down on the ground wire.
It’s not the easiest to get something like this in a modern part, so two 10μF @ 450V in series would make an equivalent replacement of 5μF @ 900V. Fine for this thing.
#2 and #3 are “Across the line” capacitors. One goes across the AC line, the other on the tube filament line. These are 0.05μF at 500V. One of them doesn’t need to be that high, but both could comfortably be replaced with 0.047μF at 630V devices that I keep in stock for that very purpose.
#4 and #5 are part of the measurement circuit. 4 is a mica of unknown value, and is the deep red part tucked behind the dogbone resistor. It’s interesting in that it has a ceramic trimmer (you can’t really see it) in parallel. I cant imagine this was the OEM setup, but perhaps it was. #5 is a simple .04μF capacitor. I can’t see the voltage on this one because it’s so tightly packed into the switch. Since 0.04 isn’t really a modern value, parts chosen from a bag of cheap 0.022 parts could probably make a cap that’s closer in value to the original.
#6 is a DC blocking capacitor. Nothing special here, a 0.01μF at 630V - or just about anything close - will work. It feeds the grid on the eye tube.
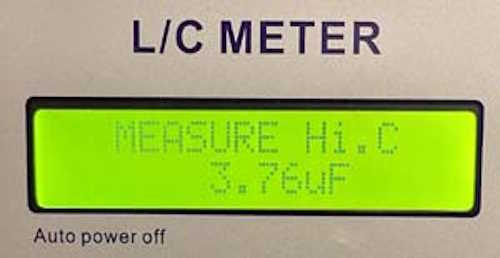
#7 is the odd man out. This is a 4μF at 100WVDC - nothing special you’d think, but it’s in a metal case, almost like a motor capacitor. I’m not sure what the significance of this style of part is. Perhaps it’s a low ESR or has special power factor qualities? It is in the power factor test circuit that gets adjusted on the front panel. More research is in order here, but the part reads 3.76μF in circuit. Assuming it’s a 10% part, it’s still in tolerance. The schematic I have doesn’t say, so…who knows. In another rebuild I saw, this one didn’t get replaced. (no, it’s 2%…odd!)
There’s one more part hiding here, a 1500pF used as a bypass on the grid of the eye tube. It’s hidden on a terminal strip beside parts 6 and 7 - it’s a tiny ceramic disc, so it’s probably been replaced at some point. It’s so packed in there I don’t know what the value is, but that’s easy to get and I’m not worried about it.
The resistors and other parts all seem to check out ok, so the capacitors will probably be it (other than a good cleaning.) I’m not trying to get the device working by replacing these, as it already works, so this is just safety maintenance. Next is to find parts and order them - stay tuned!
Next part of this series: https://wereboar.com … some-notes-on-parts/
Previous part of this series: https://wereboar.com … te-198-c-r-analyzer/
- 2024
- Nov
- 8
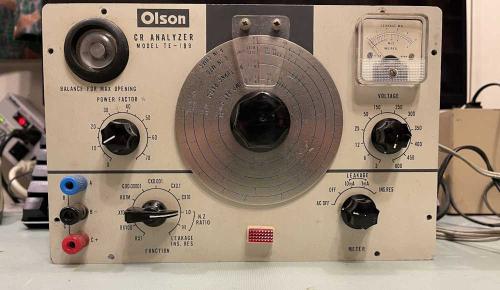
An Olson TE-198 C-R Analyzer
(It’s actually a TE-189 device…how did I miss that. Really wearing my stupid hat on this one!)
Olson was a Radio Shack type company from Akron, Ohio. Much like Radio Shack, Lafayette, and Allied/Knight, they sold electronics components, kits, geegaws, stereo equipment, and other related items. Changing fortunes finally did them in during the 1980s, leaving only the name Olson adorning much equipment, as well as some research facilities in Akron.
This particular piece is one of many similar devices from the 1960s, being that of a capacitor leakage tester. This one also does resistors, which is of limited value in an era when VTVMs would have been plentiful, and FET VOMs were just on the horizon. It came to me from the 2024 Findlay hamfest, in about the condition you see it in.
This device is slightly unusual in that it uses a 6E5 tube for the eye and features a meter for leakage. The 6E5 was largely obsolete by the time this device was made, the more common WWII 1629 (still somewhat plentiful today!) being used in other devices of this type. The fact that this came from Japan probably has something to do with it.
The case for this unit is extremely dirty, and appears to have some sort of oily dirt film on it. It’s almost like this unit was in a shop where shop air was being vented around all the time. This came off (mostly) with a good scrub with some dish soap and 409 cleaner. The handle was broken when the unit was received, being a cheap piece of top-grain leather.
The device does power up, the eye tube is acceptable, but the little neon pilot at the bottom didn’t light. The resistor for this is 50k and the bulb has a domed top, so it’s probably something like an A1C. While this isn’t supposed to be re-lampable, it can be. (Edit: This is relampable. I can’t locate the bulb type, unfortunately.)
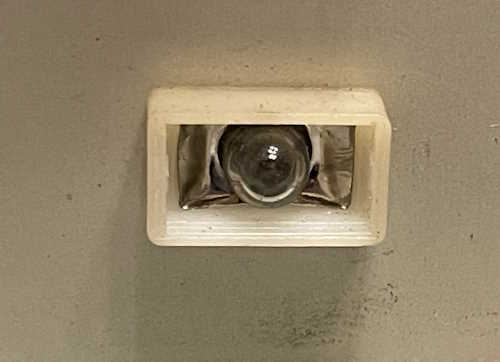
It’s most certainly a Japanese unit, the Toshiba tube and those Mitsubishi-style resistors gives that away in a heartbeat. The big filter at the bottom even says “Japan” on it.
The filter at the bottom is coated with oil. At first, I thought this device was leaking, but further investigation leads me to believe this just collected oil from the air.
There’s not much going on with this device. 1 tube to provide DC and the 6E5 are the only tubes in the unit. There’s no amplification or buffering of any sort.
As this is a fairly interesting unit (to me) I’m thinking about putting it back into service. Some things will need to be cleaned up, of course - those old capacitors with high voltage on them will probably need replaced, as will those nasty across-the-line caps on the transformer. A new neon bulb can be fitted in, and a good alcohol washing of the components to get the oil off will need to be done. There’s also a lot of cleanup - I’m assuming this one was not a kit but had many intrusions over the years. Some things, like the resistor matrices on the switches are well soldered, but other thing, like the connections to the eye tube are simply a mess.
I don’t think it will take a whole lot to make it work again.
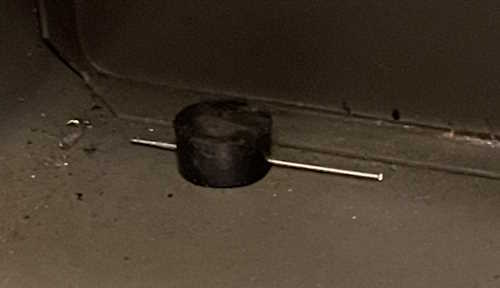
That includes removing the sewing pins from the inside!
Stay tuned!
Next part of this series: https://wereboar.com … t-should-we-replace/
- 2024
- Nov
- 6
I found the 60Ω resistor in my Heathkit IG-72 socket.
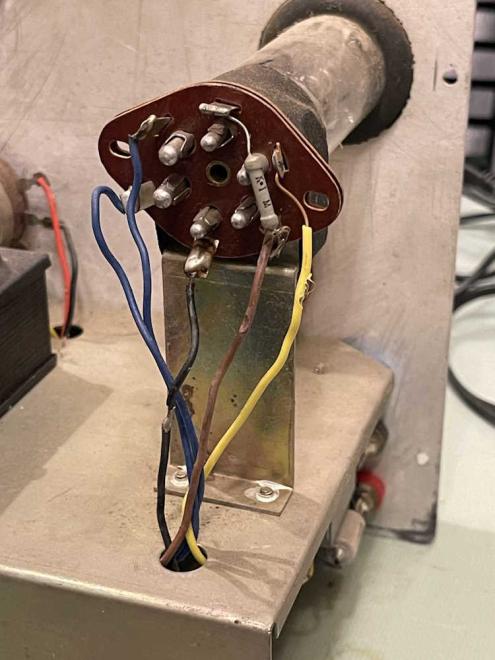
Back in part 5 of my Heathkit IG-72 series, I was getting ready to button things up when the socket for the rectifier tube started arcing. I assumed there as carbon tracking inside the socket and moved on with replacing it.
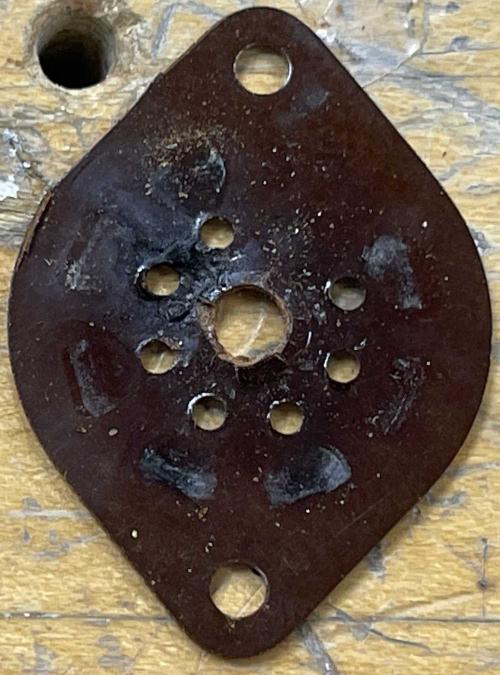
That assumption was correct. Here’s the top wafer:
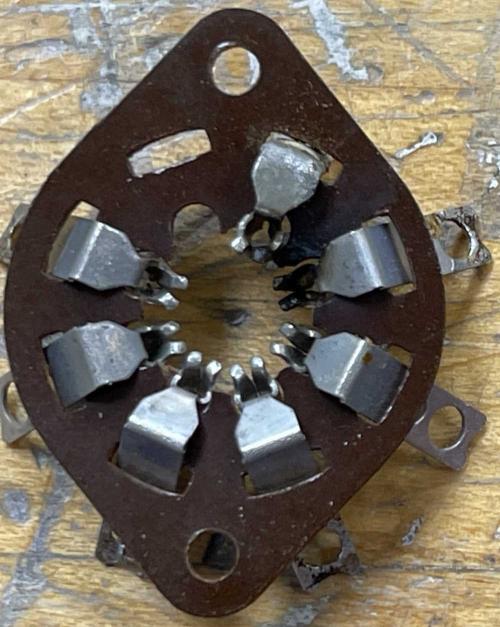
You can clearly see the arc has eaten away the portion between pins 6 and 7, while depositing a lot of carbon and other debris on the phenolic wafer. The bottom wafer is similar:
It’s not the easiest thing to see, but there’s a lot of soot on the same two pins, and part of the socket crumbled away as the rivet was being drilled out. I’m surprised this thing didn’t arc as soon as it was turned on - but perhaps this is why the device was retired. Who knows, really.
Regardless, there’s a new socket in it’s place that shouldn’t have this issue, and this one goes in the bin - although I may save a few of the better pins for some later purpose.
- 2024
- Nov
- 5
A Heathkit IG-72 Signal Generator Part 7 - I think we’re done…
I put the unit back together after replacing the socket. No more arcing, and everything seems to be operational.
The first thing I did with it is cal the AC portion of another device. The stupid thing is already flat at the bottom, I guess that’s to be expected.
I’ll open it back up and dial it way back to keep the osc in it’s linear range. That doesn’t affect the meter cal at all, since the attenuator and oscillator are separate sections.
That’s it…what I thought was an easy fix was kind of an interesting problem. I’ll have my final thoughts and wrapup when I decide the device is not going to do more crazy stuff on me.
Next part of this series: https://wereboar.com … -and-final-thoughts/
Previous part of this series: https://wereboar.com … back-up-and-running/
