An EICO 950A R-C Bridge Part 3: Musings and where to start?
Friday, April 10, 2026 at 07:18:36
As the King of Hearts said: “Begin at the beginning, and go on till you come to the end: then stop.”
We’ve seen this thing is an absolute mess inside. It was built…ok, but then someone came along later and j-hooked EVERYTHING. I cannot figure out why, even Mister Wizard would probably be at a loss to explain this one. So where to actually start?
First of all, I did some cleaning on the device. The front panel was wiped down with some gentle degreaser, and all of the knobs/terminals were cleaned.
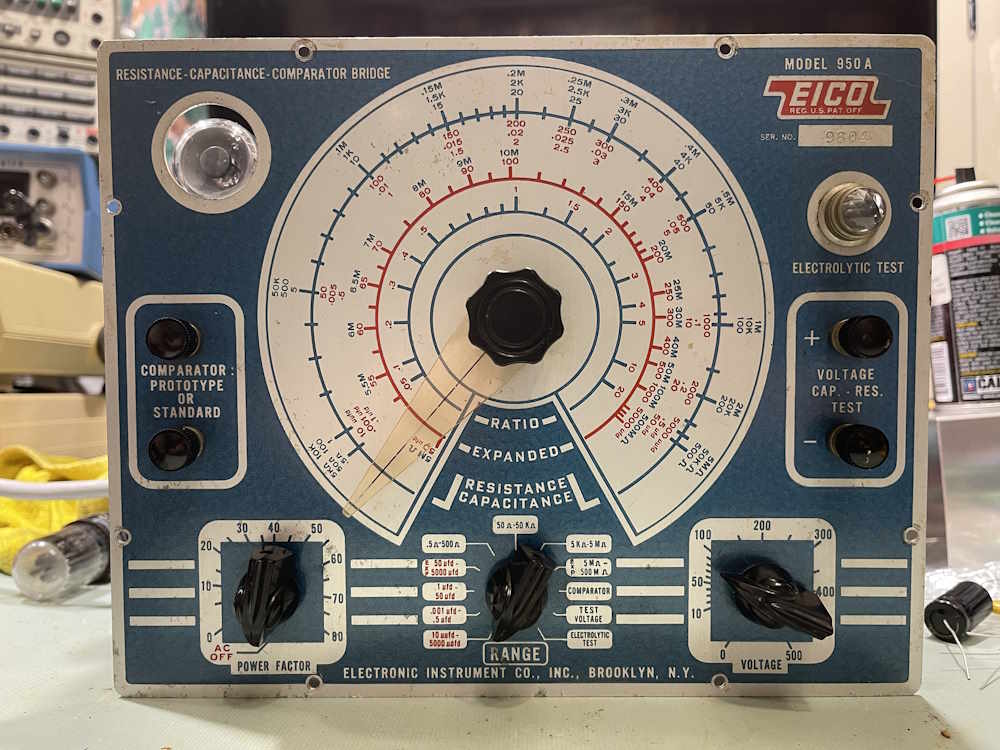
The only problems I’ve run into with the ultrasonic bath and these parts is the white paint on the chickenheads tends to come out - but that will come out with just water and a cloth as it’s so old and brittle. I’ve thought about this, maybe some white ink in a syringe or on a toothpick would be a way to re-mark them. The other issue is the pointer tends to change shape a little when you wash it in warm water. This old clear plastic bent outward - I actually don’t have an issue with this because they like to bend inward and scrape the face up. It is what it is.
Moving forward:
The top of the chassis, of course is a good place to start. This is the easiest (and most open portion) place.
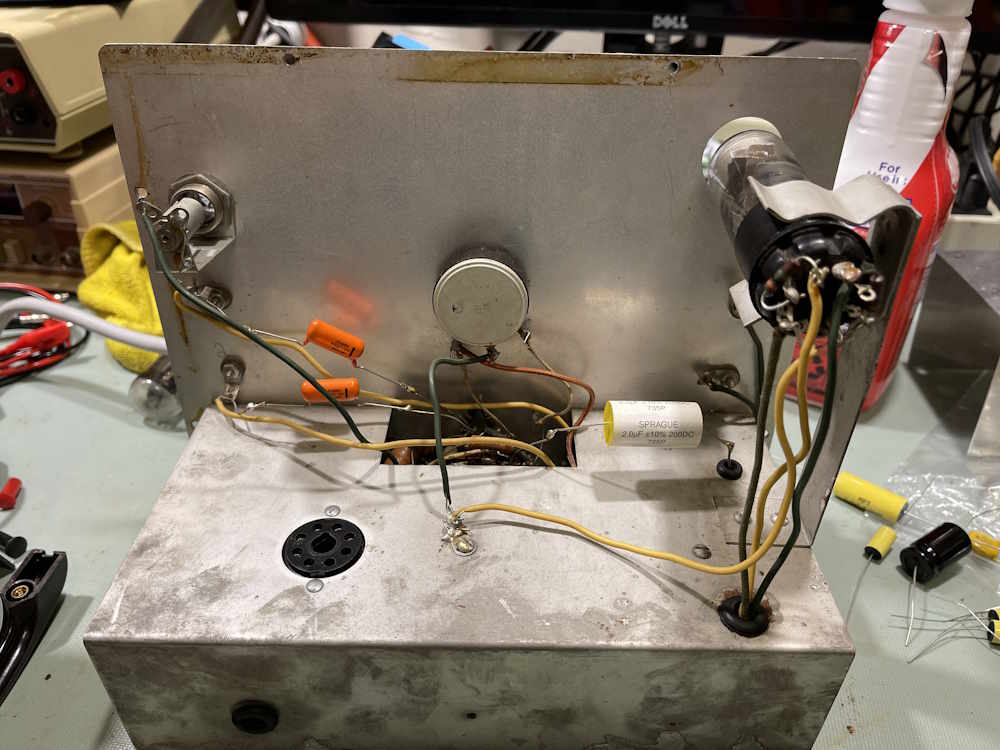
On this top part of the chassis, we have the following delights:
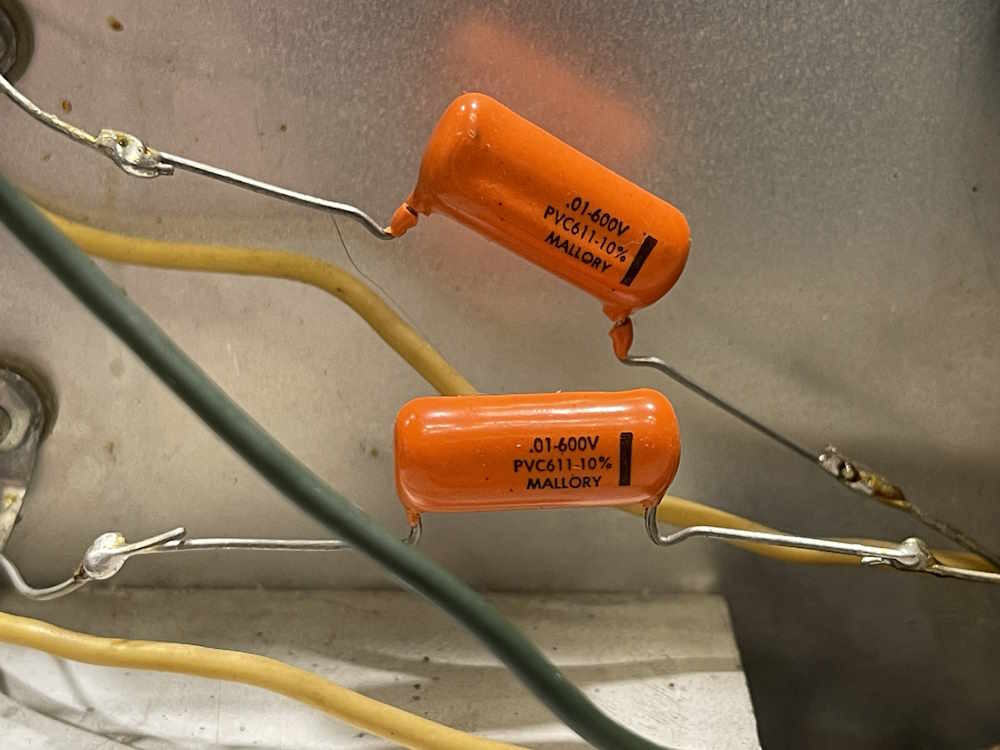
These are good quality parts, being orange drops…but the weird installation method. I assume that the person just hooked in when the old paper poppers were removed. I will remove these, and may use them in this device assuming I can figure out the date of manufacture. I’m guessing 70s, so…maybe not?

Sure would have been nice if I’d put that image here in the first place…
We also have this beauty. Again, a good quality part, put in with meh installation methods. I’ll remove it and put it in the “bench use bin.” Besides…the new part is of better tolerance than this one, which is essential for the circuit this one is in. Thankfully the hole that it runs into was insulated!
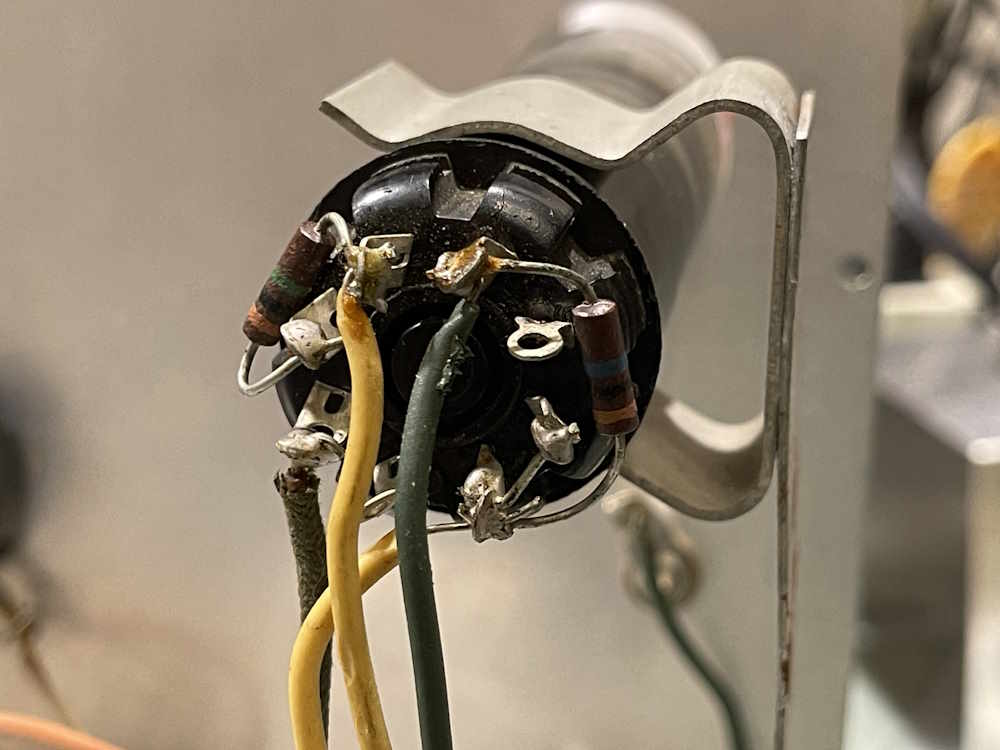
Last thing, other than wires, is the eye tube socket. This one, unlike the Olson TE-189 unit, at least has the wires soldered to the socket properly. I’ll clean those up and run new wires and resistors. Nothing critical here, but I’ll use 1% metal films just because they’re cheap.
On mica capacitors
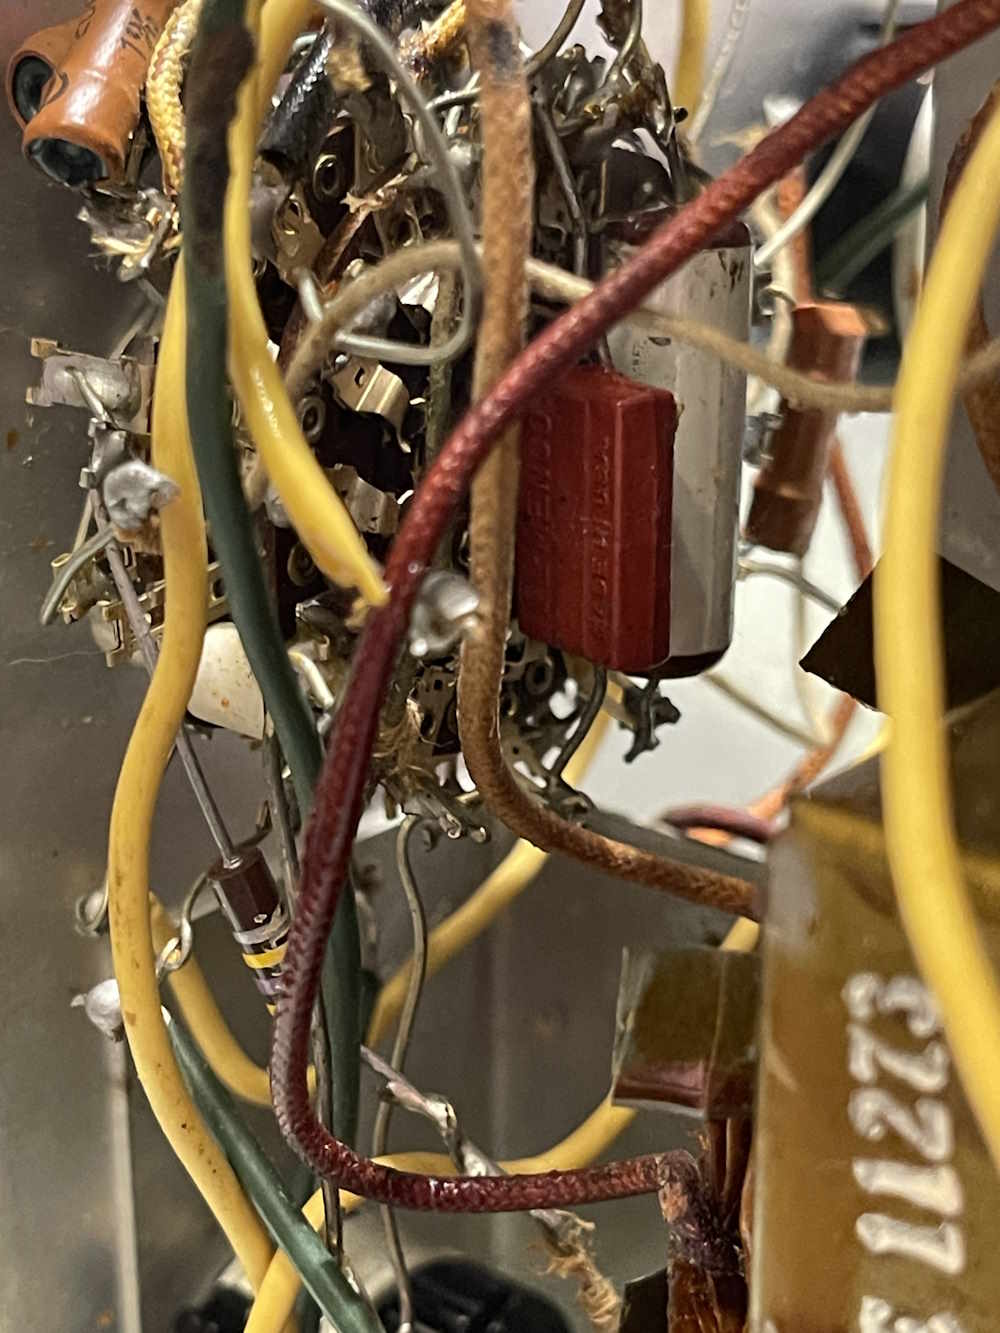
That red rectangle behind the chaos is a mica capacitor - or so we assume. (more on that later) It’s made by stacking layers of mica with metal foil - often with some silver in the mix due to silver’s better than copper and gold conductivity. Most will tell you these never go bad.
Yes and no. Silver can migrate in this type of device. You see this in radios where you get arcing in the IF cans on the little silver-mica capacitors - the silver oxidizes and creeps out, changing the value or even shorting. It’s a problem and will only get worse as time progresses.
So these can go bad. They can get silver migration, called Silver Mica Disease. They can get cracked cases and allow moisture ingress. The coatings can be suspect, collecting water or dirt that allows leakage. Just because you haven’t run across a bad one yet, it doesn’t mean you won’t have a bad one later. There are plenty of reports of people seeing these start to go funny in the 90s, and we’re now 30 years past that point. These devices are now 80 years old.
Why does this happen? It’s a combination of many things. The resin gets cracks in it you can’t see. These cracks, or the resin itself, allows and traps moisture. When you apply a high potential across the part, the moisture allows silver ions to start dissolving and moving towards the opposite potential. This creates dendritic growth that both changes the capacitance of the part, and eventually (and that’s a long eventually) it will short and die. If the case was improperly sealed, then the danger is double because then you have a known ingress point for water.
There’s another issue. Is this really a mica? Some manufacturers packaged paper parts like this too, thinking the same thing that later manufacturers did - that the coating will protect the paper, already known to be a problem item. It did, but you still get water ingress over time, and that’s all she wrote on that piece of soggy paper.
How about the part in this one?
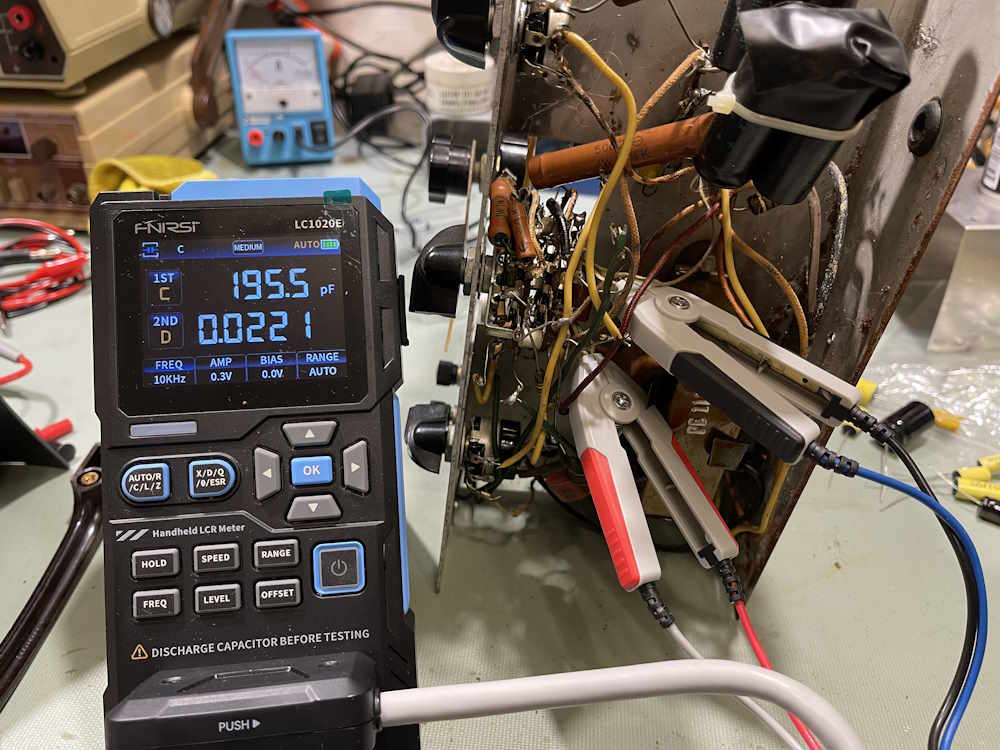
It reads, value-wise, ok. Does it leak? I won’t know until I get it out, and it may not after I hit it with heat. Who knows?
The kit I bought for this device doesn’t have this part in it for the above mentioned reason of “these don’t go bad.” However, as I was told not that long ago: “You found this car in a barn, all hoses and belts are original. Do you want to drive it, or look at it?”
I want to drive it. Therefore…I’m getting an order of resistors and some other parts together for the unit, and will put a capacitor in the cart as well. I’m removing pretty much every other passive in this unit because it’s out of tolerance, is of poor installation quality, or is just bad. I’m not going to skimp on a single $4 part.
Stay tuned, rebuild proper starting soon.
Next part of this series: https://wereboar.com … ith-some-capacitors/
Previous part of this series: https://wereboar.com … bridge-part-2-parts/
Wrapup and final thoughts: Coming soon.