An EICO 950A R-C Bridge Part 4a: Diving in with some capacitors.
Friday, April 24, 2026 at 06:27:06
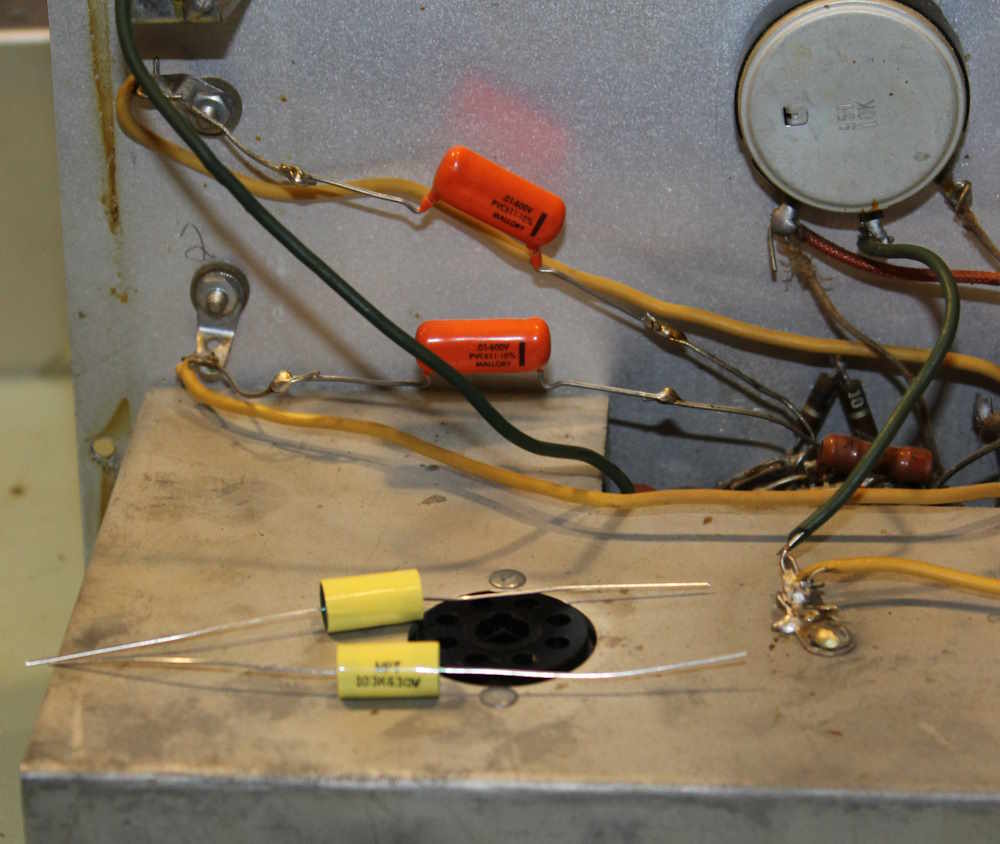
I’m going to start by replacing the two 0.1μF capacitors on the topside of the chassis. These go from terminals down to the range switch, in a j-hooked, messy sort of way. There’s some wire attached to one of the posts as well, and it’s burnt to the point where the insulation is crispy. Whomever had this before applied a lot of heat to things.
There’s not much to say about this, so here’s the before picture. The orange drops in back are probably still good, so I’ll pull them and drop them in the bin for later use. After a little cleanup, that is.
Here’s the after picture. I replaced both parts, as well as the connecting wire on the range switch, which you can just see poking up out of the chassis. It’s a yellow wire, and replaces the original that was crispy and so tightly pulled it just barely cleared the moving switch parts.

They aren’t soldered in on the terminals yet because I want to run new wire and possibly clean up that area little as well. Stay tuned, more “this sure does take a long time to replace one part” coming soon!
Next part of this series: https://wereboar.com … hing-is-just-a-mess/
Previous part of this series: https://wereboar.com … -and-where-to-start/
Wrapup and final thoughts: https://wereboar.com … -and-final-thoughts/
References
YouTube playlist for the EICO 950A Rework: https://www.youtube. … XCviSJjIoCDM&pp=sAgC
Schematic: https://wereboar.com … %20Schematic.jpg.zip
Magic Eye Test (short): https://www.youtube. … m/shorts/hYwHlrx1nR8