The Heathkit AA-1, part 1: Checkout
Wednesday, October 7, 2026 at 11:19:02
I’ve had a couple of these devices sitting around for a while in various conditions, but all of them had meters that weren’t in the best of conditions. When I saw this one show up online for a reasonable price, I grabbed it. While I knew it had some minor case damage, the meter face itself was in great shape, and it seemed pretty clean. There was a reason for that…
This is a unit that offers everything audio. Load resistors, AC VTVM, I/M analyzer, etc. Kind of a test bench inna box thing.
Let’s check out the unit itself before digging into the chassis.
Here’s the front of the unit with the clear meter cover.
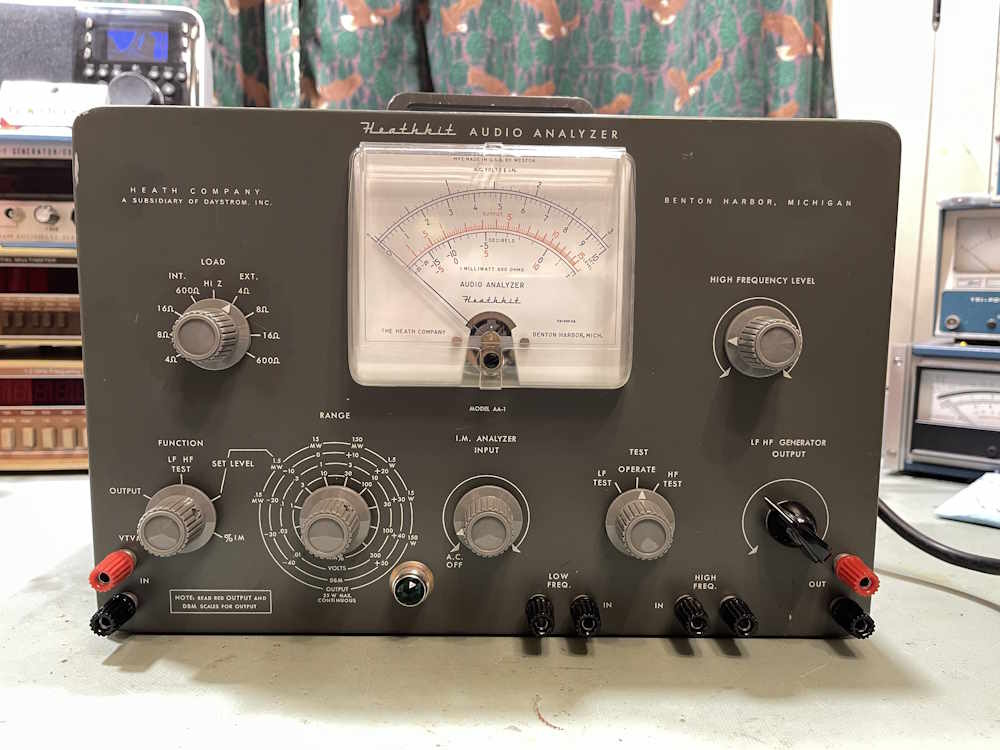
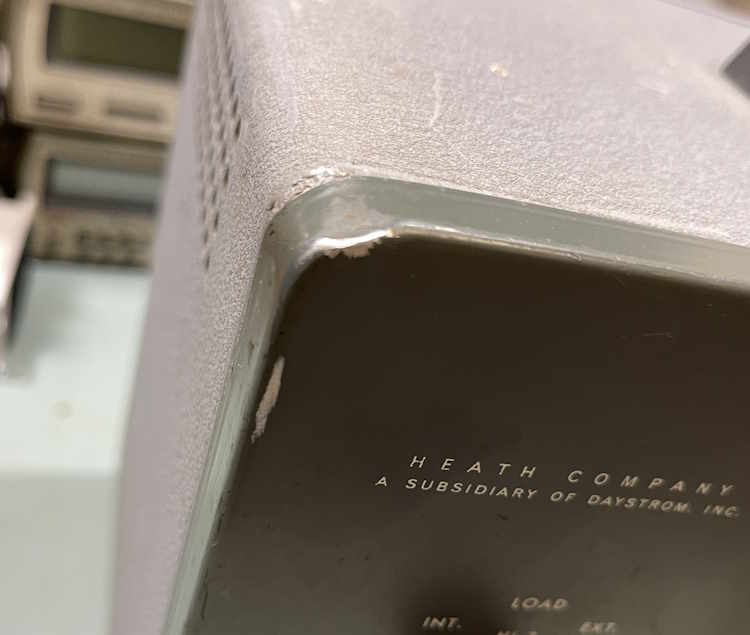
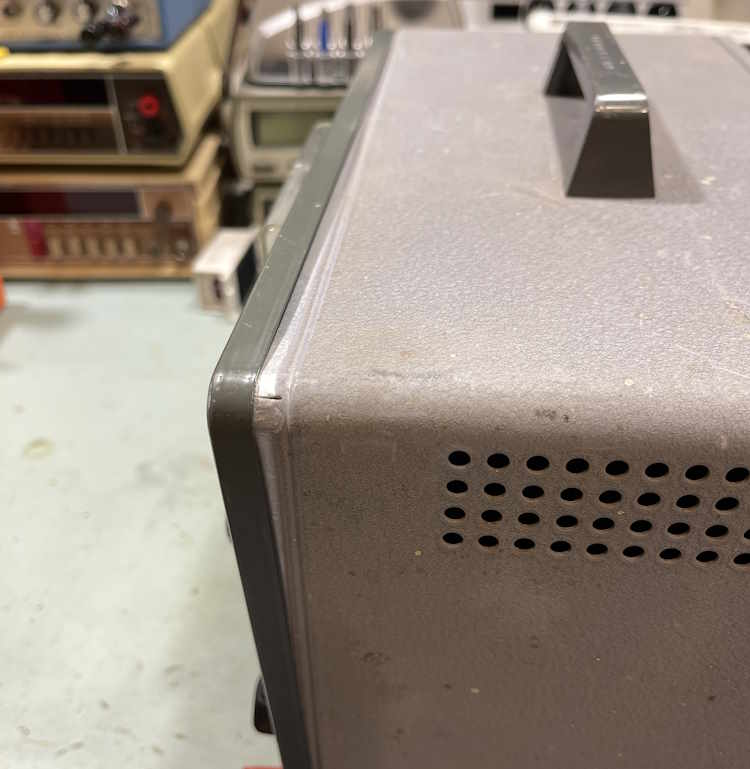
Here’s the smashed corner. It’s not terribly bad.
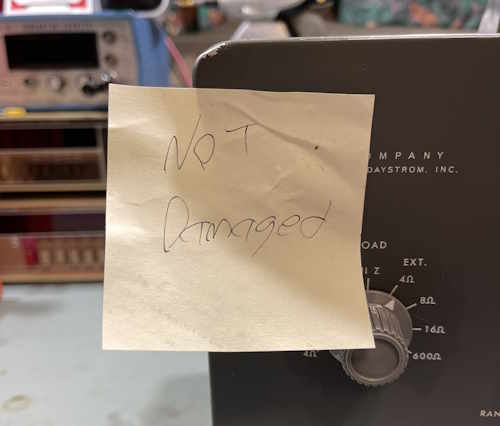
Of course, a friend of mine “fixed” it for me.
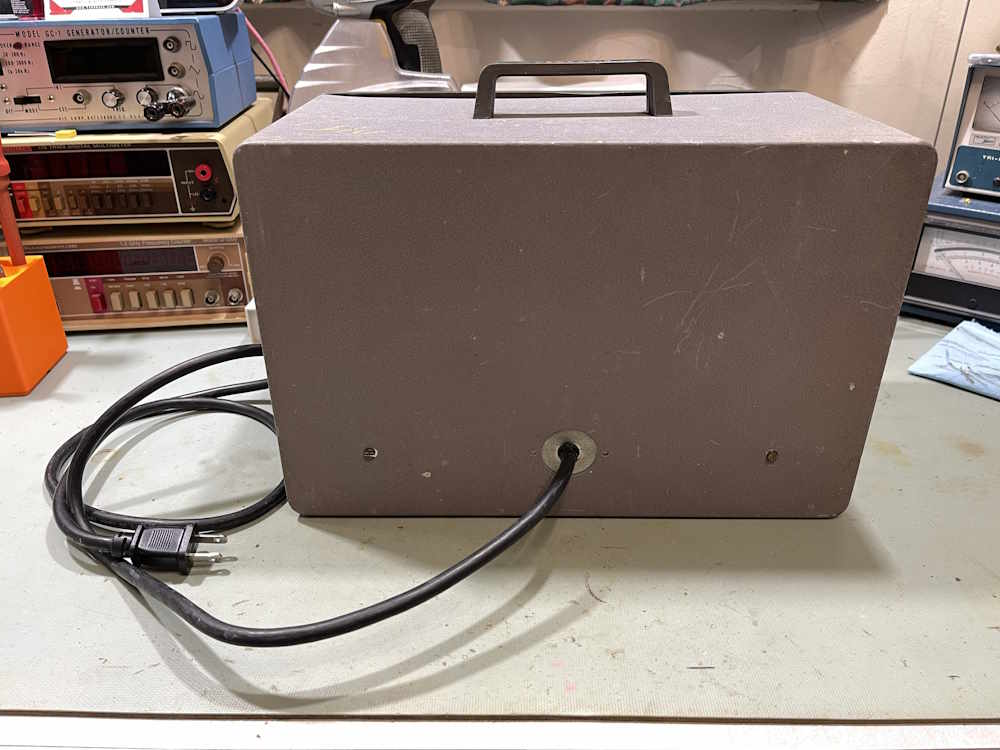
The back is nothing special, but it has a replacement cord. That’s nothing unusual for a device this old.
The top and side, of course, exhibit the standard Heathkit pull-apart that you get with these big boxes that have no screws near the top.
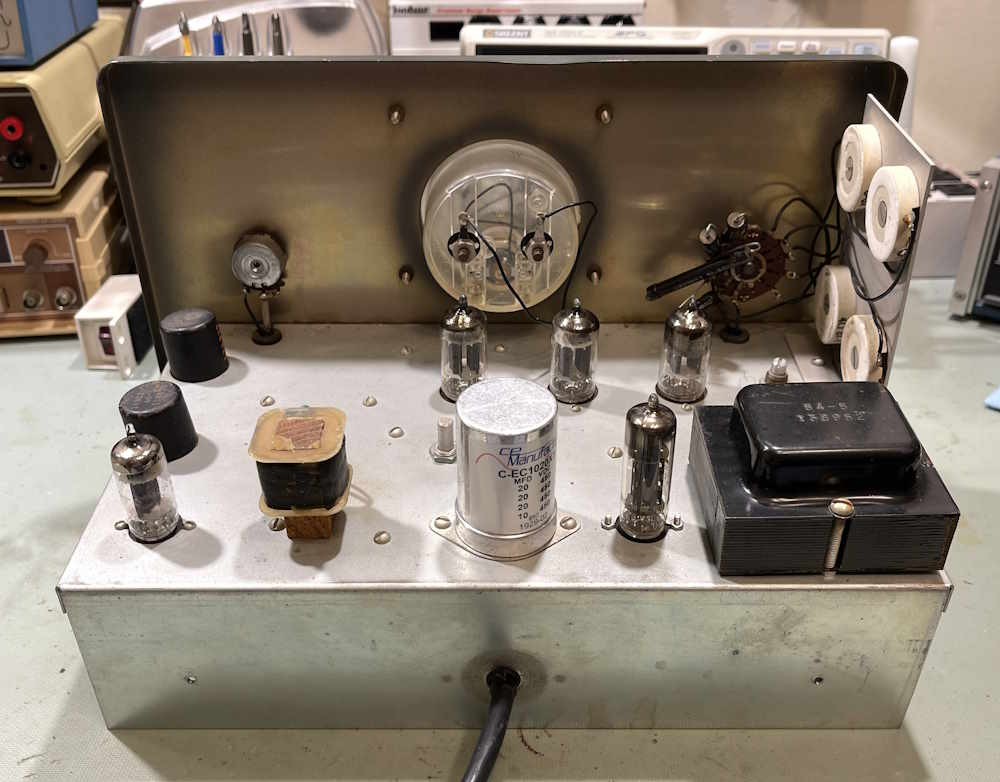
Let’s open the device. Here’s the inside. The screw that holds that coil down is loose, but we can fix that later.
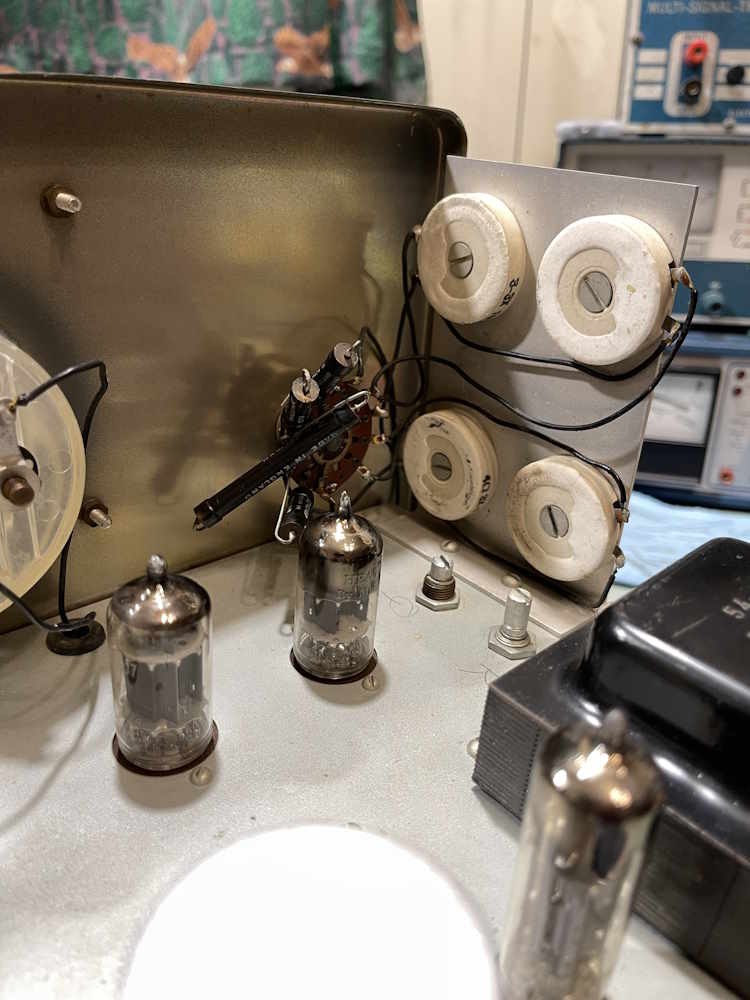
Here’s all the load resistors. They’re all intact and close to their values.
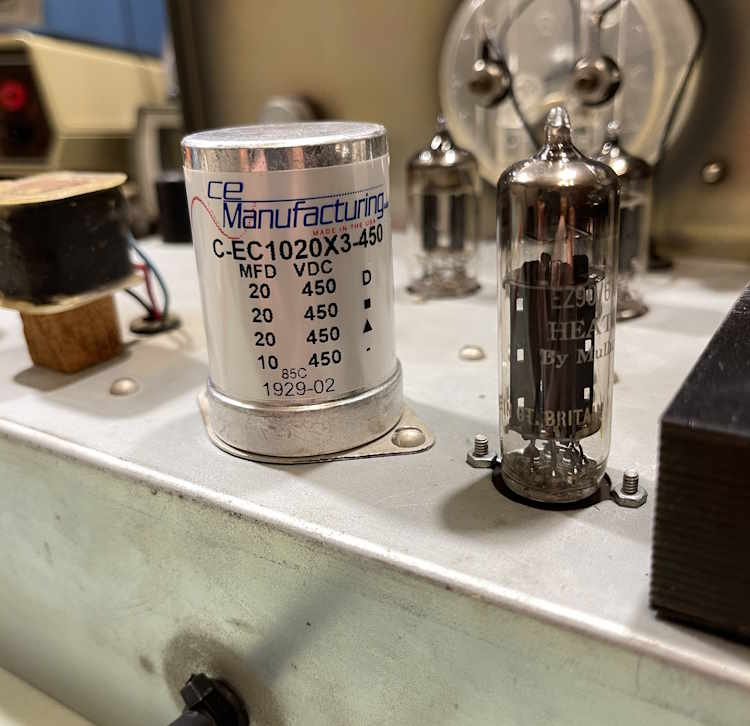
Here’s where things get interesting. This is a brand-spankin’ new capacitor…
The switches have been cleaned…these are normally black with oxidation.
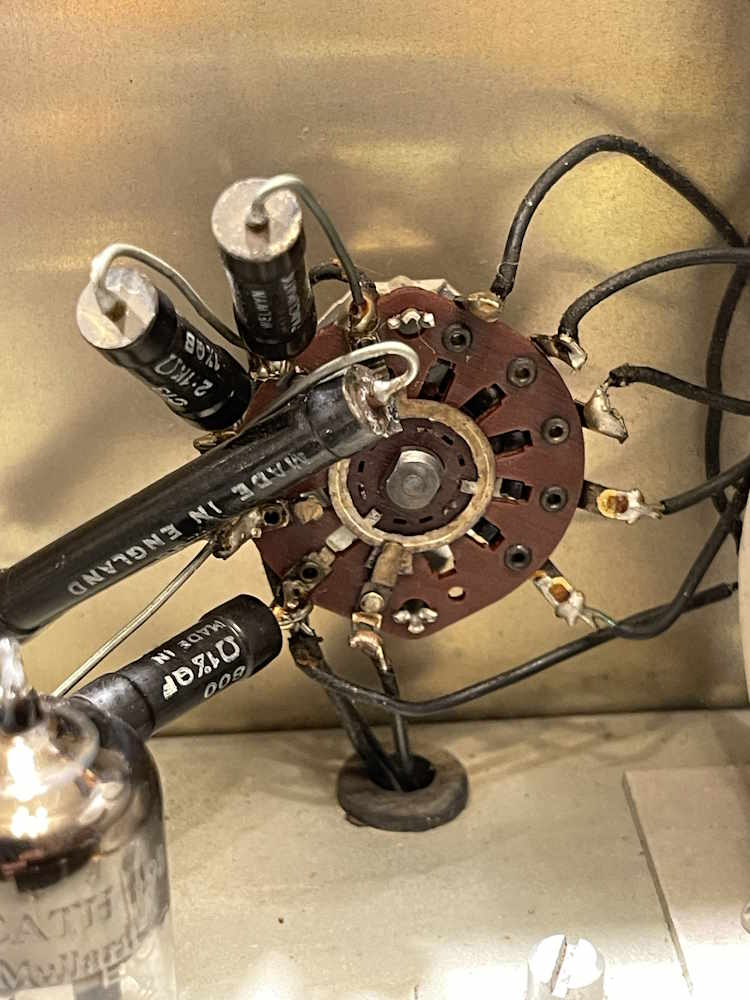
Let’s take a look at the underside of the chassis.
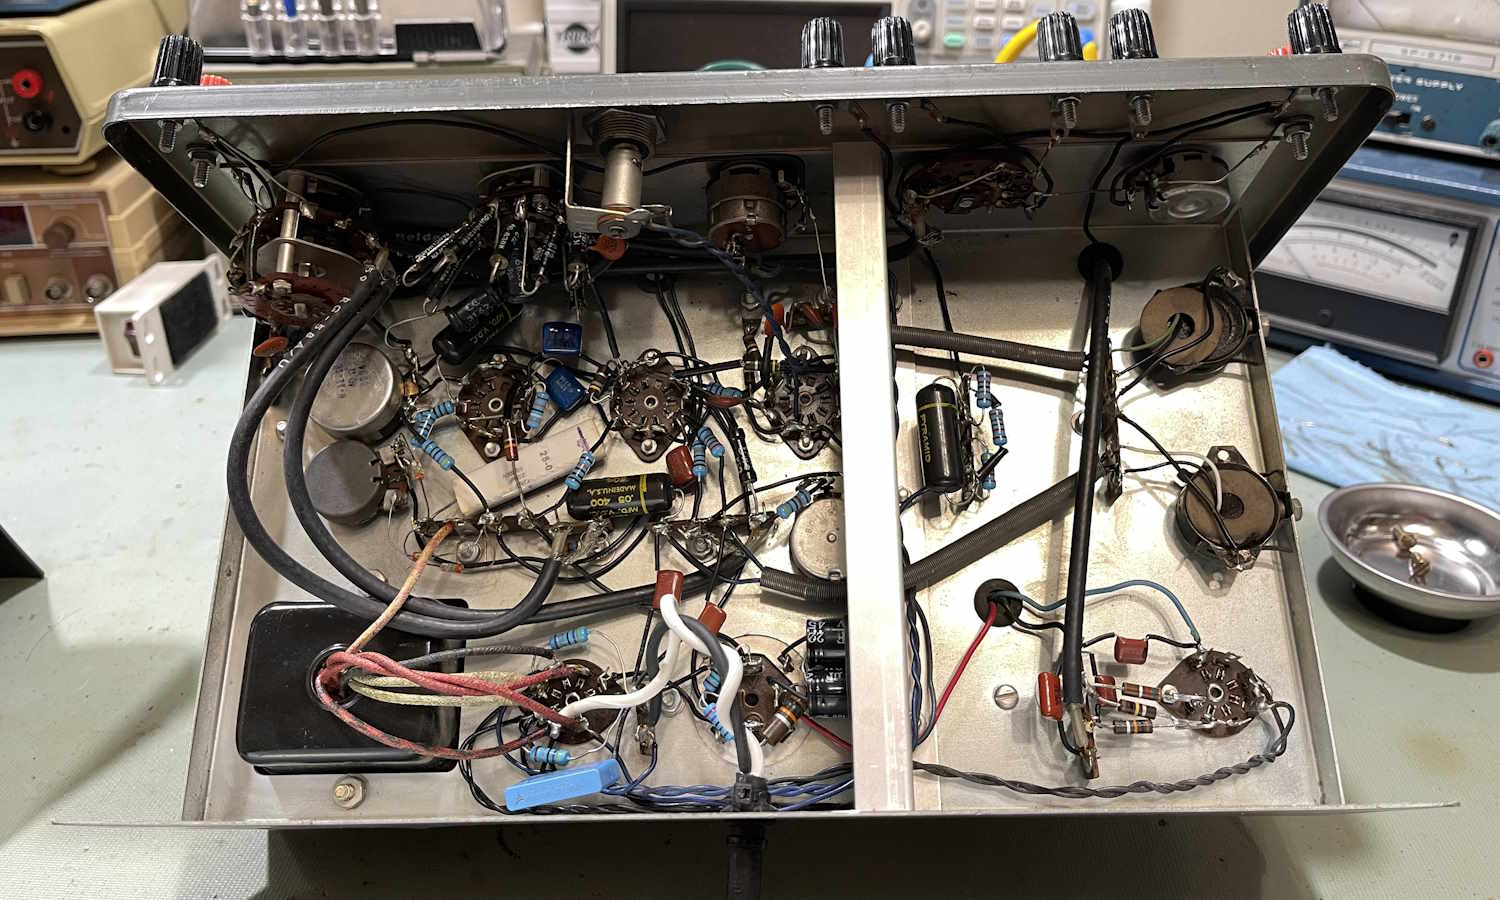
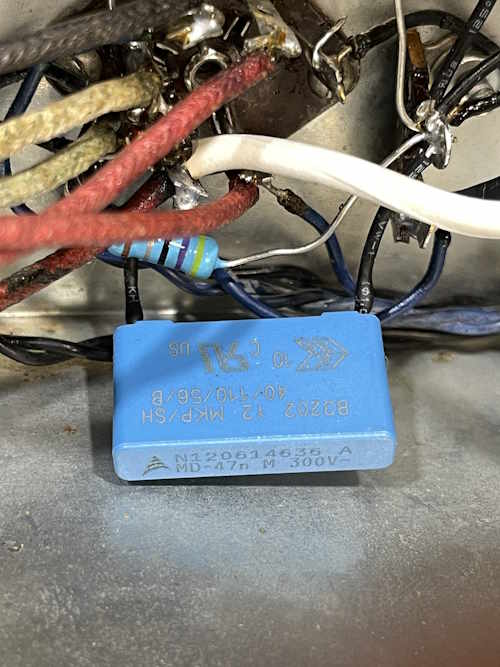
This thing has been almost completely reworked underneath, even to the safety capacitor, which is of the correct type.
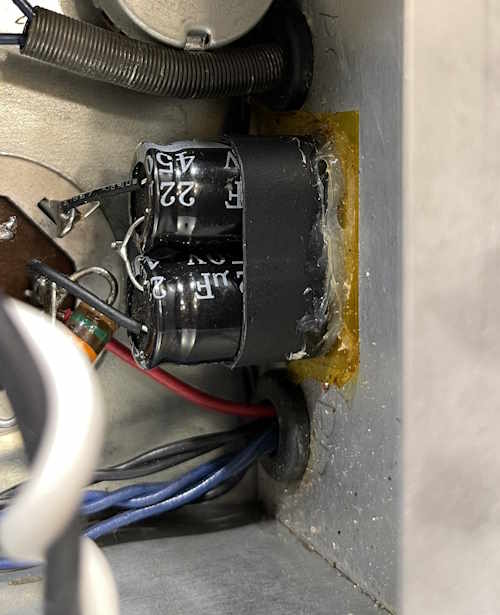
There’s some minor messes, like this set of capacitors. There’s nothing wrong with this, and it’s acceptable to get parts up to a higher voltage.
The only real issues I see here are minor.
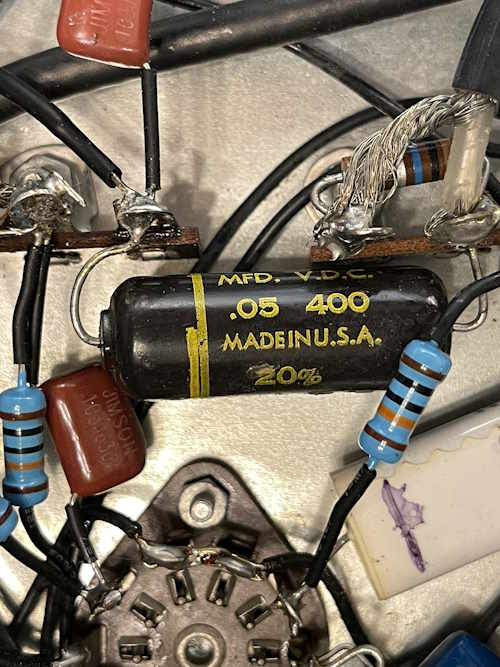
Those are old capacitors. They probably shouldn’t be in there, but depending on where they are in the circuit it may not have mattered. If they’re low voltage, then they’re probably fine…but there’s no need to leave them in when new stuff is so cheap. There’s a handful of these in the unit.
This one is an actual problem:
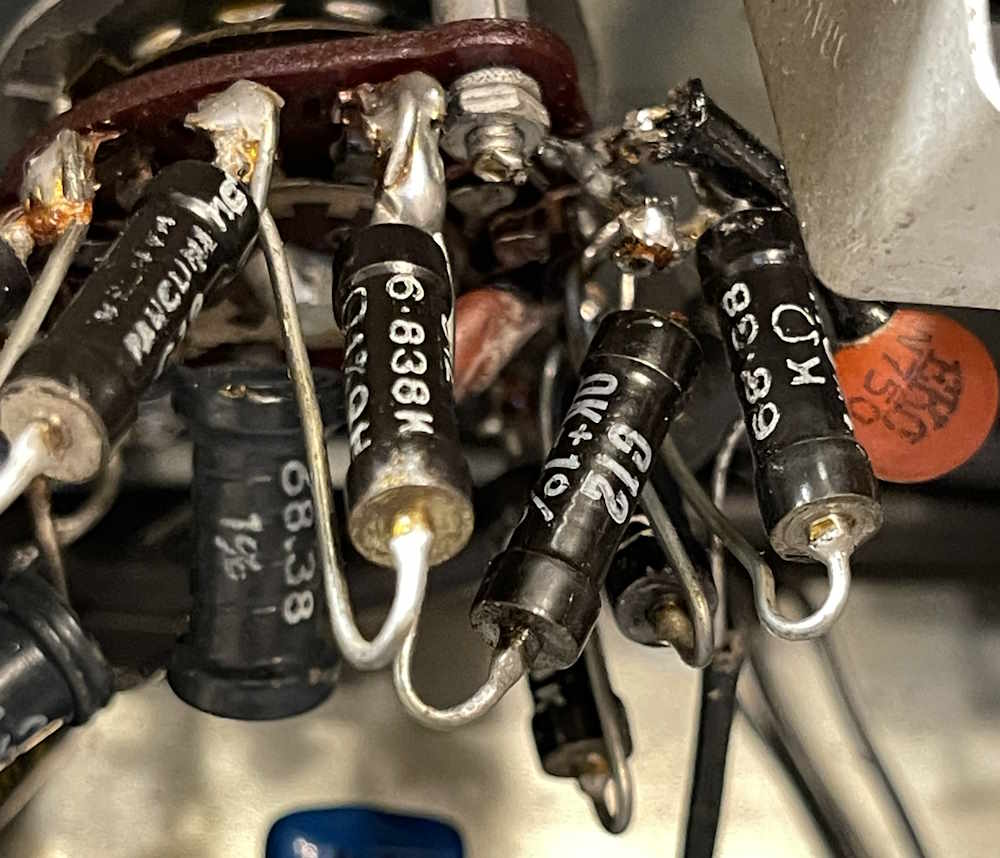
That resistor, one of the many precisions in the device, is broken. I can see where the previous owner tried to fix it, but it just popped off with a minor touch. I can understand why this was done, those are bespoke parts. You can make them from combining standard values, so that’s probably what I’ll do.
I did try it out briefly, the meter moves but it’s not zero’d, which means there’s still some leakers in there. That will be corrected during some rework. In the meantime, I have a second unit that has a good faceplate, so I’ll probably swap the chassis in that one out for this chassis, and go from there. Stay tuned!
Next part of this series: Coming soon.
References
Manual: https://wereboar.com … o%20Analyzer.pdf.zip
Unboxing: https://www.youtube. … /watch?v=zmAYuwFAMVo
It’s Wrinkle Paint! https://www.youtube. … /watch?v=-6U1UWUAqgU