An EICO 950A R-C Bridge Part 4d: Let’s do some more parts.
Thursday, May 14, 2026 at 07:53:42
Continuing on with the EICO 950A, the components near the power input need to be changed out, especially the capacitor used as the across-the-line component.

The orange drop is being used as the across the line cap. While this would have been acceptable way back when, it’s not acceptable now. We have specialized capacitors for this purpose, and one goes there. I’m also going to clean up the power input lead to the transformer, and it’s going to get a new line cord. The 470K resistor will go, and there’s a hidden 270K on the switch that will come off but not get replaced just yet as the parts I bought decided to hide from me.
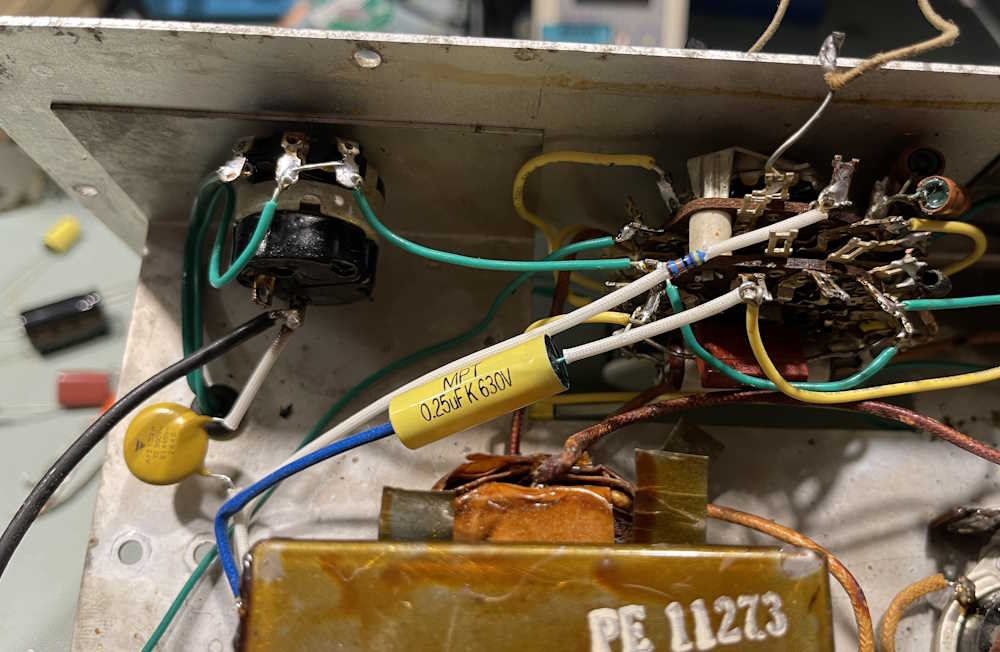
There will be a 270K placed here, eventually.
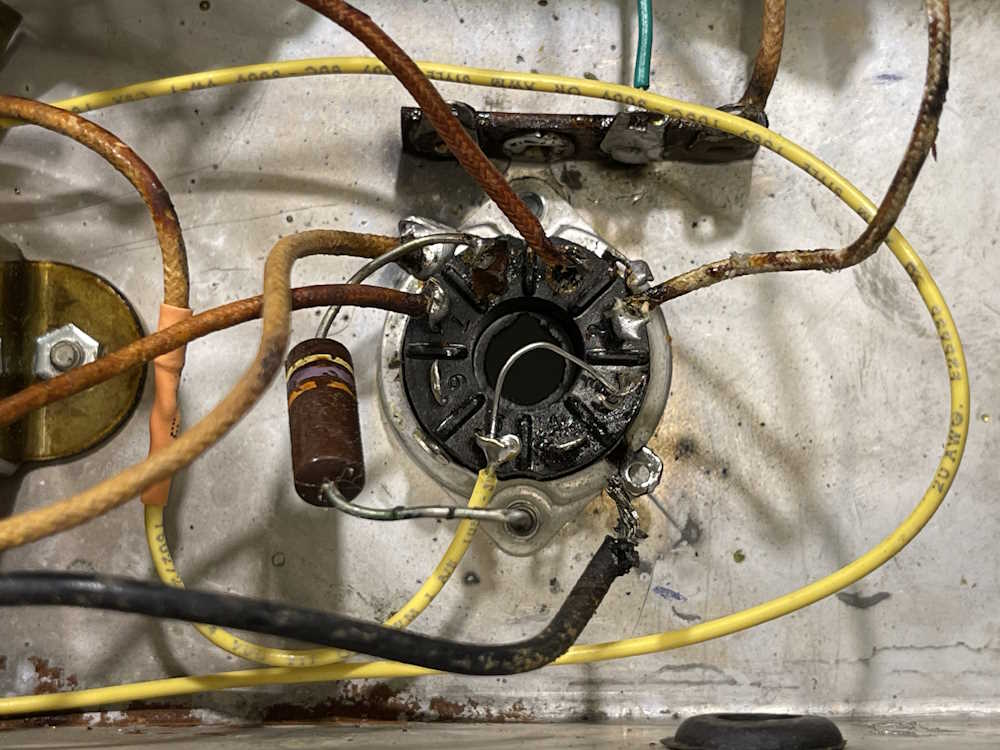
I took the time to remove the rest of the junk from the power supply:
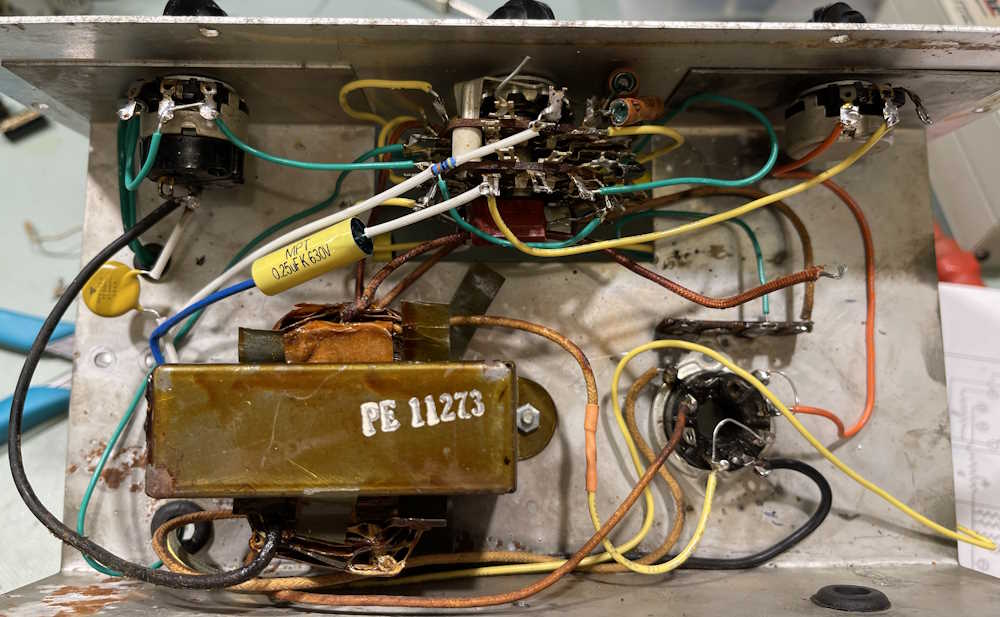
And the entire thing is starting to look better.
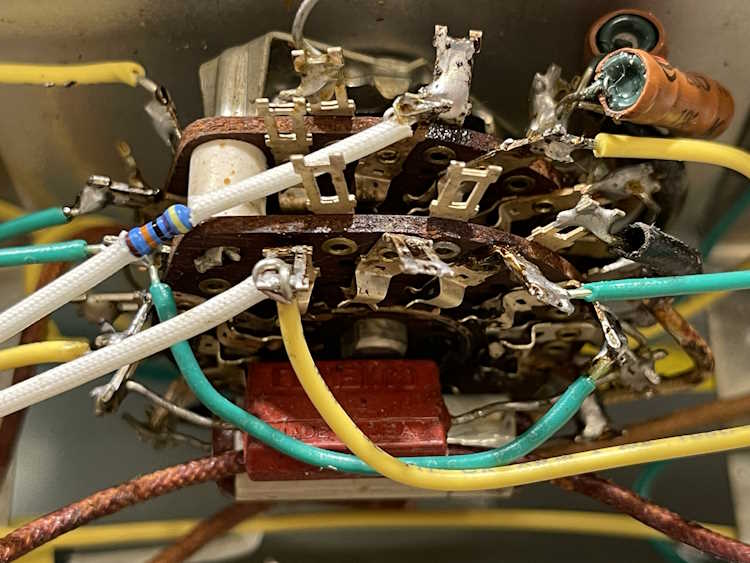
Next step is to tackle the resistors on the switch itself, as well as those two capacitors buried inside. I also need to consider where things will mount on the supply…the OEM used the tube socket as tie points for all parts, but I’m not sure I want to do that. I usually like to get the AC off on it’s own. We’ll see.
Stay tuned!
Next part of this series: https://wereboar.com … think-i-see-a-light/
Previous part of this series: https://wereboar.com … up-the-power-supply/
Wrapup and final thoughts: https://wereboar.com … -and-final-thoughts/
References
YouTube playlist for the EICO 950A Rework: https://www.youtube. … XCviSJjIoCDM&pp=sAgC
Schematic: https://wereboar.com … %20Schematic.jpg.zip
Magic Eye Test (short): https://www.youtube. … m/shorts/hYwHlrx1nR8