An EICO 249 VTVM, Part 4c: Finishing the range switch and next steps.
Friday, July 24, 2026 at 07:37:22
Seeing as how the range switch rebuiild is going much better than I expected, I decided to go ahead and prep the remaing resistors, and install them. This is what I was looking at for this part:
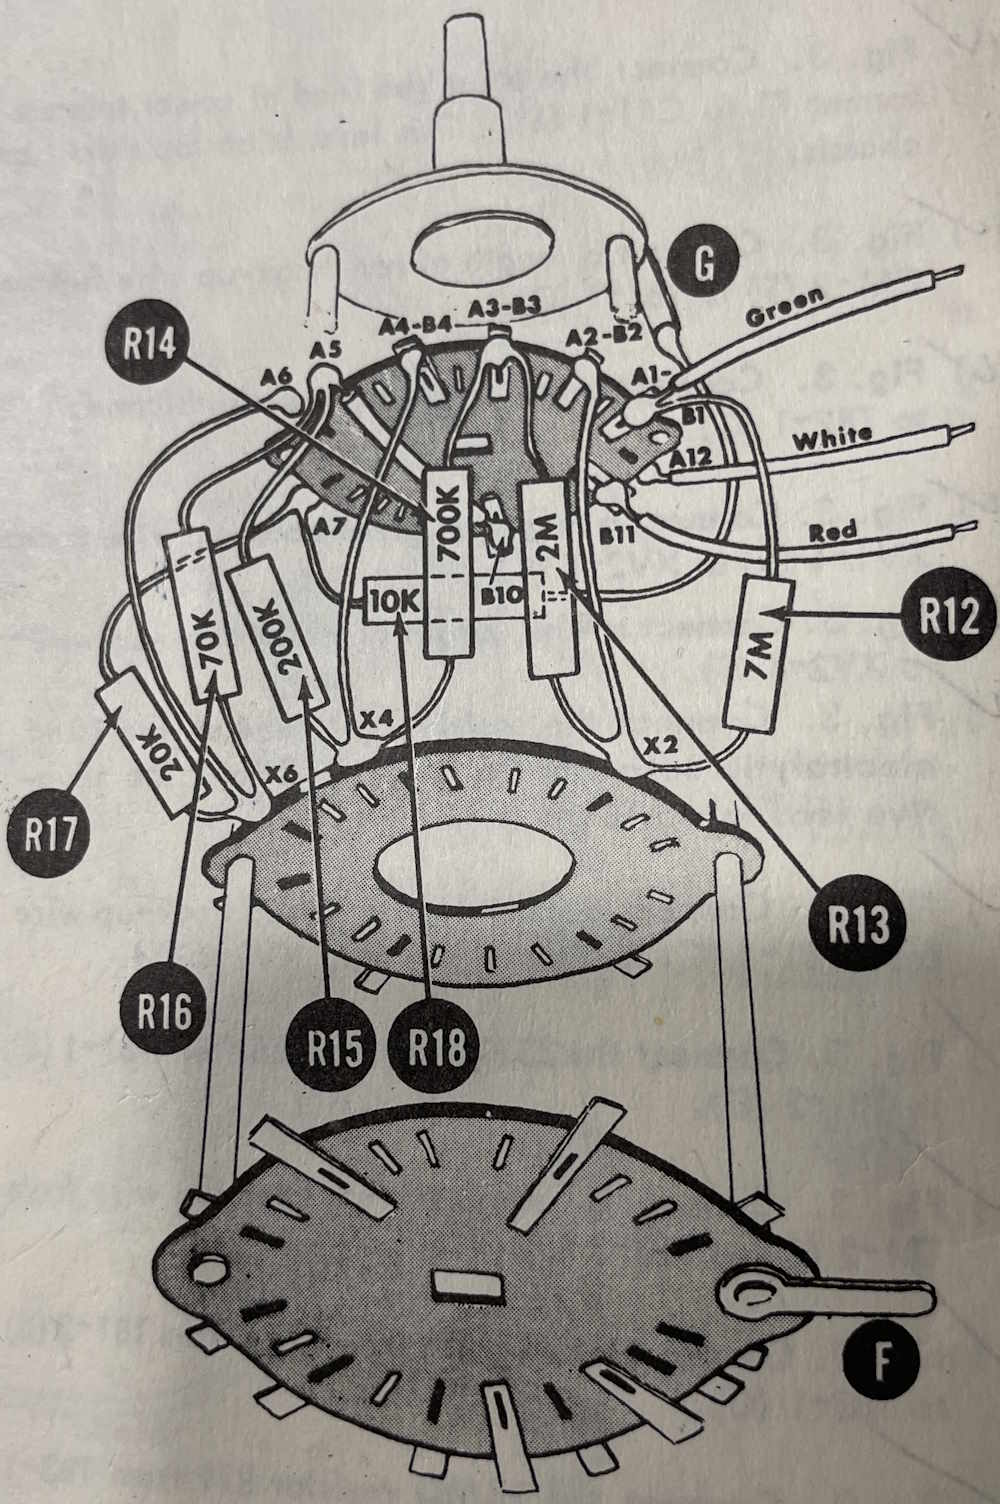
I had some resistors, some had to be made from others.
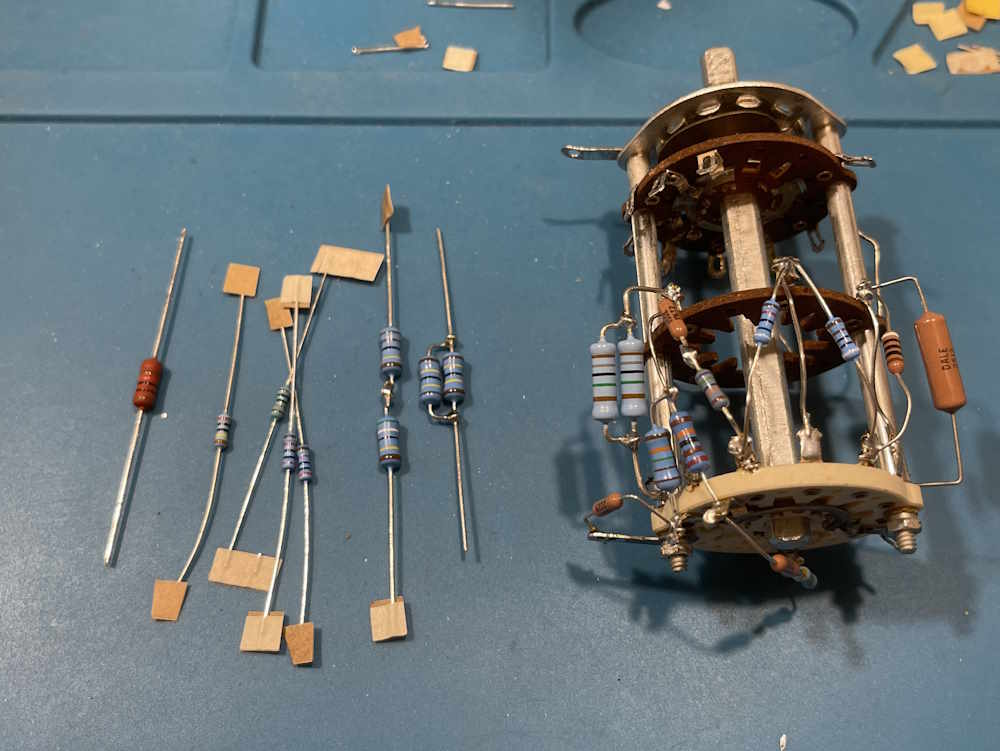
Installing them came up with this. The only thing I decided to change was to move a 10kΩ from the inside of the switch to the outside, as it wasn’t really long enough to do it like the manual called out (even though I could have easily extended the leads.)

I went ahead and installed all of the flying wires, but didn’t do the remaining parts on the bottom that fly off the terminals. There’s a 0.1μF 1000V capacitor, a 0.0025μF capacitor, and a 9.7Ω resistor that was made from two values. Those will be installed during the actual rebuild so I can size their leads appropriately.
With that out of the way, I took a look at some other mods that are going into the unit. The first is where the AC line comes in to the device. I’m going to change this terminal strip to a 4 position so I can add an across-the-line capacitor, and get the AC line cord off the main switch.
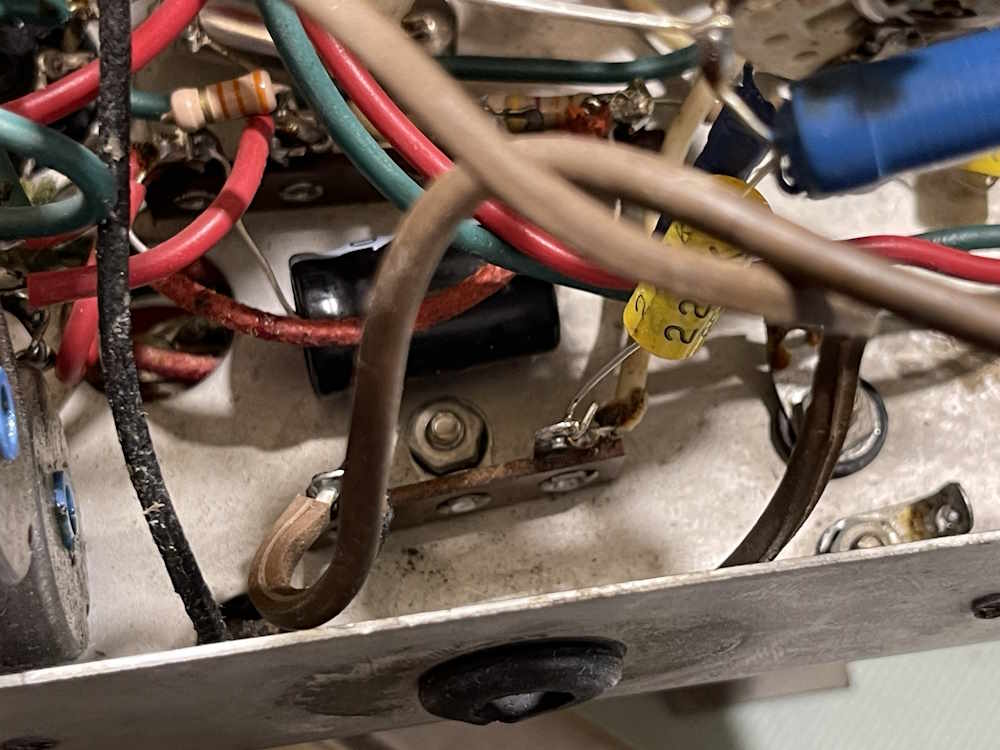
The other item, not really a mod, but still: I have no idea what this capacitor is for.

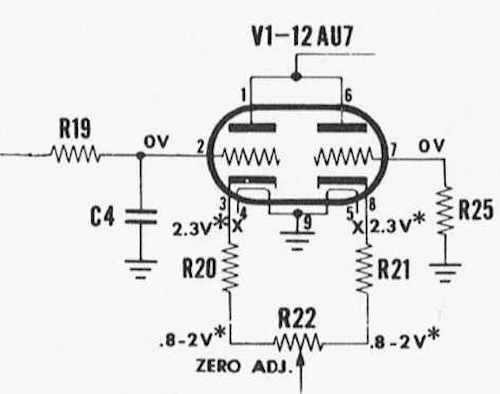
This comes off of pin 7 of the 12AU7 (grid) - was the previous owner trying to fix a noise issue? There may be a mod out there somewhere that specifies placing this capacitor to do just that, but I have not found it. Admittedly, I haven’t looked much, but it will probably be removed. There is a capacitor on the other side of the tube…perhaps if one is good then two is better?
Notes: I did some research on this and yes, that capacitor is there to help bring transient noise to ground. I’ll put a fresh part in during the rebuild.
I’m going to do some testing on the power supply before proceeding, stay tuned!
Next part of this series: https://wereboar.com … rmission-whats-next/
Previous part of this series: https://wereboar.com … or-the-range-switch/
Wrapup and final thoughts: https://wereboar.com … -and-final-thoughts/
References
Manual set: https://wereboar.com … with%20schematic.zip
Youtube Playlist: https://www.youtube. … k&list=PLbV6LYdZISZI
The playlist has more videos scheduled for much later, there are several months difference between here and YouTube.