An EICO 249 VTVM, Part 7: A new socket for the 12AU7.
Wednesday, August 5, 2026 at 11:18:24
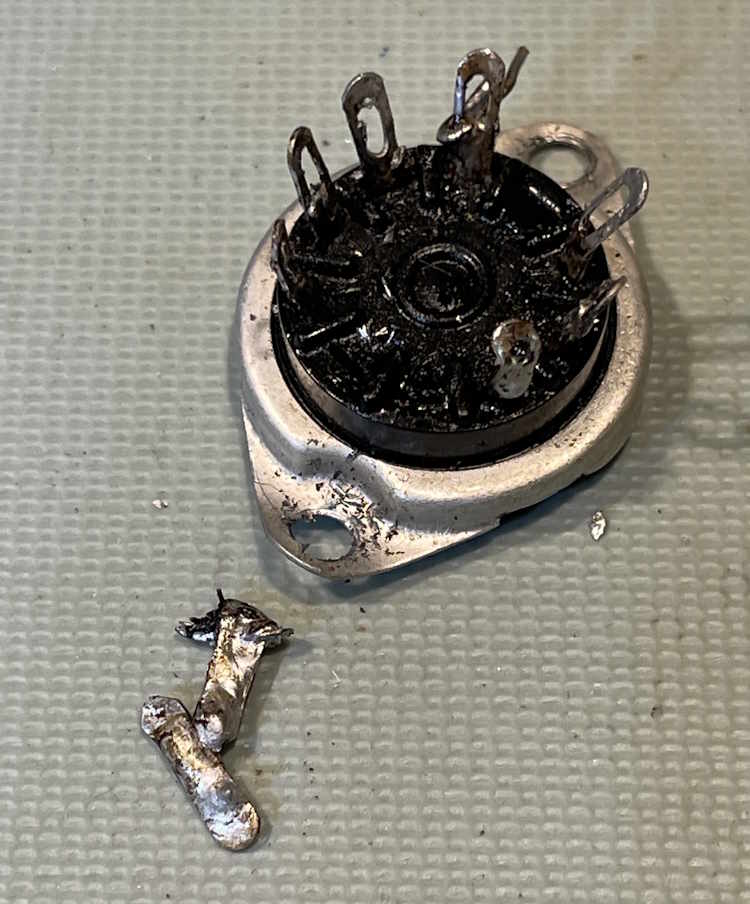
As I was cleaning the chassis for the EICO 249, I noticed that pins 4 and 5 for the 12AU7 were blobbed together with an excessive amount of solder. While these two pins are supposed to be connected - they are the heater pins and are back-to-back to make a 6.3V tube - they only needed a single wire.
The reason for the excess solder became clear, the pins were broken. I have to assume that the previous owner sank a lot of solder into them to keep them attached. Let’s get that out of here!
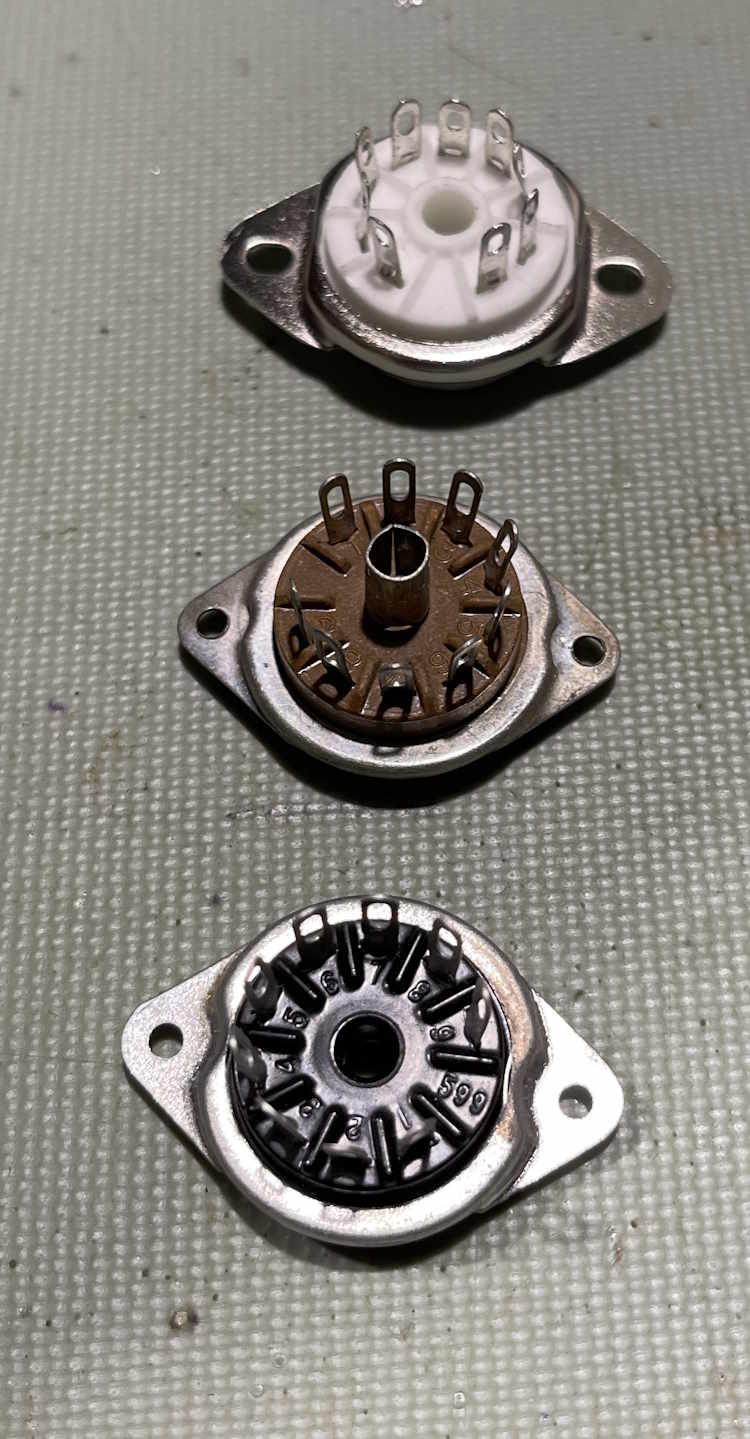
I had three sockets to choose from, a cermic, a NOVAL socket with center ground, and a regular black. I chose the regular black simply because it’s pin location matched the original layout.
It had to be drilled out, which was no problem.
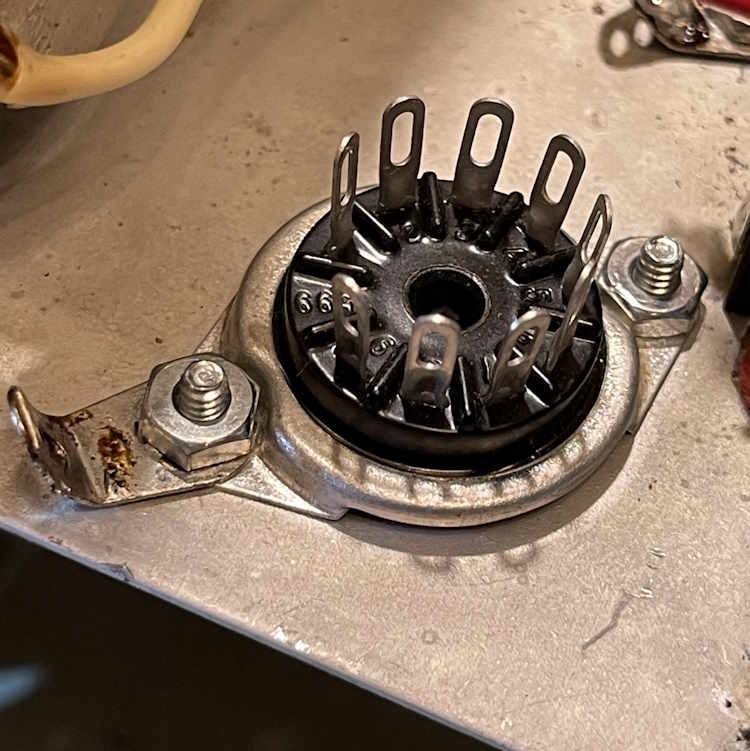
The new one went in with some screws.
I took the time to remove the rest of the old wires from the chassis. We’re just going to start over here.
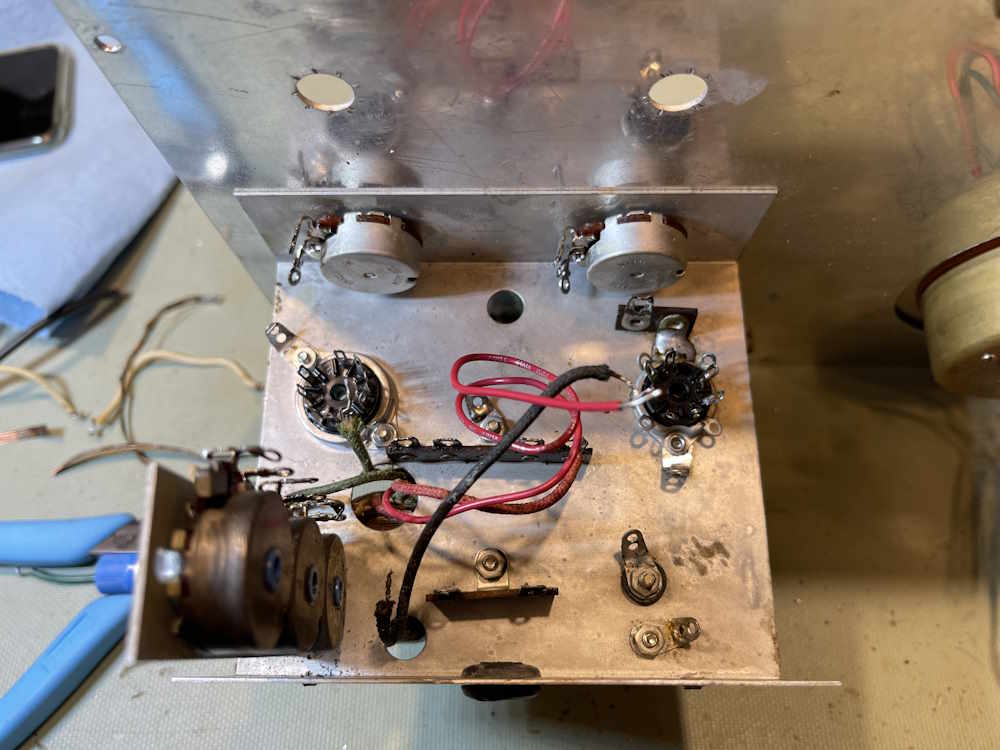
I did clean the function switch as well, that post and a short video coming soon.
Next part of this series: https://wereboar.com … the-function-switch/
Previous part of this series: https://wereboar.com … -6b-teardown-part-2/
Wrapup and final thoughts: https://wereboar.com … -and-final-thoughts/
References
Manual set: https://wereboar.com … with%20schematic.zip
Youtube Playlist: https://www.youtube. … k&list=PLbV6LYdZISZI
The playlist has more videos scheduled for much later, there are several months difference between here and YouTube.